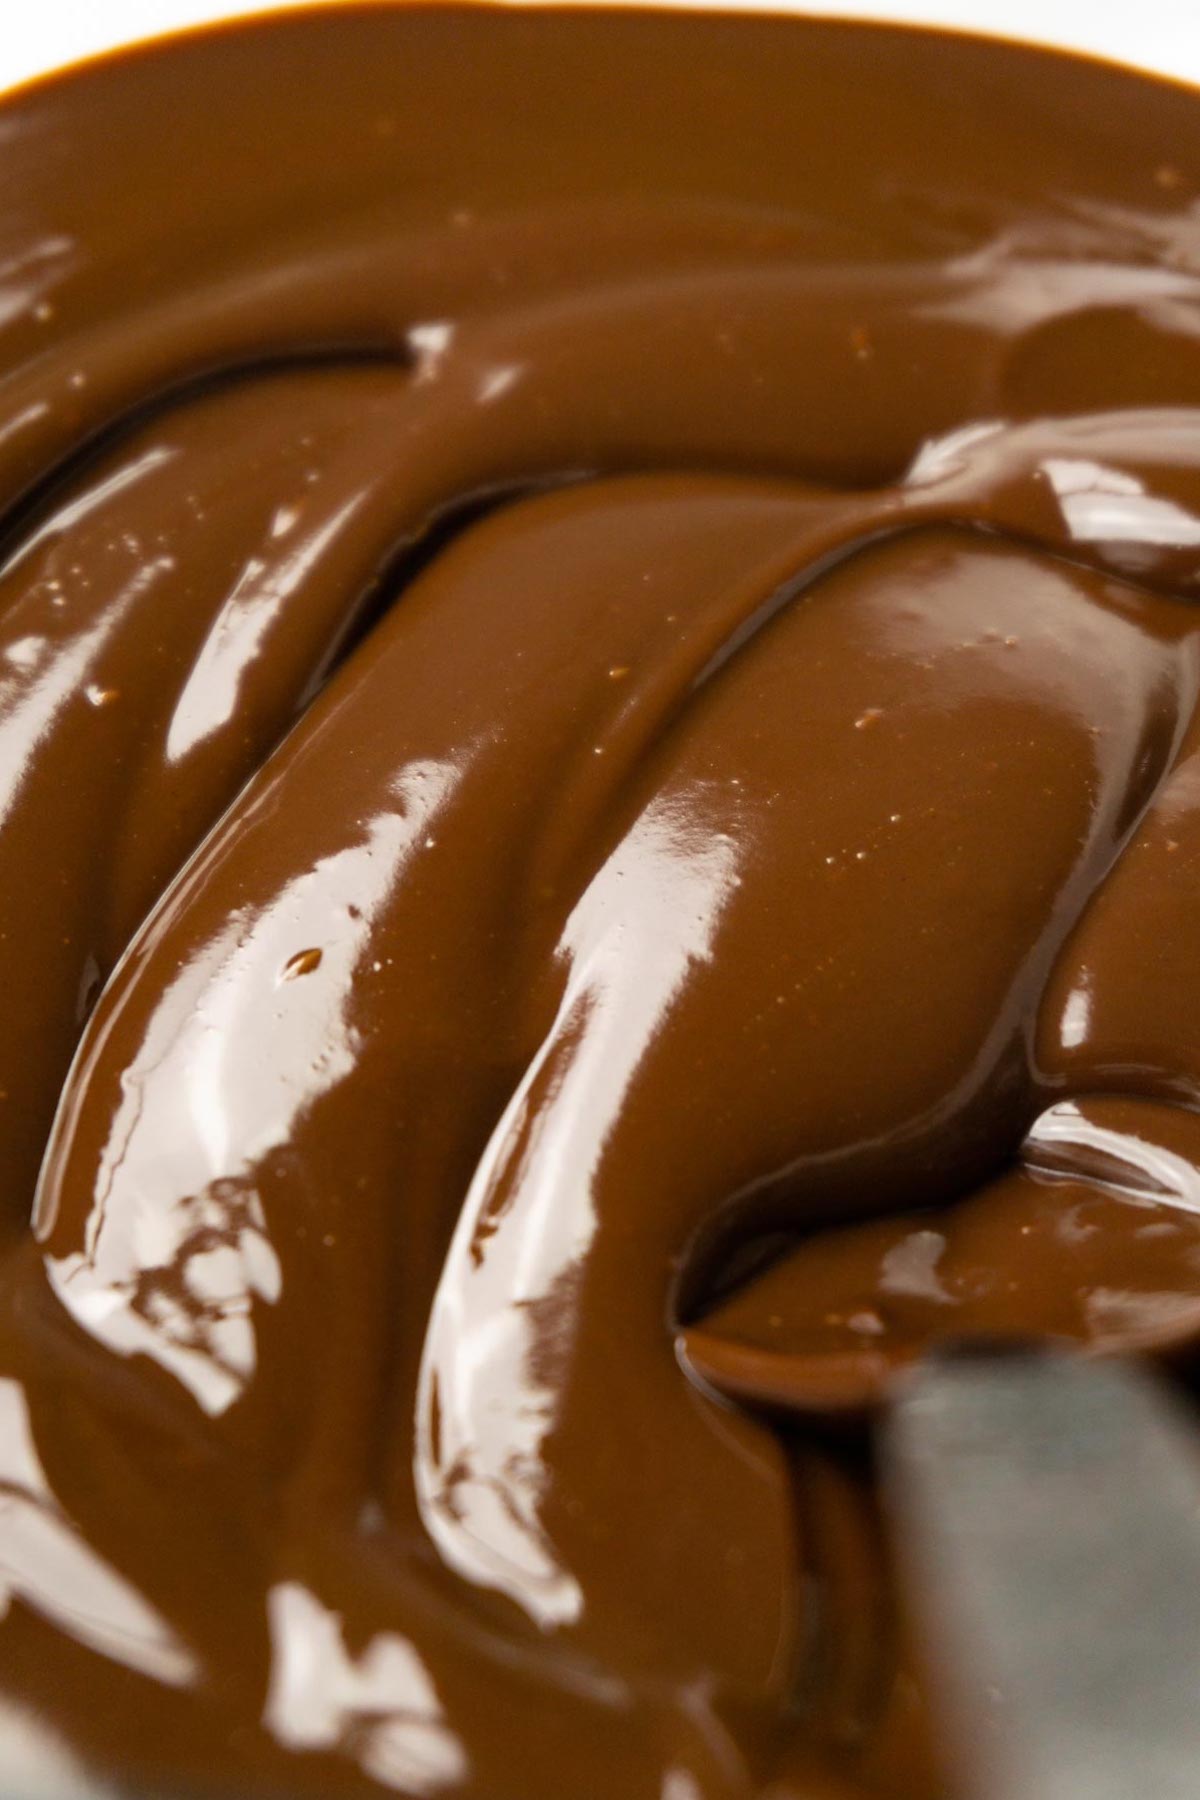
Delicious with a smooth mouthfeel, chocolate ganache is the most popular and beloved chocolate dessert out there. Made with only two ingredients, it’s so versatile that you can use it almost anywhere. Use it as a chocolate sauce, a filling in your cakes and cupcakes, a finishing layer on your cake, and much more.
Jump to:
What chocolate to choose
I prefer using dark chocolate, or you can call it semi-sweet chocolate if you like. The most important thing is that it should have around 55% cocoa in it. If you prefer or need to use milk or white chocolate, always go for the best quality - especially for white chocolate! It has the lowest percentage of cocoa and you want it to have as much as possible.
Couverture - This is the best quality chocolate you can find for your ganache recipe. Couverture contains more cocoa solids relative to other ingredients, which gives the tempered chocolate a shiny look and a beautiful snapping sound when broken. It will have zero or as little as possible non-cocoa fats in it and most often contains no dairy, which makes it vegan. I use Callebaut dark chocolate but there are different brands on the market. You might think couverture is expensive at first, but they’re sold in big packages and, if you count the price per 100g or 3.5oz for premium quality Belgian chocolate, it's not that pricey after all. It can be even cheaper if you compare not only the price but the amount you get for the price.
Baking chocolate - This type, which you can buy in blocks, is your second choice - especially if you need to buy a smaller amount. It melts well and it's easy to work with. You want to chop it as finely as possible so it melts evenly.
Chocolate chips - The cheapest option that will give you a decent texture.
What cream to choose
Use heavy whipping cream at 34-36% fat per 100ml. It's possible to go as low as 32% and as high as 40%, but you might need to adjust the amount of chocolate you use.
Chocolate ganache ratios
The 1:1 ratio is the baseline for dark chocolate ganache. Therefore, I used this ratio in my recipe card below. However, it doesn’t mean you have to follow this particular ratio! It’s just a starting point; you can adjust the formula to your needs.
So, what exactly does a 1:1 ratio mean? It means that if you use 250g/9oz of dark chocolate, you should use the exact same amount (250ml/9oz) of heavy cream with it. No US cups in here, guys! You need to measure all your ingredients using a digital kitchen scale.
The 2:1 dark chocolate to heavy cream ratio makes a more stable ganache because it has more cocoa solids and fats in the formula. After cooling it to room temperature, you can whip it and use it as a frosting for your cake. A whipped ganache at this ratio can be used as a very stable filling for macarons. At room temperature, you can use it as a frosting that goes on your cake under fondant. It's also perfect for truffles that you usually roll into balls and cover with tempered chocolate, cocoa powder, shredded coconut, or crushed nuts. Your truffles will be stable at room temperature and easy to make and handle. Check out my recipe for Easy homemade chocolate truffles to learn how to make them hassle-free.
The 3:1 dark chocolate ganache is great for even more stable truffles that will withstand heat better which will make it possible to serve them during summer. You can also cover them in a variety of toppings, or tempered chocolate.
The 2:1 milk chocolate to heavy cream ratio is for those who prefer the taste of milk chocolate. Using milk chocolate will result in a sweeter ganache. However, it has less cocoa, so you need more chocolate than heavy cream to make a nice consistency that you can use to fill your hard-shell truffles, cupcakes, or cakes. As with all ganache types, you can use it for different applications at room temperature, after stabilizing, and after whipping it.
The 3:1 white chocolate ganache to heavy cream ratio is commonly used to frost cakes before covering them with fondant, especially if the fondant is white. It’s a basic formula, but it can be advanced a little to make your white ganache more stable and easy to work with.
Stages of the 1:1 dark chocolate ganache and where to use it
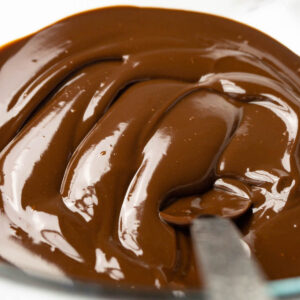
Warm and pourable ganache can be used as a chocolate sauce for your ice cream, French toast, muffins, pound cakes like this Chocolate pound cake, and so on.
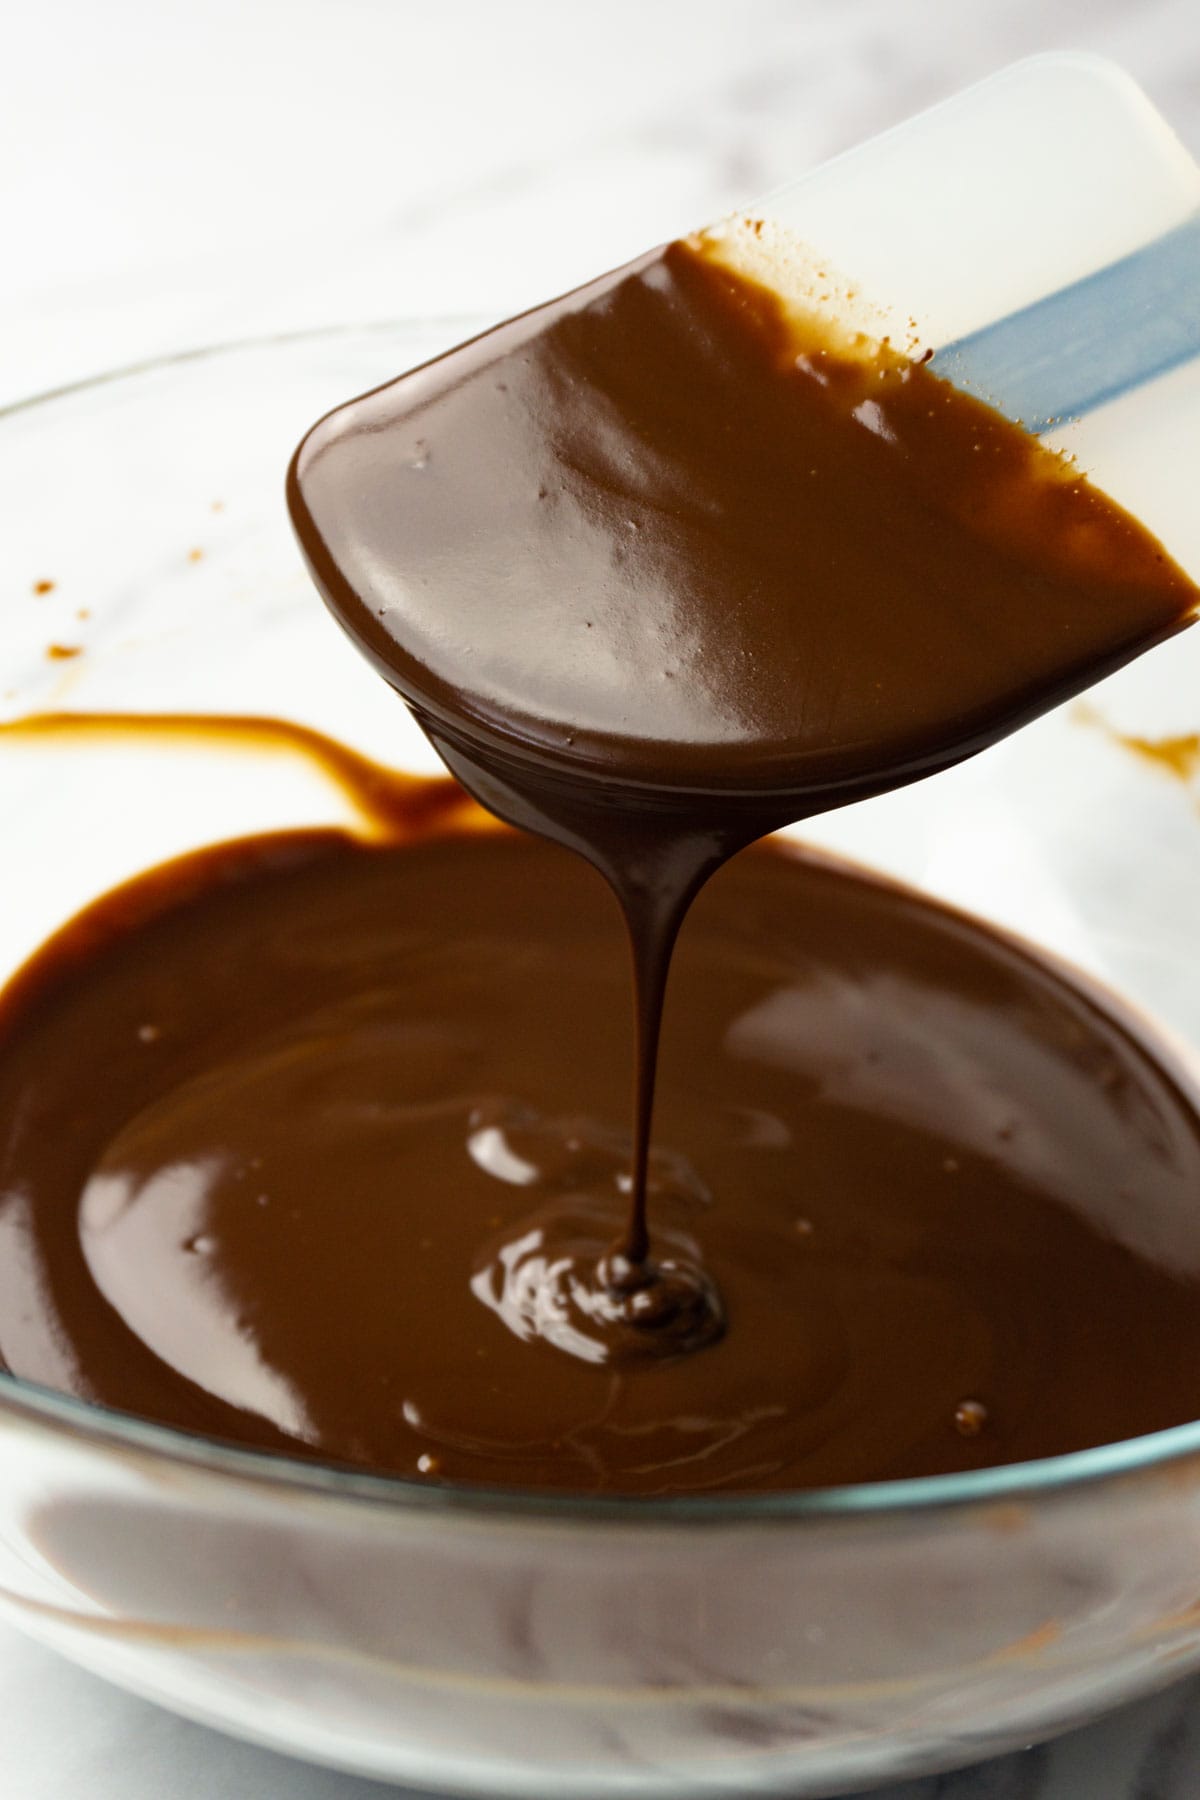
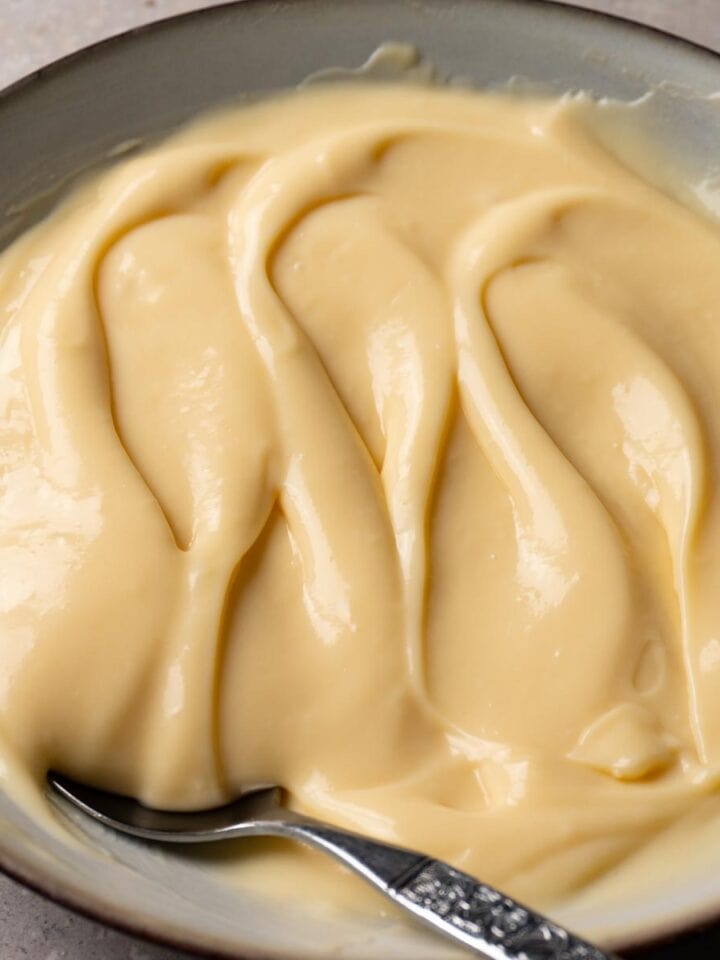
At room temperature, you can use it as a soft filling for truffles with hard shells and cupcakes.
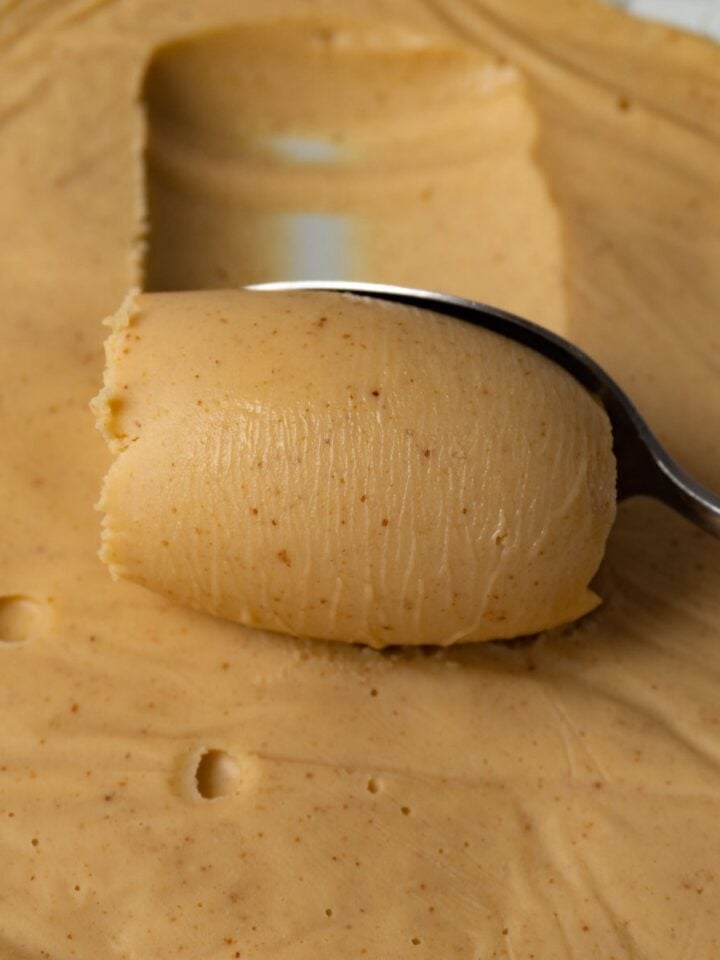
Stabilized for several hours at room temperature, can be used for cake filling and frosting.
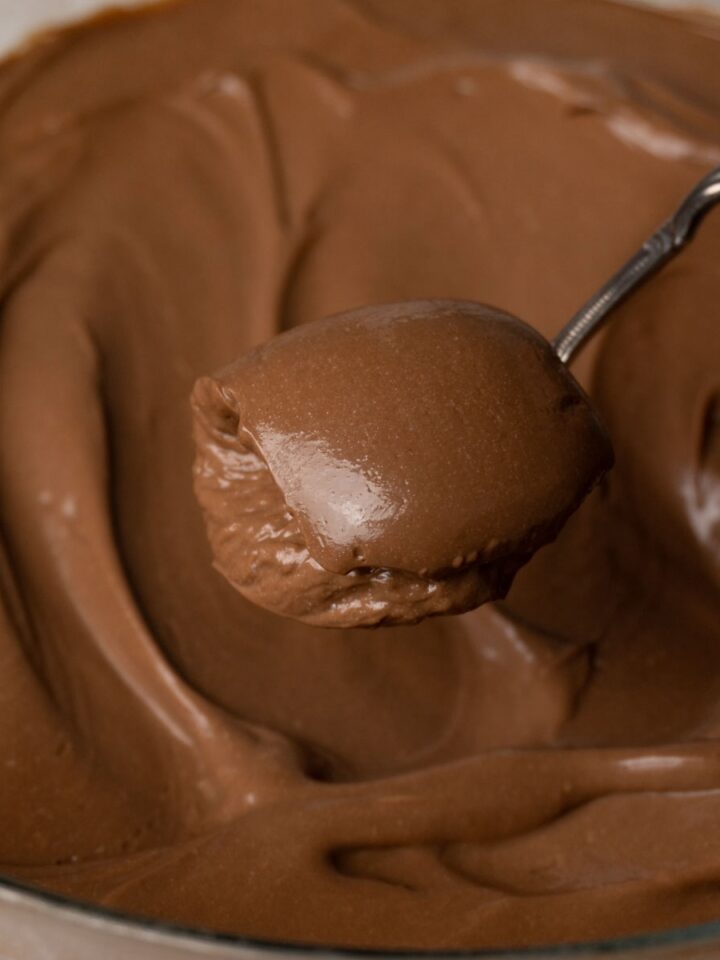
In the whipped stage (read about how to whip the ganache further in the post), it can be used to frost your cake as well as in piping out cupcake hats. It’s also perfect for filling your layered cakes. The difference between ganache before and after whipping will be in texture and density.
The best way to melt chocolate
Hot cream method
This one is an old-school method that has many uses. The idea is that you need to heat your cream on a stovetop until it starts simmering but DO NOT let it simmer. When done, pour the hot heavy cream on top of the chocolate and let it sit for 3-5 minutes. Then, you agitate the mixture until reaching a homogenous consistency. This method is easy and effective but has its pros and cons.
The pros of melting the chocolate using warm cream are that you can melt a large amount fast.
Not everyone has or likes to use a microwave oven, but most everyone has a stovetop and can heat cream over medium heat.
Using the hot cream method, it’s easier to infuse your ganache with different flavors from coffee, spices, and herbs.
The cons will be that the mixture you end up with takes a long time to bring to room temperature, aka working temperature. If you make a big batch, it can take hours.
Also, if you make the white chocolate ganache, hot cream might not be enough to melt everything at once (yes, white chocolate is harder to melt), so you might have to heat the mixture in a microwave anyway or use a double boiler method.
If you heat your cream for too long, the water will evaporate so you’ll have too much fat left, which will give you a thicker ganache. It might be not the texture you were expecting.
If you heat your cream too much, it can split the chocolate since this ingredient doesn’t like extremely high temperatures. The good news is it’s fixable, but extra work will need be done.
Microwave method
The microwave method is easy and effective but can be tricky if you don’t get the temperature for emulsion right (it should be around 34C/93F). Especially, the temperature is important if you work with couverture chocolate!
Place your chocolate into a microwave-safe bowl and heat it in short increments, mixing with a spatula in between. When just a few pieces of chocolate are left, stop heating the chocolate and simply mix it until no solid chocolate is left. Then, take your heavy cream (at room temperature) and slowly add it to the melted chocolate while mixing continuously with the spatula.
When you added the heavy cream, keep mixing until a smooth and homogenous consistency. At this point, the ganache is ready to work with. If you want to use it to frost your cake (if you prefer to work with a softer consistency), you can cover the mixture with plastic wrap (making sure it’s in full contact) and leave it to stabilize further at room temperature.
The pros are:
It’s extremely fast to make and your ganache is ready to work almost right away, unless you need it to be more like peanut butter for whipping.
It’s difficult to burn the chocolate.
The ganache rarely splits because the chocolate is heated gently.
The cons:
If you like frosting your cakes with ganache that has a peanut butter-like consistency, you still need to stabilize it.
It will take more time if you want to infuse your heavy cream with different flavors because you should cool it down in the fridge before adding to the melted chocolate.
Step by step instructions
After many trials and errors, I decided that I prefer the hot cream method over the microwave method. It gives me a perfect texture every single time.
Measure the chocolate and place it into a glass or a stainless steel bowl.
Heat the heavy cream in a heavy-bottomed saucepan over medium heat until starts simmering, but do not let it simmer. Remove from the heat, and pour over the chocolate. Let it sit like this for 3-5 minutes (depending on how much chocolate you need to melt).
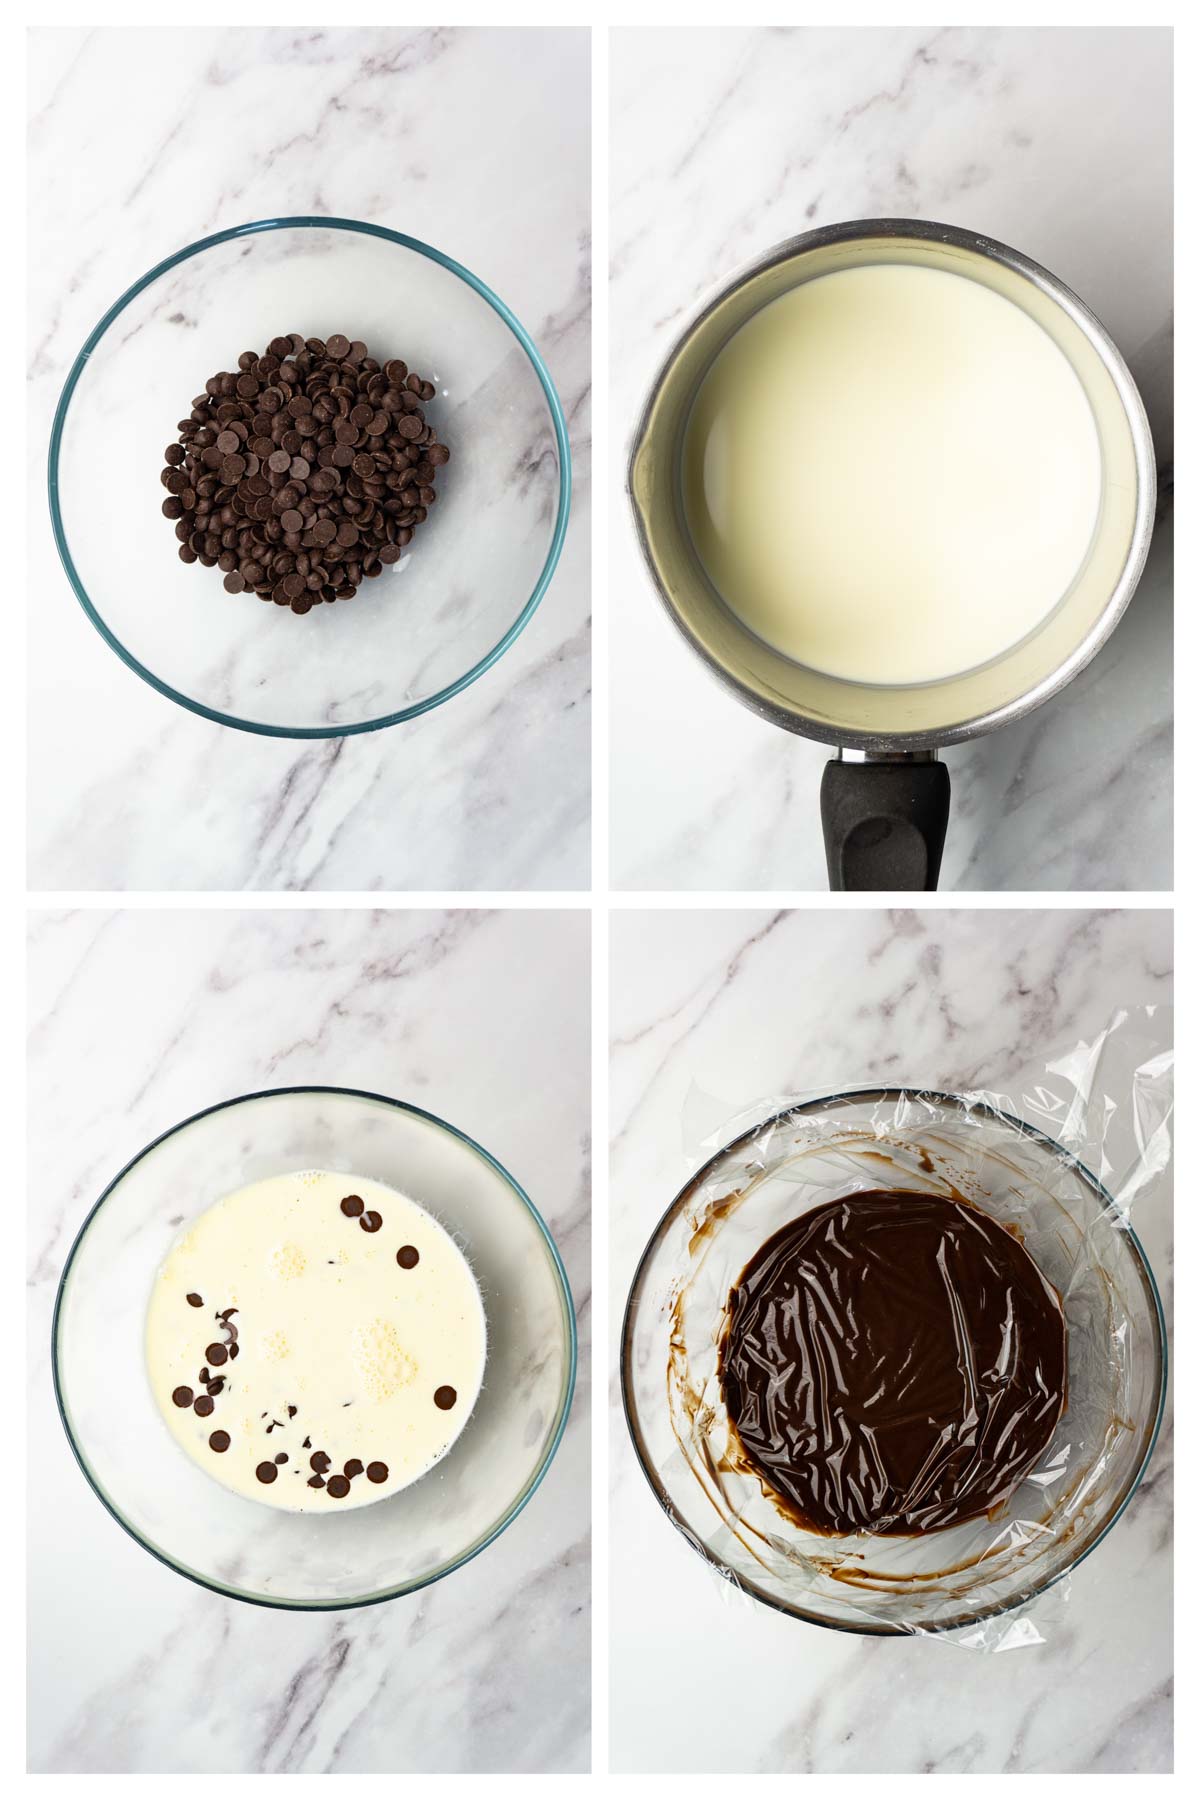
When time is up, start mixing using a rubber spatula. Keep mixing, scraping the sides of the bowl occasionally until it's smooth with homogenous consistency. Use it right away as a chocolate sauce or cover it with plastic wrap. Make sure it touches the ganache; there should be no air pockets between the ganache and the wrap.
Let it sit at room temperature to stabilize and thicken. It can take up to 2 hours before it becomes a peanut butter consistency. At this stage, use it to frost a chilled cake or as a filling. If it becomes too thick, you can reheat it in the microwave for only 5 seconds at a time and mix it to see if you get the desired texture.
Or, you can whip stabilized ganache using a hand mixer just until it becomes glossy, fluffy, and paler in color. Stop right away and use it for piping.
How to make a whipped ganache
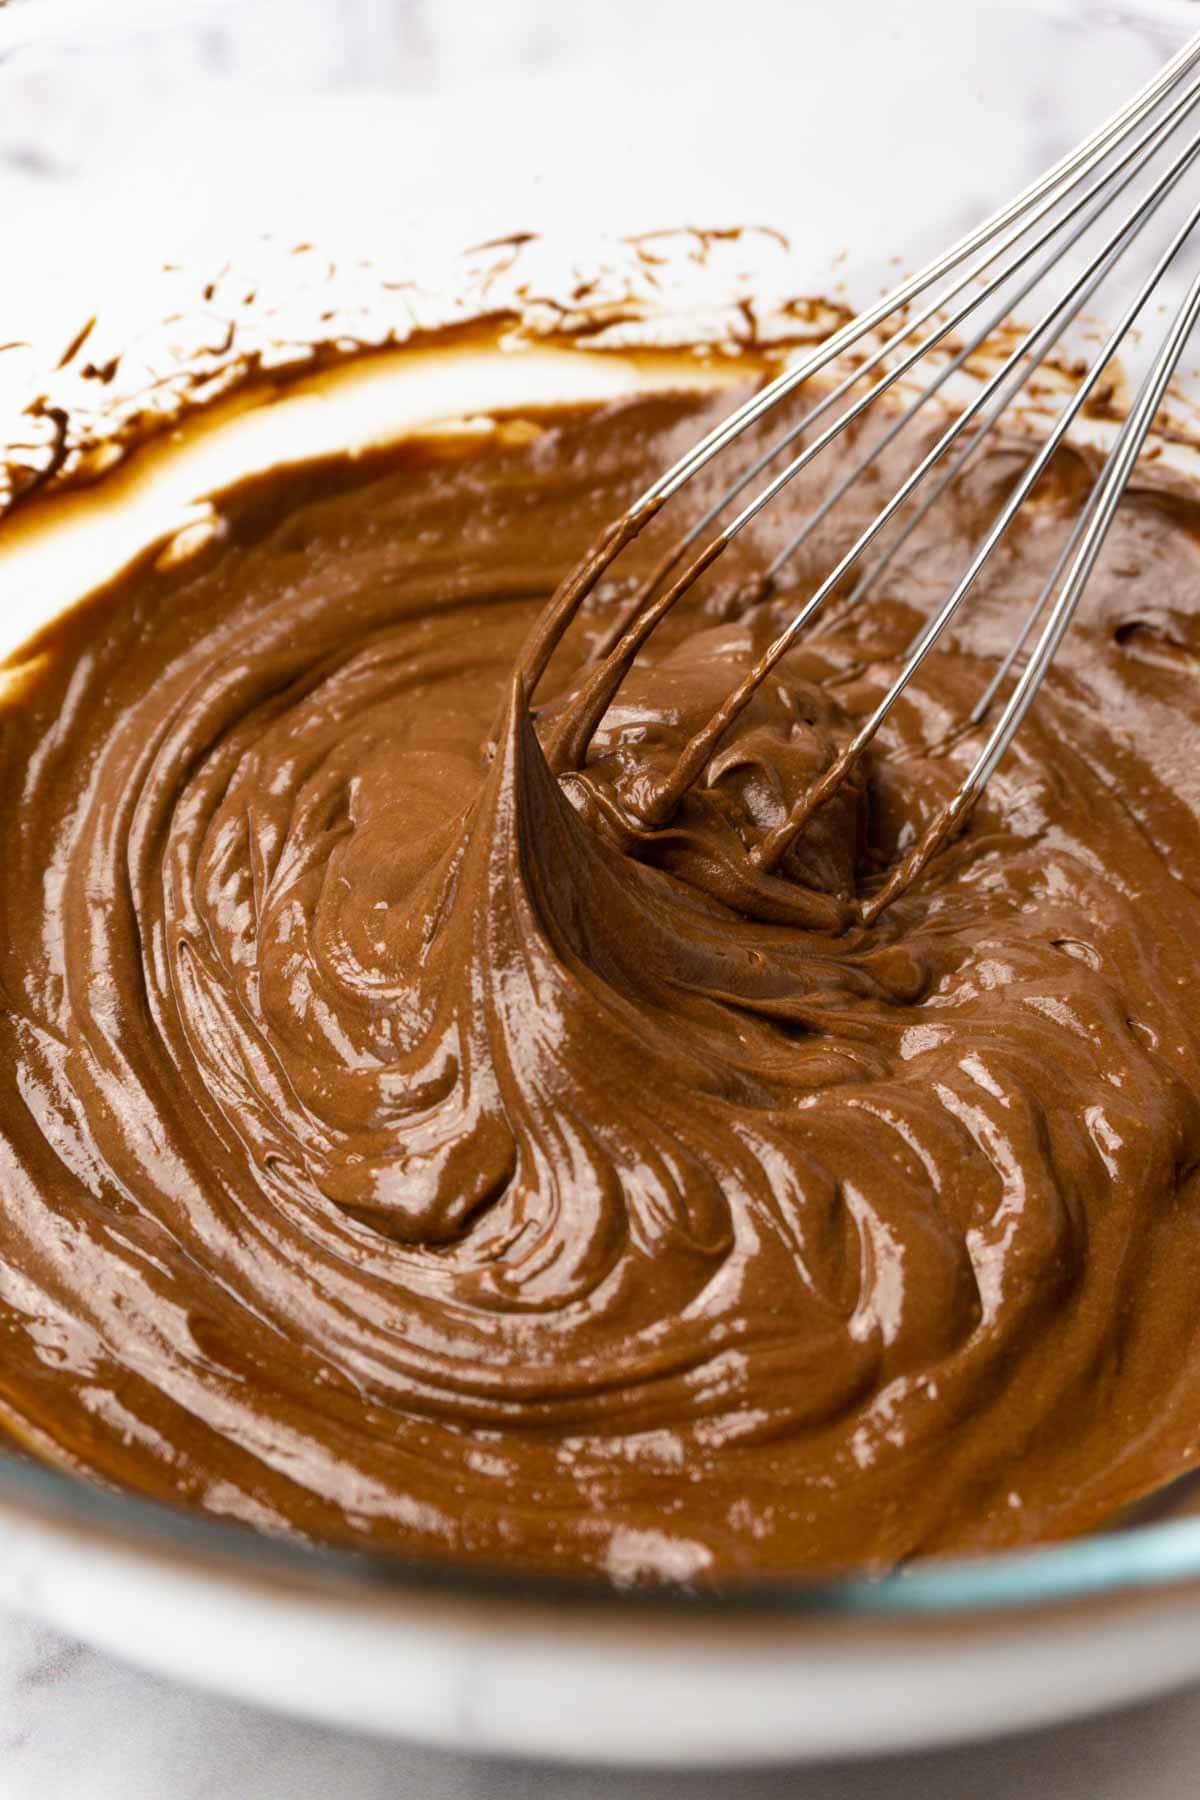
After you prepare your ganache mixture, cover it with plastic wrap and let it cool down and stabilize it at room temperature. The mixture will thicken a lot but will stay very pliable. When the peanut butter consistency is reached, you can whip it to make it denser and fluffy. The whipping will add more volume to the ganache and make it ready for piping cupcake decorations, or use as cake filling or frosting.
Remove the plastic wrap and start whipping it on low using a hand mixer. Then, change the speed to medium and whip until it’s fluffy, increased in volume, and lighter in color. The whipped ganache should keep its shape on a spatula (buttercream consistency). It’s very important to not overbeat it or it can split.
It's easy to overwhip it, so my advice is: when you see that your ganache’s texture has started changing, stop every 5 seconds and check if it’s done. It should reach stiff peaks consistency. Now, you can use it to decorate your cupcakes like these Easy chocolate cupcakes (in this recipe I used the 2:1 heavy cream to chocolate ratio to make cupcake frosting, but you can use a 1:1 chocolate to heavy cream ratio as described here).
Troubleshooting
There are three reasons chocolate ganache may split and appear grainy.
Stirring at an unstable temperature. The temperature when you stir your ganache shouldn’t be less than 30C/86F. The ideal temperature for emulsion is around 34C/93F. So if your ganache split because of too low a temperature, you should reheat the mixture to 34C/93F in a microwave or over a double boiler and stir to emulsify. If this doesn’t help, you can try to add a little bit (around 2 teaspoons at a time) of warm whole milk and stir again.
The formula of your ganache has too much fat. If you know that your temperature levels were on point, you can skip the reheating process (because your mixture should already be at the appropriate level) and add some warm milk, like described in the previous paragraph.
Stirring too much/too powerfully. Don’t hurry when you try to emulsify your ganache. Use small circular motions, making them wider when you see that the mixture looks like a ganache. Don’t forget to scrape the side of the bowl sometimes!
Two more things that can go wrong….
Chocolate seized (looks like grainy mud). To avoid this, make sure that the chocolate doesn’t come into contact with water. Not even a drop! Before you start, make sure that all tools you use – your bowl, and your spatula – are clean and dry. If the worst has happened, try to fix it by adding one or two teaspoons of warm whole milk and mix with a rubber spatula.
Ganache separated during the beating process. You can try to reheat your over-whipped ganache over a double boiler and stabilize it again until reaches a thick peanut butter consistency. Then, try to whip gain!
How to flavor ganache
There are two ways to add flavors to your chocolate ganache: 1) by adding liquid flavorings and/or liquors 2) and by infusing your heavy cream with spices, herbs, coffee, and so on. Both are easy methods and require no special skills.
To add liquors and other water-based flavorings, you need to either subtract an amount of heavy cream equal to the amount of flavoring you’re going to add or add 50 percent as much unsalted butter as liquid flavoring to balance out the fat-to-liquids ratio. So let’s say you want to add 1oz of dark rum to your ganache. This means that you have to remove 1oz of cream from your recipe and make your ganache mixture.
While still warm, add the rum and mix. That’s it! Now you can bring the mixture to room temperature, stabilize it, and whip it if desired before using. Alternatively, you just make your ganache, add 0.5oz of soft butter mix until combined, and then add your 1oz of rum. Mix, stabilize, and use!
To infuse the cream with different flavors (let’s take cinnamon, for example), you need to add a cinnamon stick to the cold heavy cream and heat it just until it starts simmering. Remove from the heat and cover the saucepan with plastic wrap. Let it sit like this for 20-30 minutes. Then, remove the wrap, remove the cinnamon sticks, and warm up the cream again until ready to be poured on top of the chocolate you use.
FAQ
Stored in an air-tight container, it will last for up to 5 days.
Yes, it can be! Freeze it for up to 3 months. Thaw in the fridge overnight the day before using it. If it splits, warm the mixture to 34C (93F) to emulsify again.
More chocolate recipes
Easy homemade chocolate truffles
Recipe card
Chocolate ganache
Equipment
- Digital kitchen scale
- Rubber spatula
- Saucepan
Ingredients
- 250 g dark chocolate I use Callebaut #811 with 54.5% cocoa
- 250 g heavy cream at least 34% fat, at room temperature
Instructions
- Place the chocolate into a glass or a stainless still bowl and set aside.
- Heat the heavy cream in a heavy bottomed saucepan over medium heat until starts simmering, but do not let it simmer. Remove from the heat right away, and pour over the chocolate. Let it sit like this for 3-5 minutes.
- When time is up, start mixing using a rubber spatula to emulsify. Keep mixing, scraping the sides of the bowl occasionally until smooth and homogenous consistency is reached. Use it right away as a chocolate sauce or cover with plastic wrap to stabilize. Make sure it touches the ganache; there should be no air left between the ganache and the wrap.
- Let it sit at room temperature to stabilize and thicken. It can take for up to 2 hours before it become a peanut butter consistency. At this stage, use it to frost a chilled cake or as a filling. If it becomes too thick, you can reheat it in the microwave for about 3 seconds at a time and mix to see if you get the desired texture.
- Or, you can whip stabilized ganache using a hand mixer just until it becomes glossy, fluffy and paler in color. Stop right away and use for piping.

Mo
Thank you for the recipe. I made whipped ganache to frost my cupcakes.
Anna
Thank you for your comment!