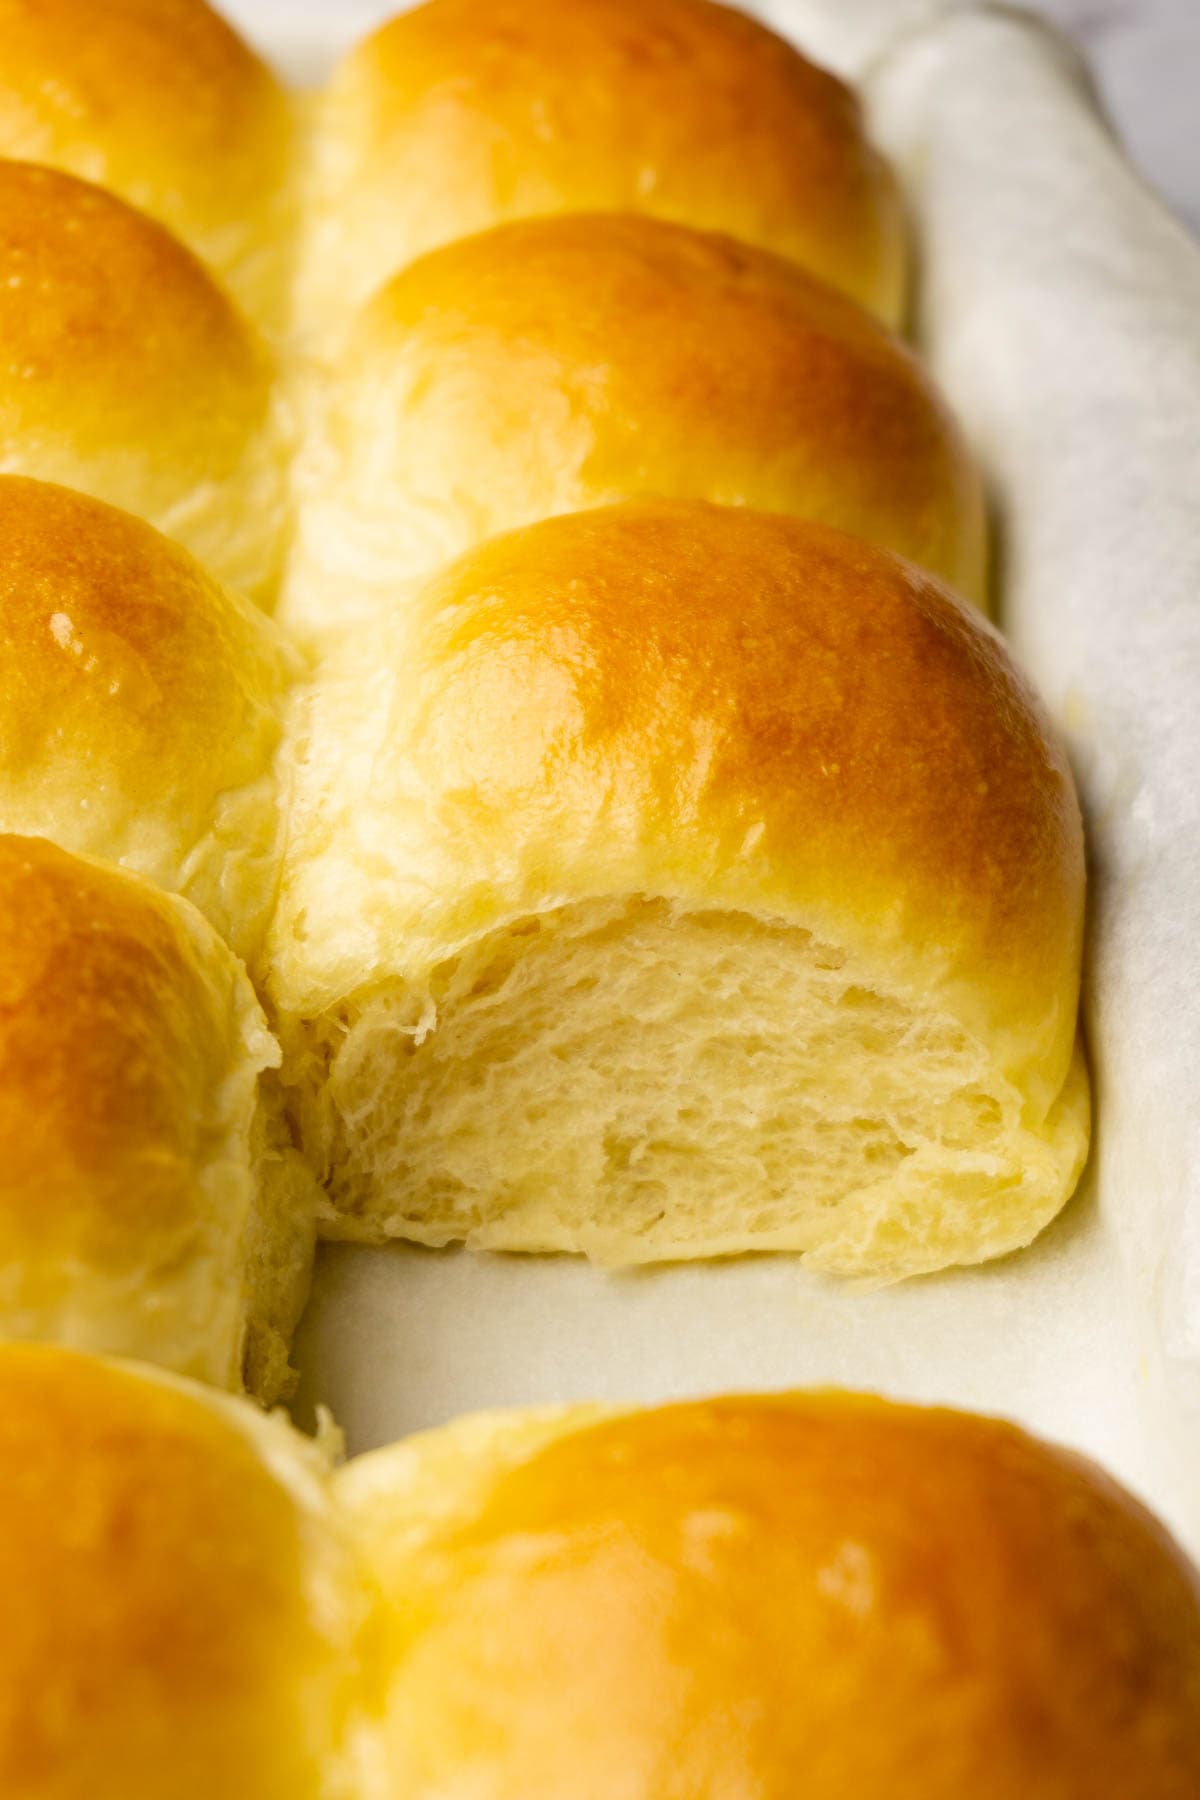
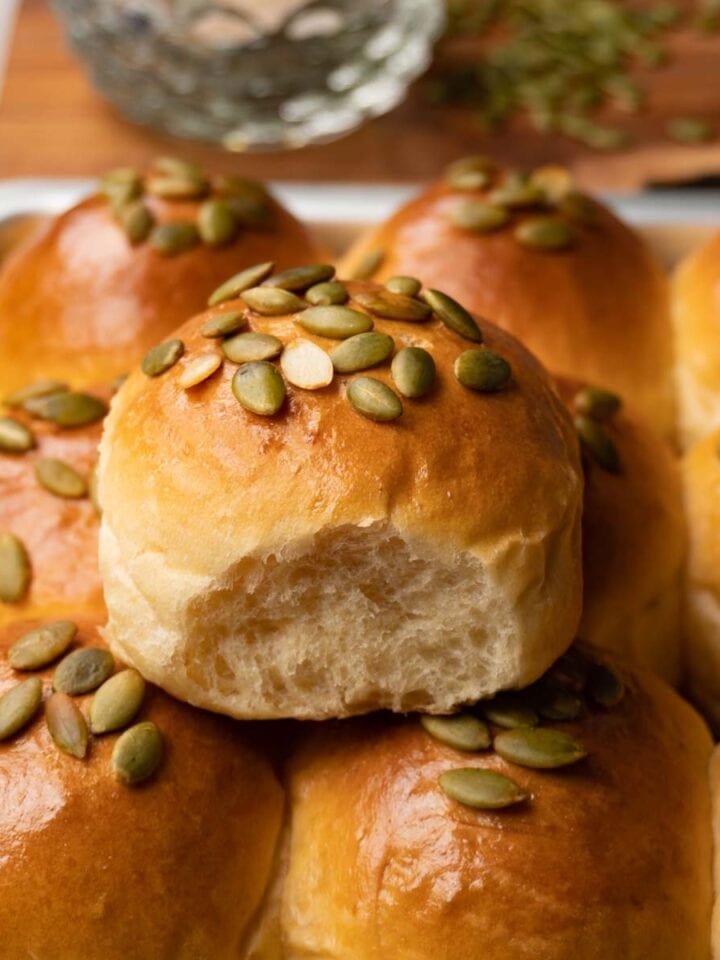
Flavorful and fluffy, these homemade dinner rolls are a great addition to your main dish. Despite the name, these rolls are great for breakfast or lunch and will easily become your go-to bread recipe. They are easy to make and fast to bake!
Jump to:
Ingredients and substitutions
Flour - Use bread flour instead of all-purpose flour.
Yeast - I use instant dry yeast, but active dry yeast will work as well, as does fresh yeast. Read our 'Types of Yeast and How to Use Them in Baking' article to learn how to replace one yeast with another.
Water and whole milk - We use water for the pre-fermented dough and milk for the main dough. Both liquids should be lukewarm for the yeast to be active.
Salt and sugar - You should add salt and sugar to the main dough. If you add salt to your pre-fermented dough, it can kill the yeast. The amount of sugar can be adjusted to your taste but I tried to make this bread good enough for any meal. Bread that’s too sweet won't fit the dinner dish.
Butter - Use unsalted softened butter for the dough and melted butter for brushing freshly-baked homemade rolls.
Cooking tips
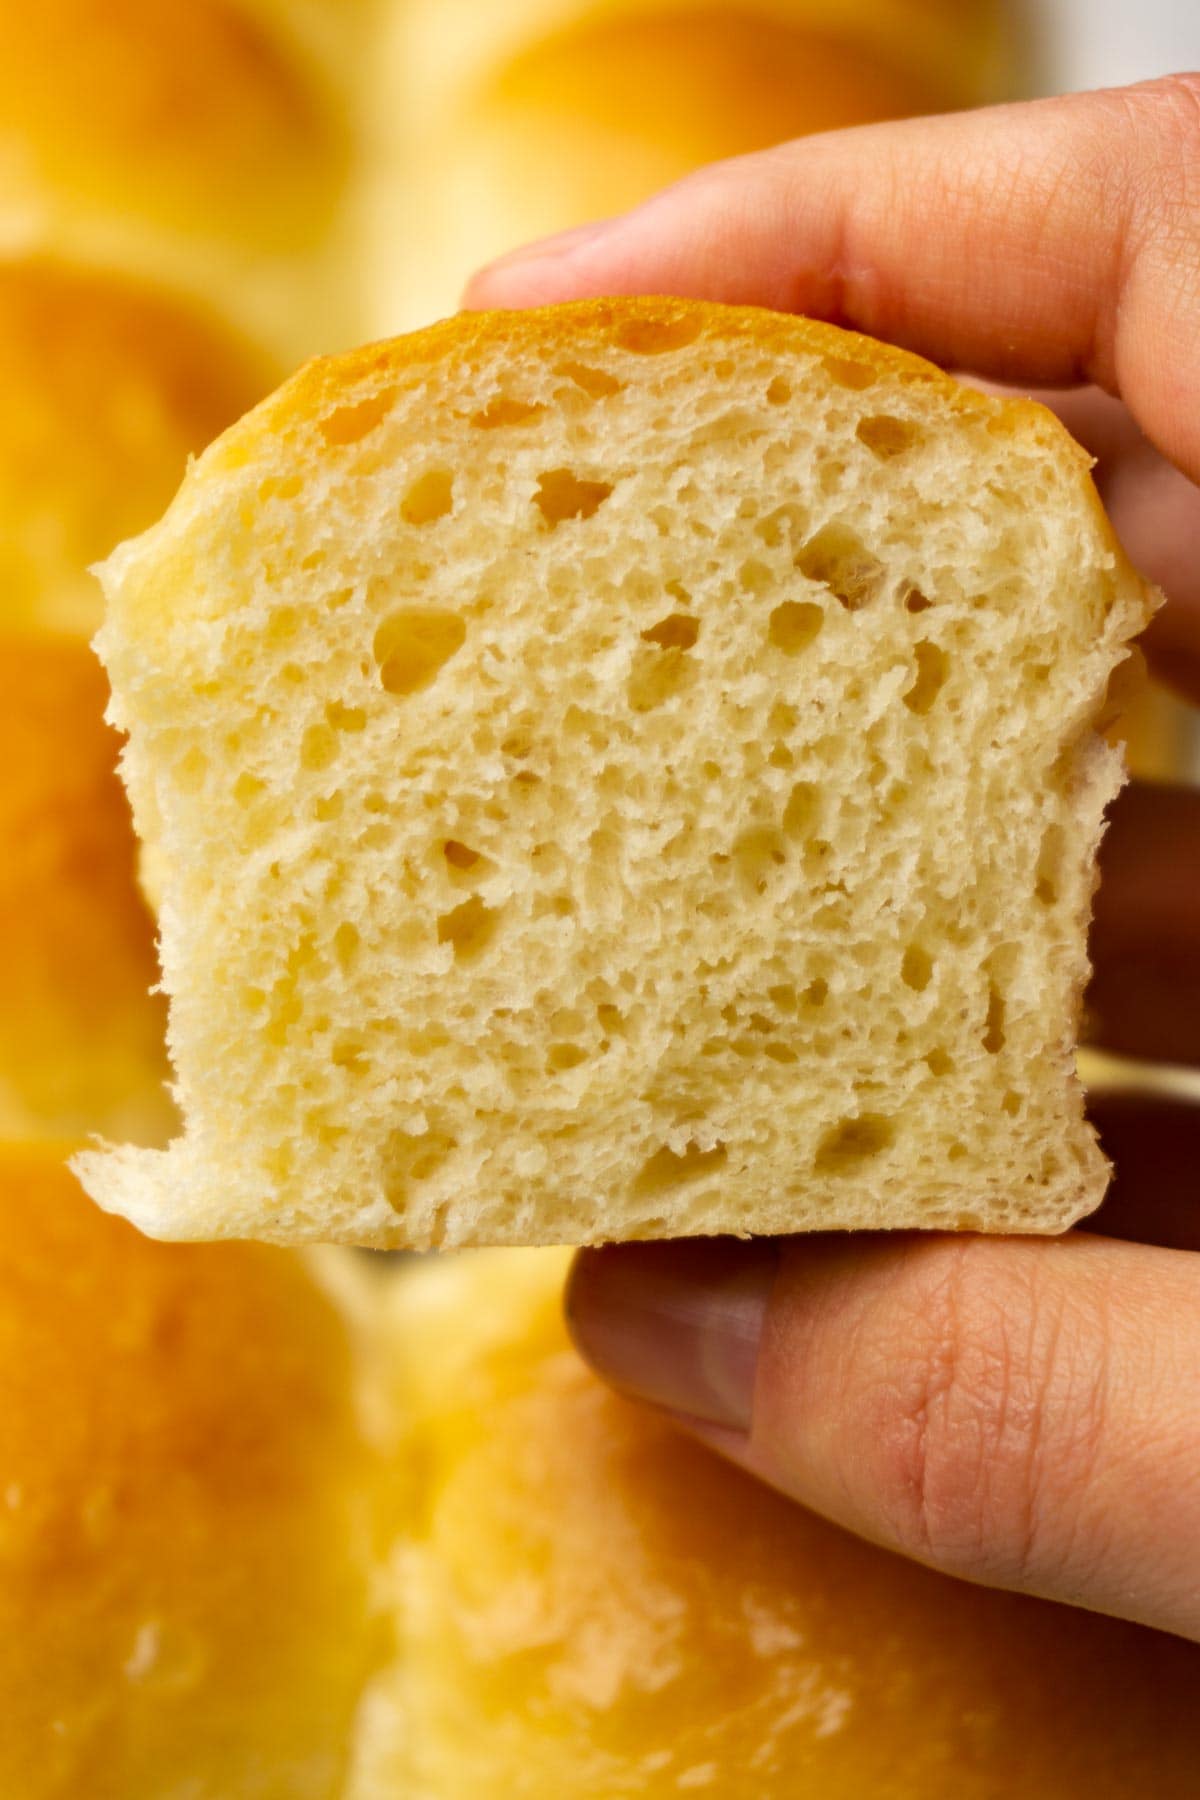
Measure all the ingredients using a digital kitchen scale. Flour hydration percentage is important to achieve the right texture. Unfortunately, you can’t be sure how much flour you use when measuring with cups. Even if you fluff up your flour, place it in the cup using a spoon, and level it with a knife, the weight can be very wrong and you'll never get the same results as I do when I make this dinner roll recipe.
Add the butter gradually and scrape the bottom of your mixer. If you add all the butter at once, some of it will incorporate into the dough but some of it will melt from friction and sink to the bottom. I add no more than one tablespoon at a time and stop the mixer after a few pieces, scrape the bottom, and remove the dough from the hook.
Don't add too much flour when you shape the buns. You need to dust the surface just a little bit so the main dough doesn't stick to the work surface too much while you split it into 15 even pieces. When you shape dinner rolls, grease your hands with a little bit of olive oil so the dough won’t stick at all. This way, you'll avoid adding too much additional flour and your buns will turn out soft and fluffy.
Check if the buns are done. When your buns are baking, they are not that soft. They become soft on top after you brush them with butter but in the oven, the top will be hard if you tap on it with the tips of your fingers. This is a good thing because now you don't need to use a thermometer to check your rolls. When the time is up and the buns are golden brown on top, take the baking sheet out and tap on the rolls. If you hear a hollow sound, they are done.

Why do you need to make a pre-fermented dough?
Pre-fermentation is in charge of flavor. The more time you give your dough to ferment, the more flavorful your bread will be. I like to give my dough one extra hour so the yeast can do its thing and release alcohol and CO2, which gives the dough an acidic (yeasty) smell.
Most dinner rolls recipes, however, use a straight dough mixing method – you can do it with this recipe too if you want to save some time. Just add the flour from the pre-fermented ingredient list to the main flour and use extra milk instead of water. The amount of yeast should stay the same. In total, you should have 400g flour, 260 ml whole milk, and 7g instant yeast (the rest of the ingredients stay the same). Mix all the ingredients except the butter and knead until the dough has formed. Then, add the butter and continue according to the recipe steps below.
Looking for more soft bread recipes? Check out this Japanese milk bread, braided Challah bread, or no-knead Cranberry Walnut bread.
How to make soft dinner rolls
- In the bowl of a stand mixer, combine all pre-fermented dough ingredients. Place in a warm place for 1 hour to ferment.
- When it has doubled in volume, is bubbly, and has an acidic smell, add the bread flour, milk, salt, sugar, and egg. Place it in a stand mixer fitted with a dough hook attachment. Knead on medium for 5 minutes or until the dough looks more homogenous and pulls easily from the sides of the bowl but still sticks to your hands.
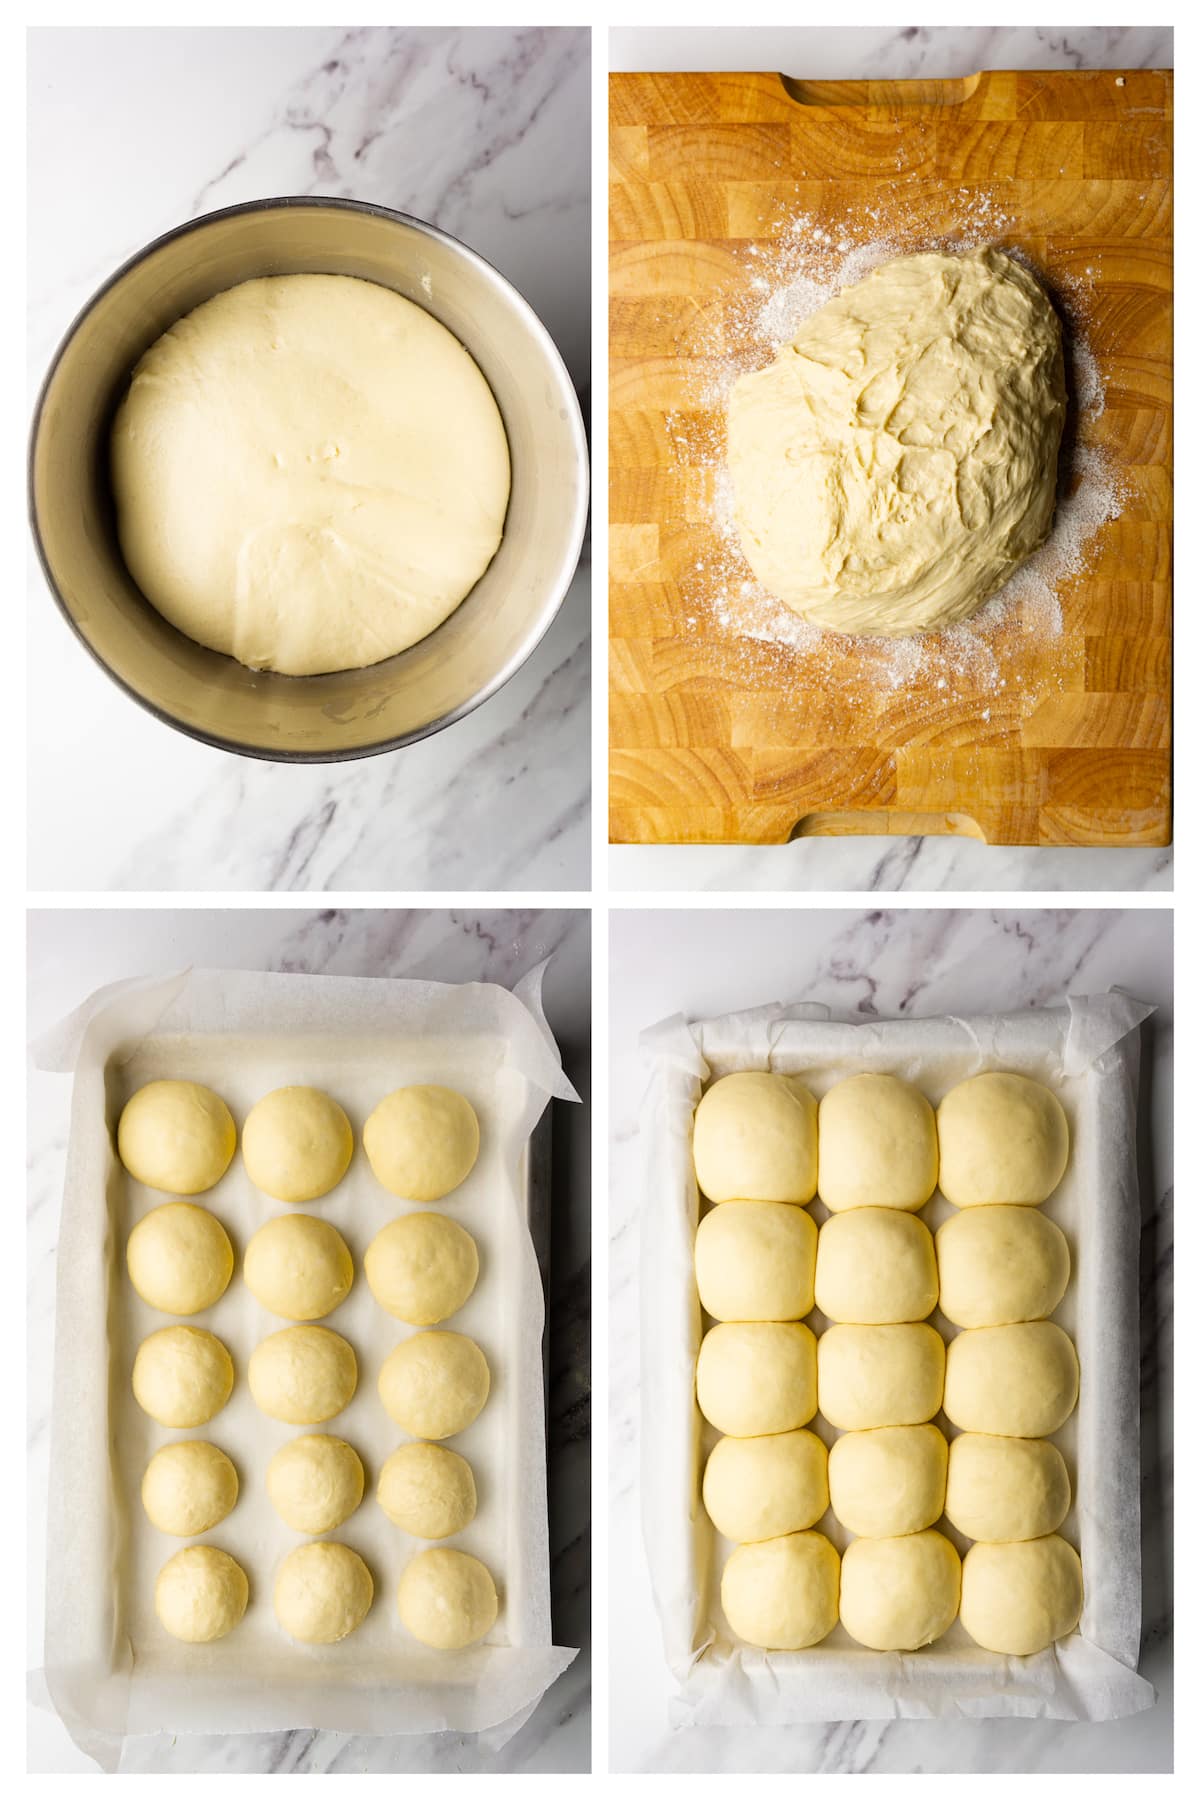
- Add the butter in 4 parts and knead each part until it’s completely incorporated. When done, knead the dough for 7-10 minutes on medium until it pulls away from the sides of the bowl and you can stretch a small piece of it into a square, creating a film thin enough for light to pass through (windowpane test). The dough should be very soft, smooth, and just a little bit sticky.
- Cover the bowl with plastic wrap and leave it at room temperature to proof for 1 to 2 hours, depending on how warm it is in your kitchen until it doubles in volume.
- Line a 9” by 14” (23cm by 35cm) baking pan with parchment paper. You can also grease it with butter or oil spray instead.

Shaping and baking
- Punch the dough down and remove it onto a lightly floured surface. Divide into 15 even pieces. Shape each piece into a tight ball and place it in the prepared baking pan. If the dough sticks too much, you can grease your hands with a little bit of olive oil.
- Cover the pan filled with dough balls with plastic wrap and leave at room temperature to proof for 1 hour or until doubled in volume and jiggly.
- Meanwhile, preheat the oven to 375F (190C).
- Bake on the middle rack for 13-15 minutes or until the internal temperature is 190F (88C). The top should be a deep brown color and the bread should sound like it’s hollow inside when you tap on it.
- Remove from the oven, brush with some melted butter, and enjoy!
Possible variations
Different sizes and shapes - You can make whatever shape and size you want out of the dough. Just make sure that you adjust the baking time if you make much bigger or much smaller pieces of bread rolls.
Cheese - What can be better than buttery dinner rolls? Rolls with melted cheese inside! Cut the cheese of your choice into 15 small cubes. Hide them in the middle of each dough ball during the shaping stage. The easiest way is to stretch each piece of dough into a small round disc, place the cheese in the middle, and bring all sides of the dough together. Then, pinch to secure and roll on a working surface to tighten the roll. Place on the baking sheet or pan and proof before baking.
Toppings - Before the last proofing, sprinkle sesame seeds, flaky sea salt, or any other topping of your choice on top of your yeast rolls. Proof and then bake as instructed in the recipe card.
Garlic or/and herbs - Add more flavor by infusing the butter for brushing with herbs and garlic. Take the butter that you want to use to brush your homemade yeast rolls and melt it in a small saucepan with a whole clove of garlic and herbs of your choice. Wait until the butter bubbles and remove it from the heat. Let it cool down for 10 minutes. After that, you can remove the additives and use the butter for brushing.

FAQ
Store them wrapped in plastic wrap at room temperature for up to 5 days.
You can freeze them for up to 2 months. Thaw in the fridge overnight and reheat for 10 seconds in the microwave to soften before serving.
You can use a hand mixer with hook attachments or knead the dough by hand.
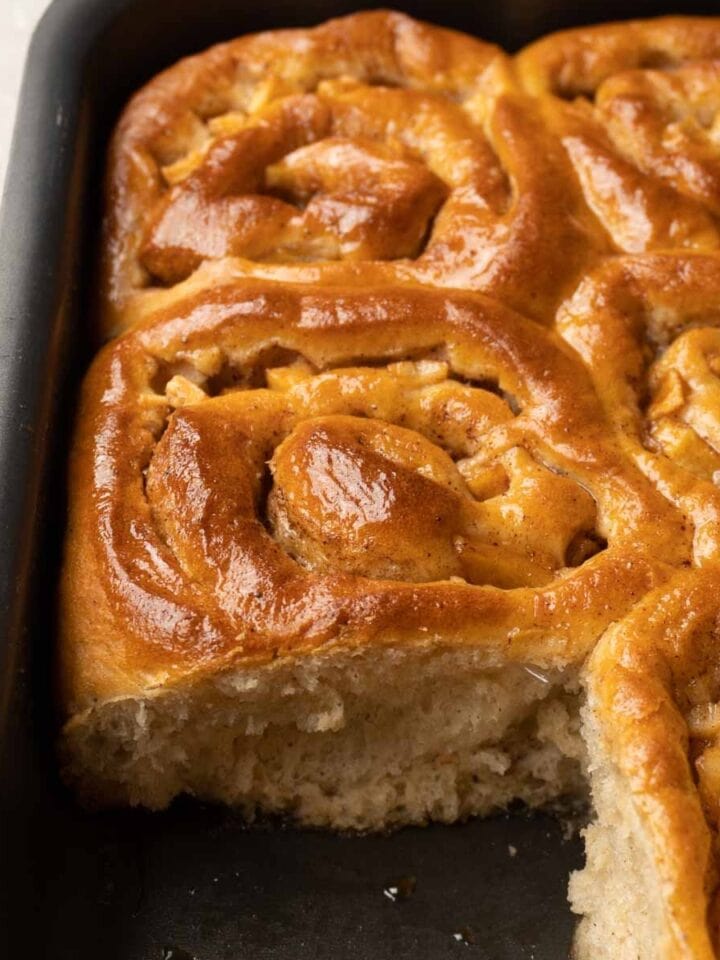
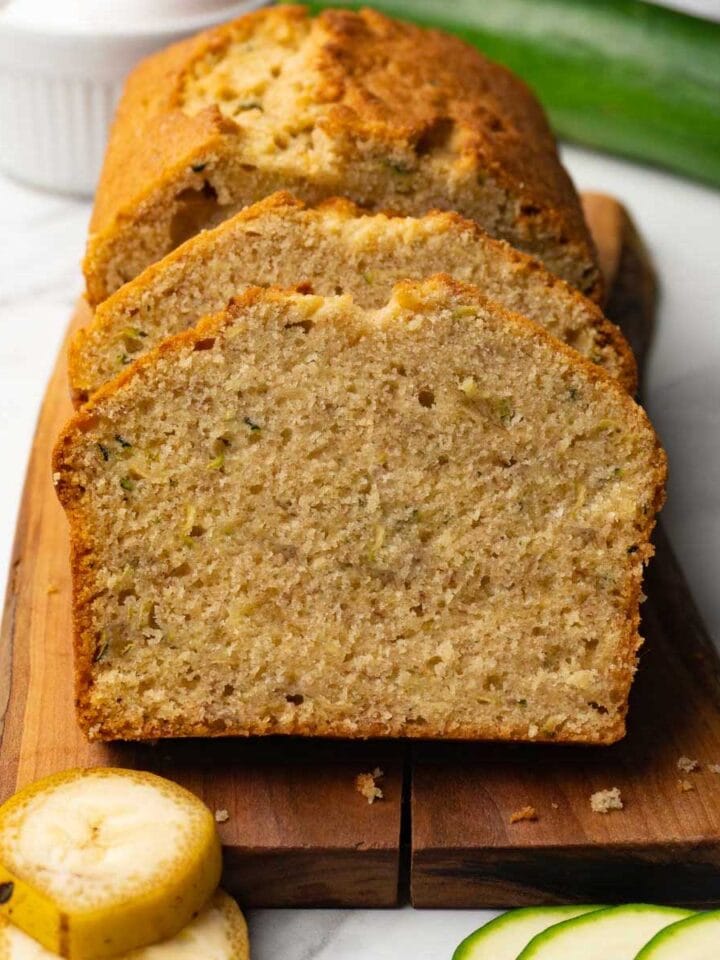
More related recipes
Recipe card

Dinner rolls
Equipment
- Digital kitchen scale
- Stand mixer or hand mixer with a hook attachment and a large mixing bowl
- 9” by 14” (23cm by 35cm) baking pan
Ingredients
Pre-fermented dough
- 100 g bread flour
- 100 ml lukewarm water
- 7 g instant yeast
The main dough
- All pre-fermented dough
- 300 g bread flour
- 160 ml whole milk at room temperature
- 1 ½ teaspoon salt
- 25 g white granulated sugar
- 1 large egg at room temperature
- 60 g unsalted butter softened
Instructions
- In the bowl of a stand mixer, combine all pre-fermented dough ingredients. Place in a warm place for 1 hour (I use the oven with the lights turned on).
- When it has doubled in volume, is bubbly, and has an acidic smell, add the bread flour, milk, salt, sugar, and egg. Place it in a stand mixer fitted with a hook attachment. Knead on medium for 5 minutes or until the dough looks more homogenous and pulls easily from the sides of the bowl but still sticks to your hands.
- Add the butter in 4 parts and knead each part until it’s completely incorporated (the dough can look like it’s disintegrating but will come back together eventually). When done, knead the dough for 7-10 minutes on medium until it pulls away from the sides of the bowl and you can stretch a small piece of it into a square, creating a film thin enough for light to pass through (windowpane test). The dough should be very soft, smooth, and just a little bit sticky.
- Cover the bowl with plastic wrap and leave it at room temperature to proof for 1 to 2 hours, depending on how warm it is in your kitchen, until it doubles in volume.
- Line a 9” by 14” (23cm by 35cm) baking pan with parchment paper. You can also grease it with butter or oil spray instead.
- Punch the dough down and remove it onto a lightly floured working surface. Divide into 15 even pieces (53g each or eyeball it). Shape each piece into a tight ball and place it in the prepared baking pan. If the dough sticks too much, you can grease your hands with a little bit of olive oil.
- Cover the pan filled with rolls with plastic wrap and leave at room temperature to proof for 1 hour or until doubled in volume and jiggly.
- Meanwhile, preheat the oven to 375F (190C).
- Bake on the middle rack for 13-15 minutes or until the internal temperature is 190F (88C). The top should be a deep brown color and the bread should sound like it’s hollow inside when you tap on it.
- Remove from the oven, brush with some melted butter, and enjoy!

Leave a comment