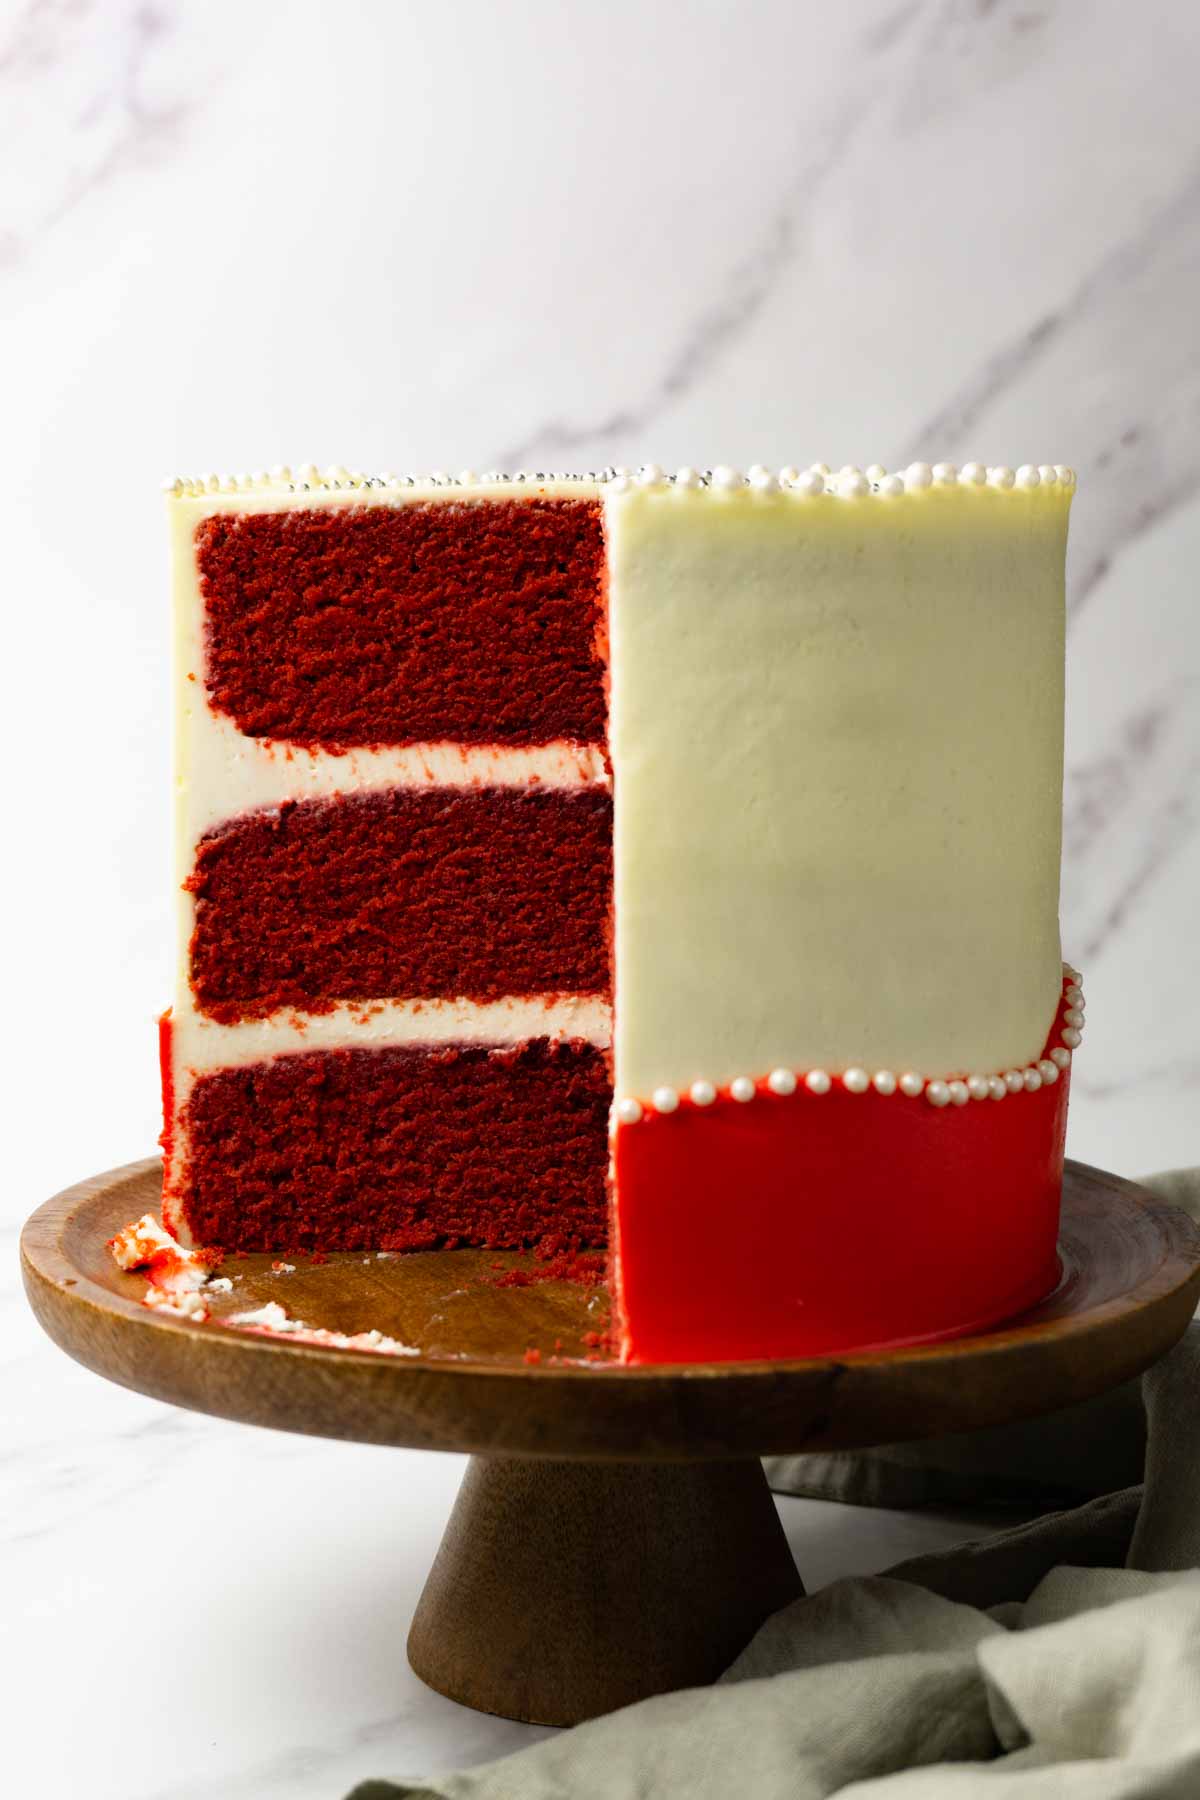
This is the most amazing, moist, melt-in-your-mouth texture red velvet cake recipe. This cake is absolutely delicious and made with cocoa powder, semi-sweet chocolate, vanilla extract, and two types of cream cheese frosting.
Jump to:
Ingredients and substitutions
Flour - Use all-purpose flour or cake flour for a more tender crumb.
Cocoa powder - Previously, red velvet cake was made with natural cocoa powder which reacted with acidic elements in the cake, such as baking soda and buttermilk, to create a red-ish tint in the cake layers. Now we rely on food coloring for the red color (red velvet cake made with natural cocoa powder wasn't that red anyway!), so it's better to replace the natural cocoa powder with unsweetened Dutch-processed cocoa powder.
Baking powder - Since we don't add buttermilk and don't use too much lemon juice, the baking powder will be enough to lift our cake batter during baking.
Salt and vanilla - We add vanilla to the cake batter as well as to both of our creams. As for the salt, never skip it!
Food coloring - You can use any water-soluble food coloring. The most common one is gel food coloring, but those in paste or powdered forms will work as well. Just make sure that your food coloring isn’t made to color chocolate or other fat-based products.
Milk and lemon juice - I haven't tried to make this specific recipe with buttermilk, but I like to add a couple of teaspoons of lemon juice to my whole milk to add more flavor and acidity.
Sugars - You can use white granulated sugar or castor sugar for the cake batter and powdered sugar for the filling and the final frosting.
Fats - Using unsalted butter (at room temperature) and vegetable oil brings moisture and flavor to the cake. Replacing a small part of the butter with some oil keeps your cake soft even when it's right out of the fridge.
Chocolate - I decided to add a little bit more chocolate flavor to the cake (yes, red velvet is a chocolate cake!) by adding melted semi-sweet chocolate.
Eggs - We will need three large eggs at room temperature.
Cream cheese - The type of cheese can be the same for both creams (I use original Philadelphia cream cheese), but the temperatures should be different. For the filling, our cheese should be cold since we whip it together with heavy cream. For the frosting, the cream cheese should be closer to room temperature (I usually take it out one hour before mixing it with the butter).
Heavy whipping cream - Your cream should be right out of the fridge to whip up well.
Butter - Use unsalted butter at room temperature. It's easier to whip the butter with powdered sugar when it's soft.
Why use two types of cream
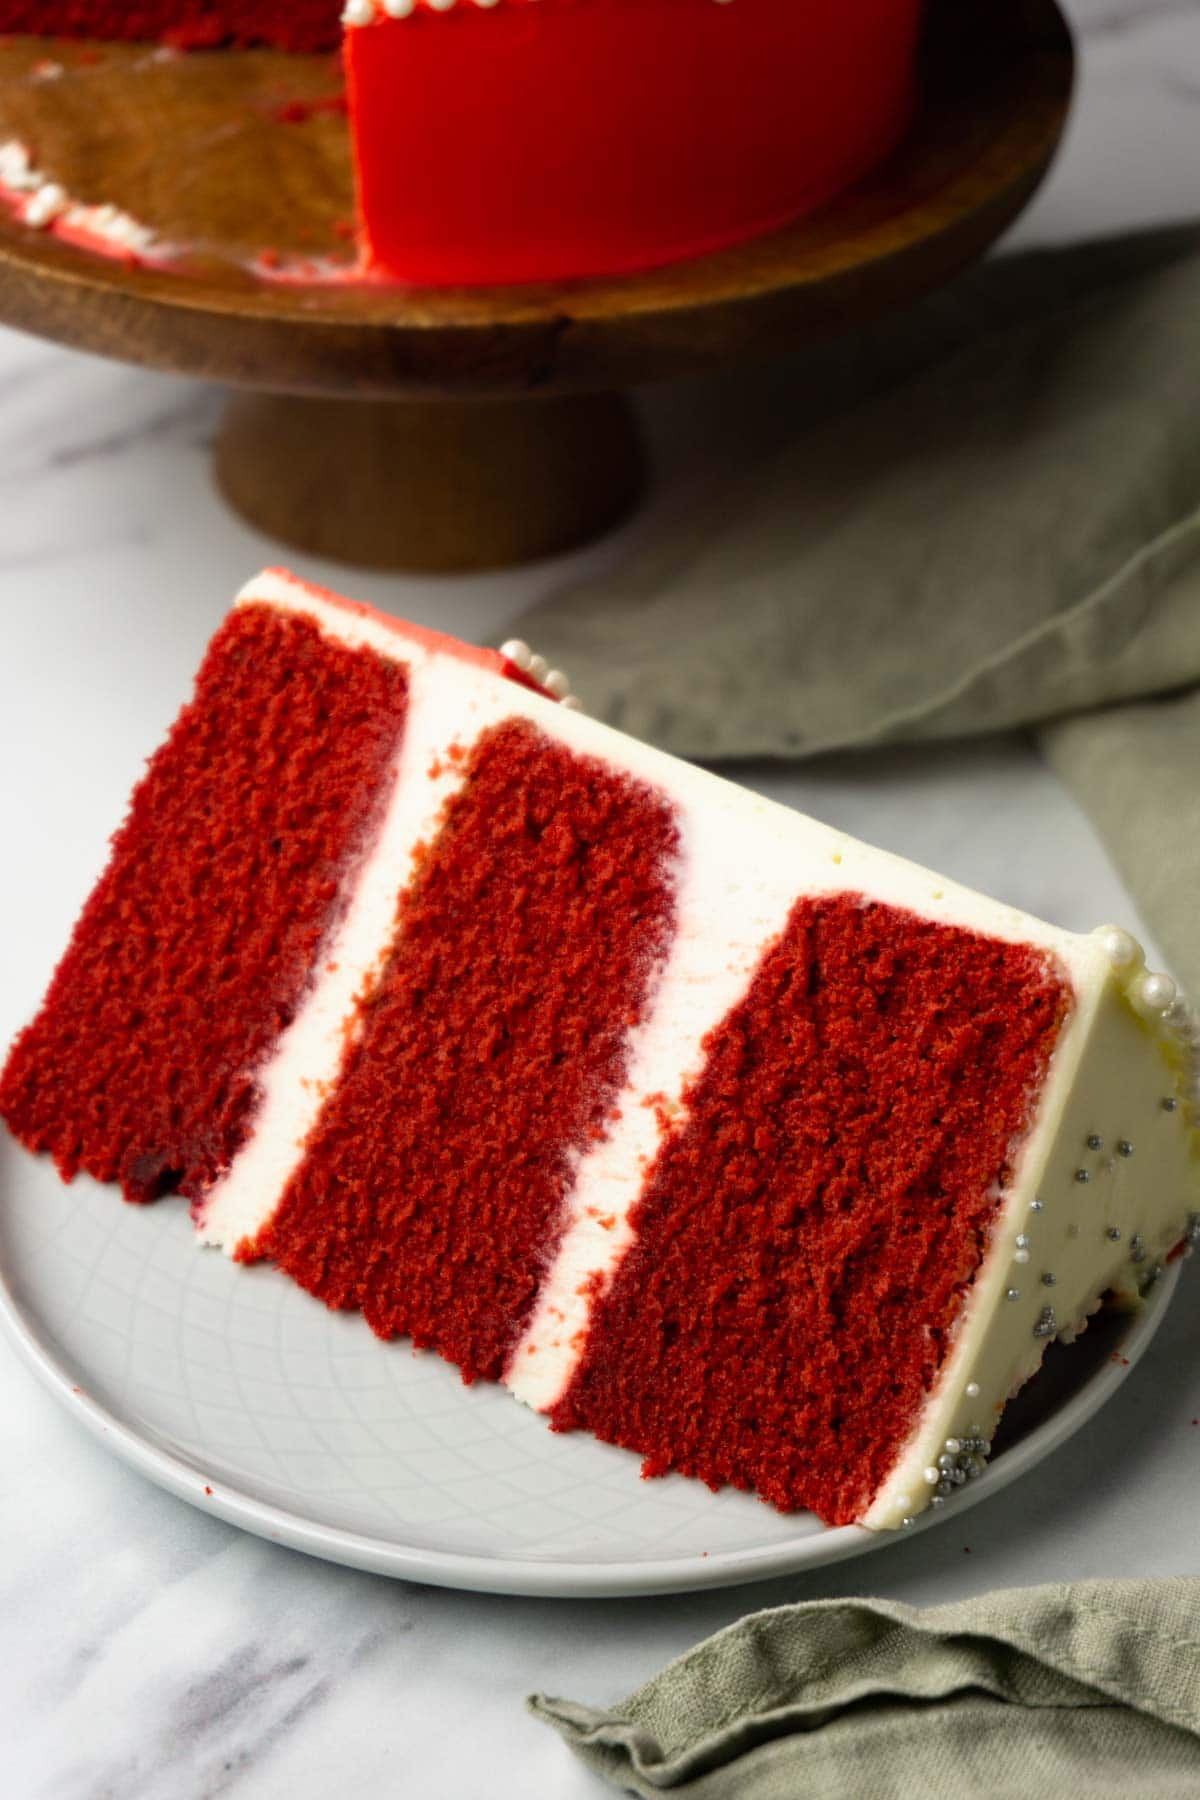
Cakes should be soft inside and able to withstand mild heat when presented to your guests. Therefore it's important to think about those two factors when choosing your filling and frosting.
Creams that include heavy cream and have a lower fat content are great to use for your cake fillings. These creams are easy to cut through, don't become rock solid in the fridge (as happens with many buttercreams), and share moisture with your cake layers because of their high water content. With the right filling, your cake will never be dry! However, those creams can be unstable when served in a warm room full of people or on a hot summer day. That's why I use this type of cream only inside my cake.
It's possible to use our cream cheese cream made with heavy cream as a filling as well as a frosting, but make sure that you don't keep it outside the fridge for longer than one hour and never place it in direct sunlight. It will start melting right away.
As for the cream cheese buttercream, it's perfect to apply to the outside of your cake. It's easy to work with and, if you pipe it using a piping nozzle, it holds its shape well. It's more resistant to heat but it doesn't become hard in the fridge. It has an amazing texture and you don't feel like you're eating a piece of sugary butter.
Cooking tips
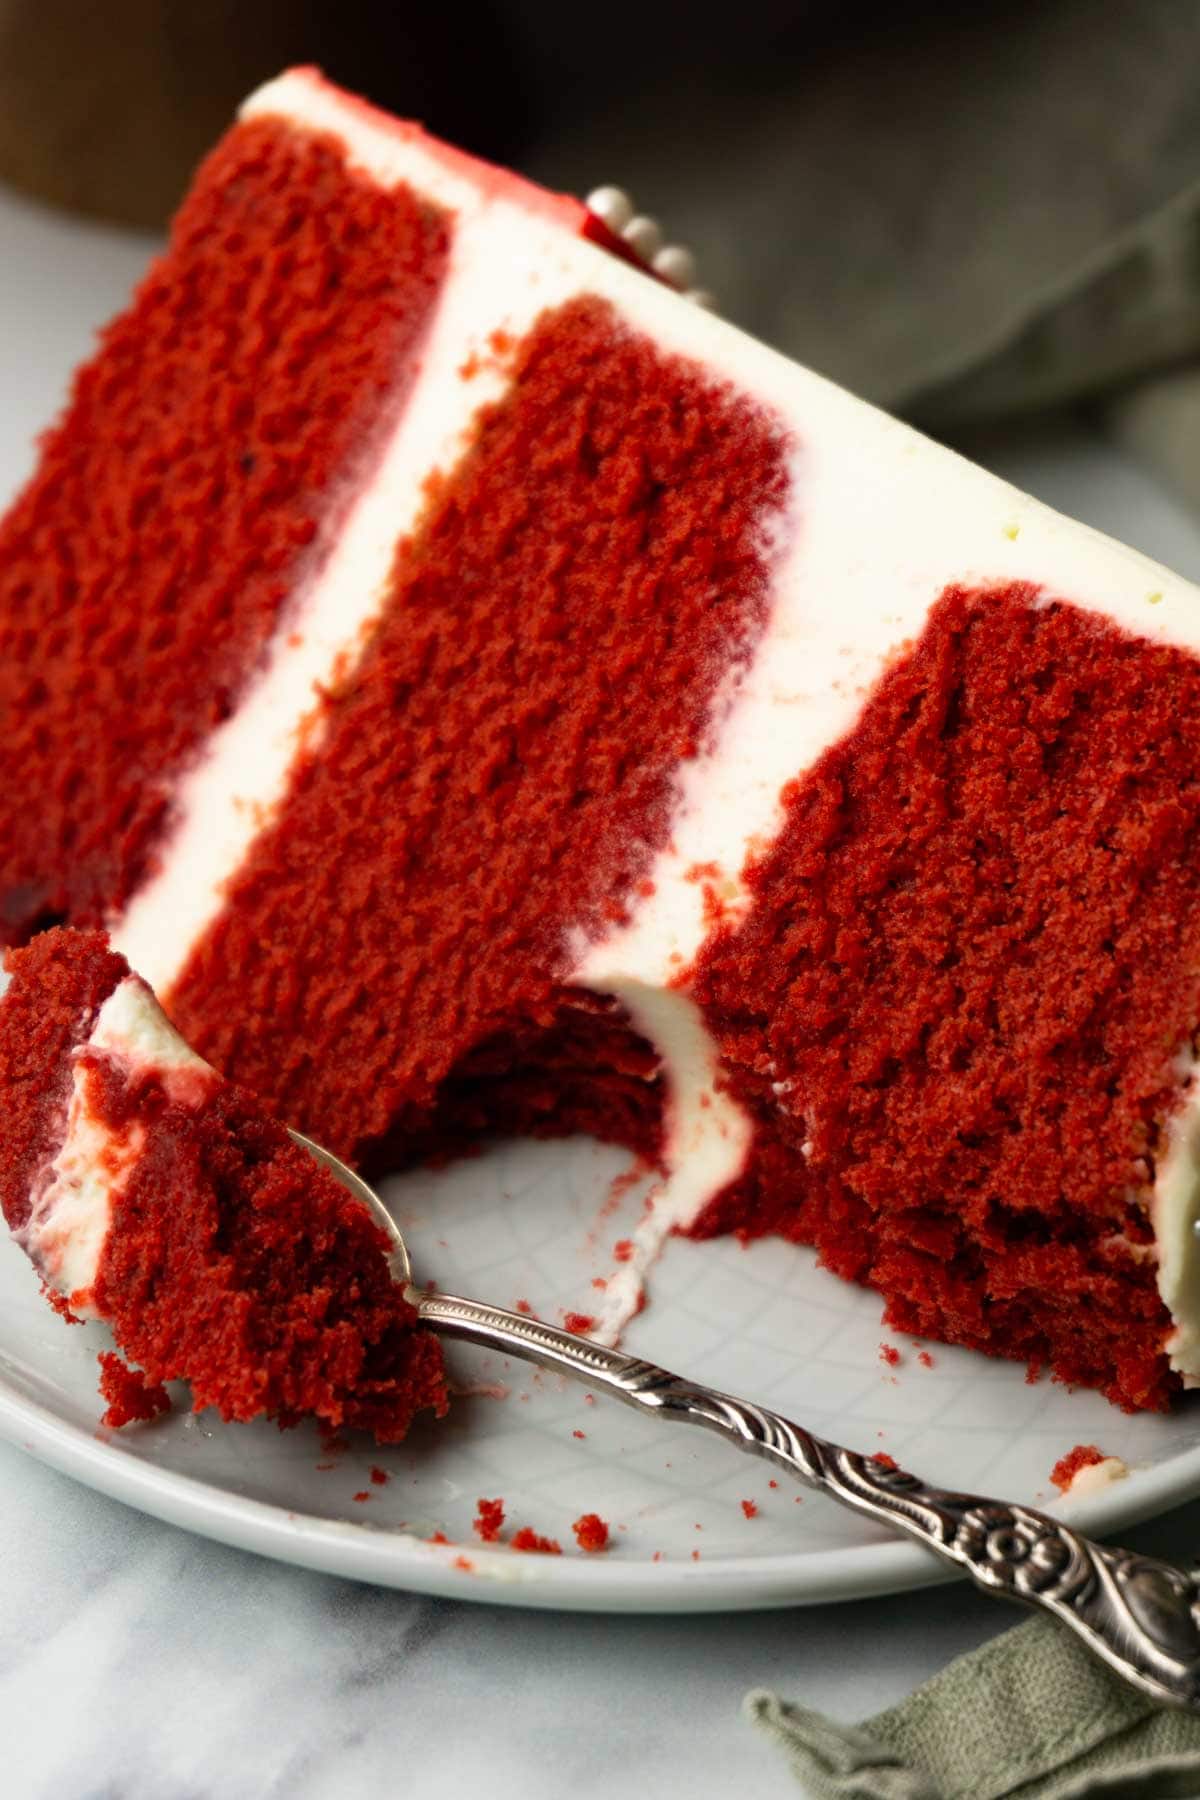
Don't over-mix the cake batter. This cake has velvet in its name for a reason. The texture is so velvety that it almost melts in your mouth. If you overmix the batter, though, the texture can become tougher – and we don't want that. Very briefly combine your dry ingredients together with the wet ones. Once you no longer see flour speckles in the batter, you can add the milk and then the dry the mixture again. The last mix should be brief as well. If you see that the batter has reached a homogenous consistency after you’ve added the last portion of the dry ingredients, stop mixing.
This cake batter can wait for its turn. If you don't have three 6" cake pans or your oven is too small for three pans, you can bake your cake in batches. When it's too hot in your kitchen, store the batter in a bowl covered with plastic wrap in the fridge. If your kitchen is 68-69F, your batter can wait on the counter for its turn.
Bake low and slow. If you don't want to have domed cake layers, bake them at 320F (160C) for around 30 minutes. I know it sounds like a very low temperature, but it's not. When you bake at higher temperatures, the sides of your cake set faster than the middle, so it keeps rising and forms the dome that you cut off after baking. Lowering the temperature gives your cake batter time to rise even more.
Step by step directions
For the cake
1. Preheat the oven to 160C (320F) and line the bottom and the sides of three 6" (15cm) round cake pans with parchment paper.
2. In a bowl, combine the flour, cocoa powder, baking powder, and salt. Set aside.
3. In a cup, add the milk and lemon juice, then stir. Then, add the food coloring and stir until it's fully dissolved and colored the milk.
4. In the bowl of a stand mixer fitted with a paddle attachment, add the granulated sugar, butter, and vanilla. Beat for 5 minutes on medium-high until the mixture becomes pale and fluffy.
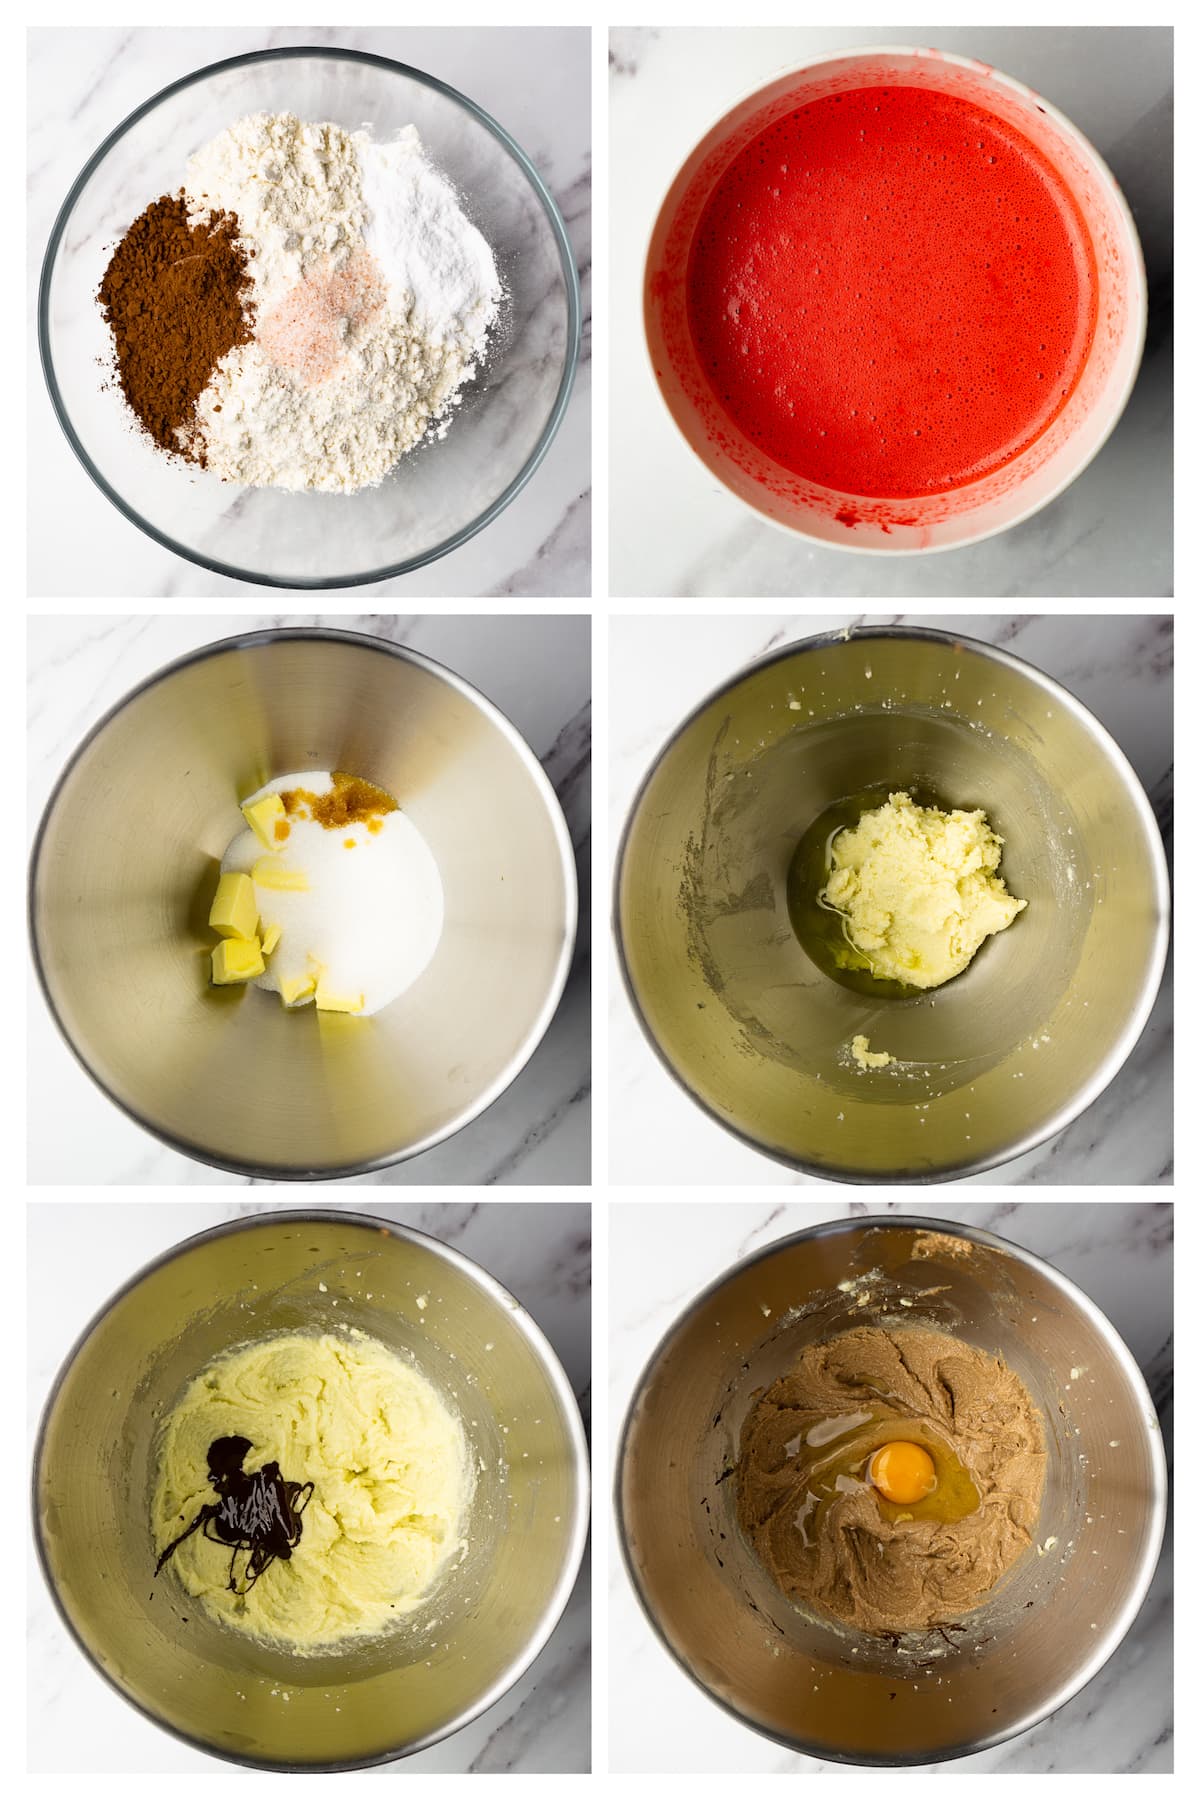
5. Then, add the oil and beat until fully incorporated. After, add the melted chocolate and beat again.
6. Add eggs one at a time and beat until the mixture looks homogenous and emulsified.
7. Add the dry ingredients in three parts – alternating with the milk mixture, starting and ending with the dry ingredients – while beating on low until a homogenous and silky consistency is reached. The pattern should look like this: dry/milk/dry/milk/dry.
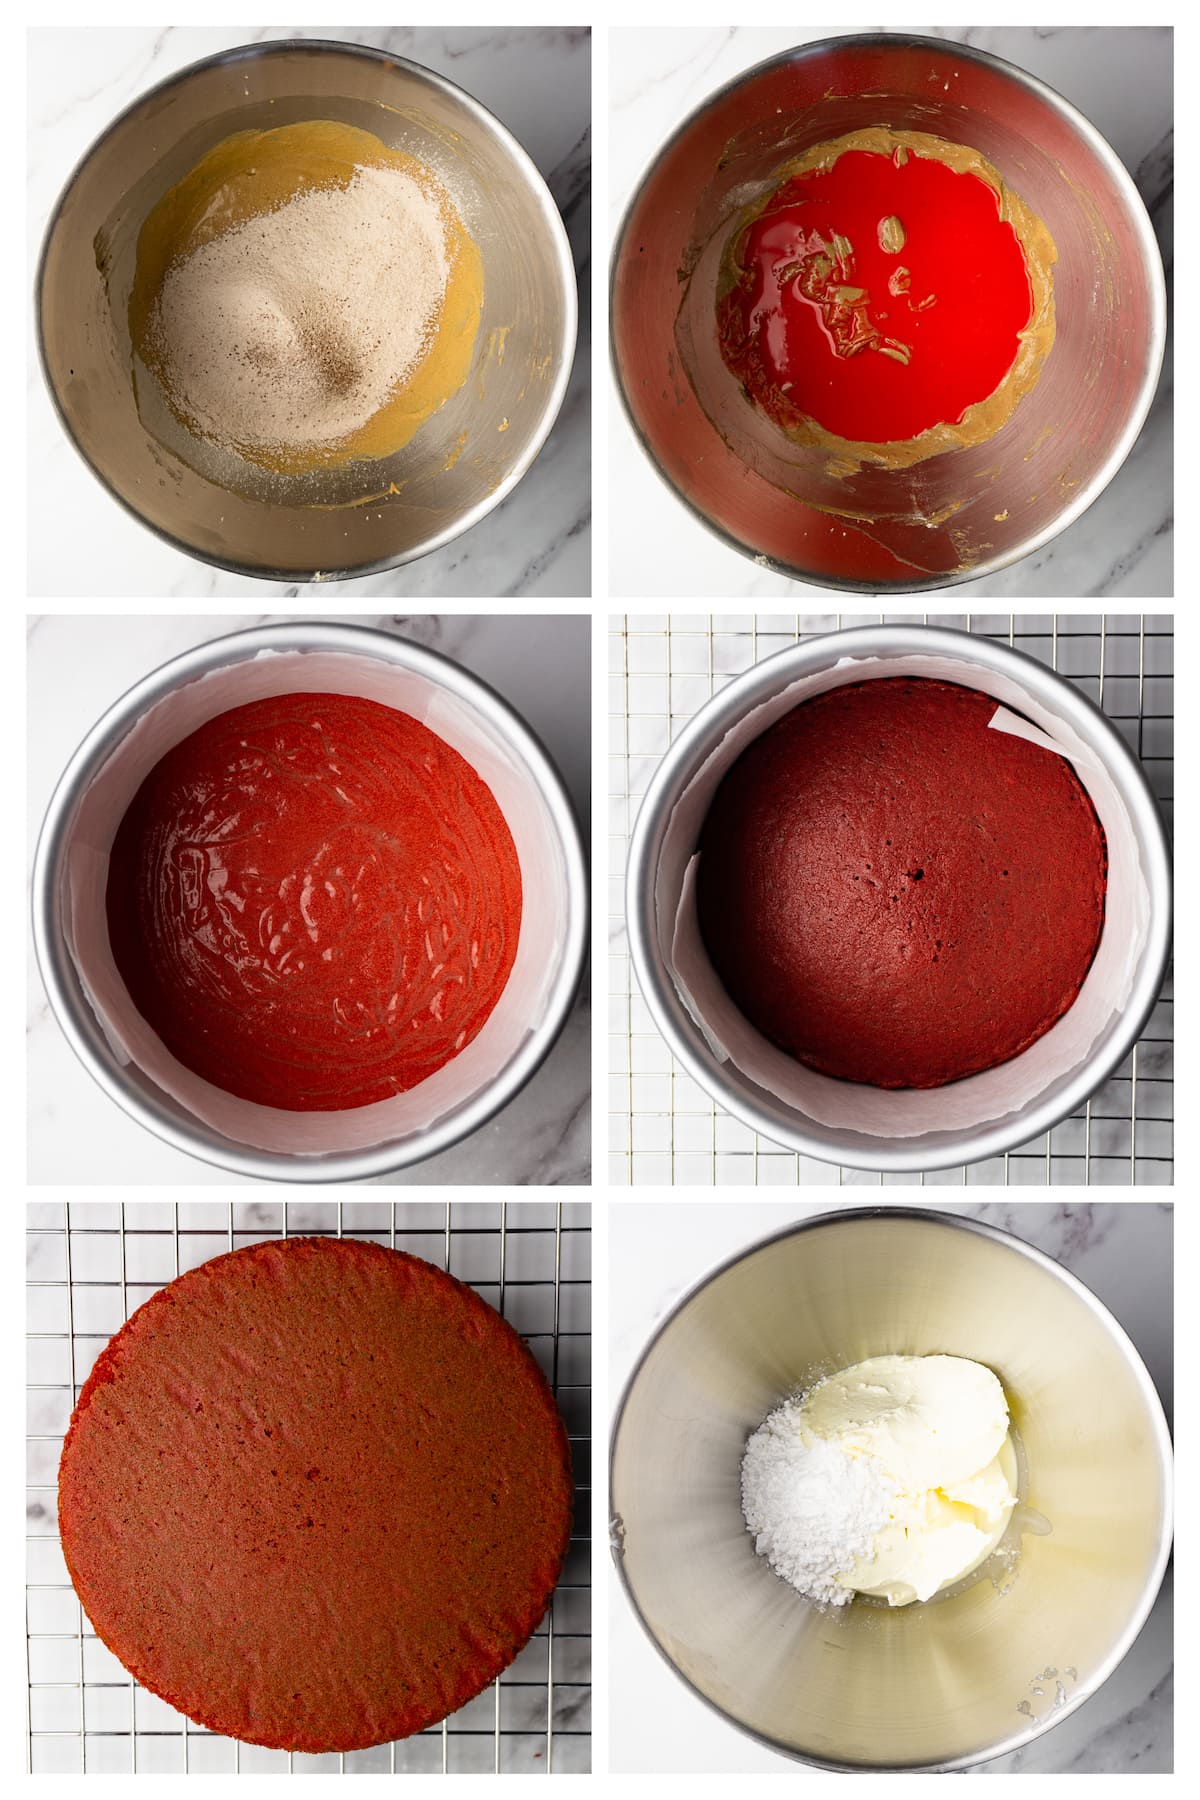
8. Divide the batter evenly between the pans and bake for 30 minutes or until a toothpick inserted in the center comes out clean.
9. Remove from the oven and let cool down in the pans until safe to handle. Then, place the cakes upside down onto a cooling rack to cool down completely.
For the filling
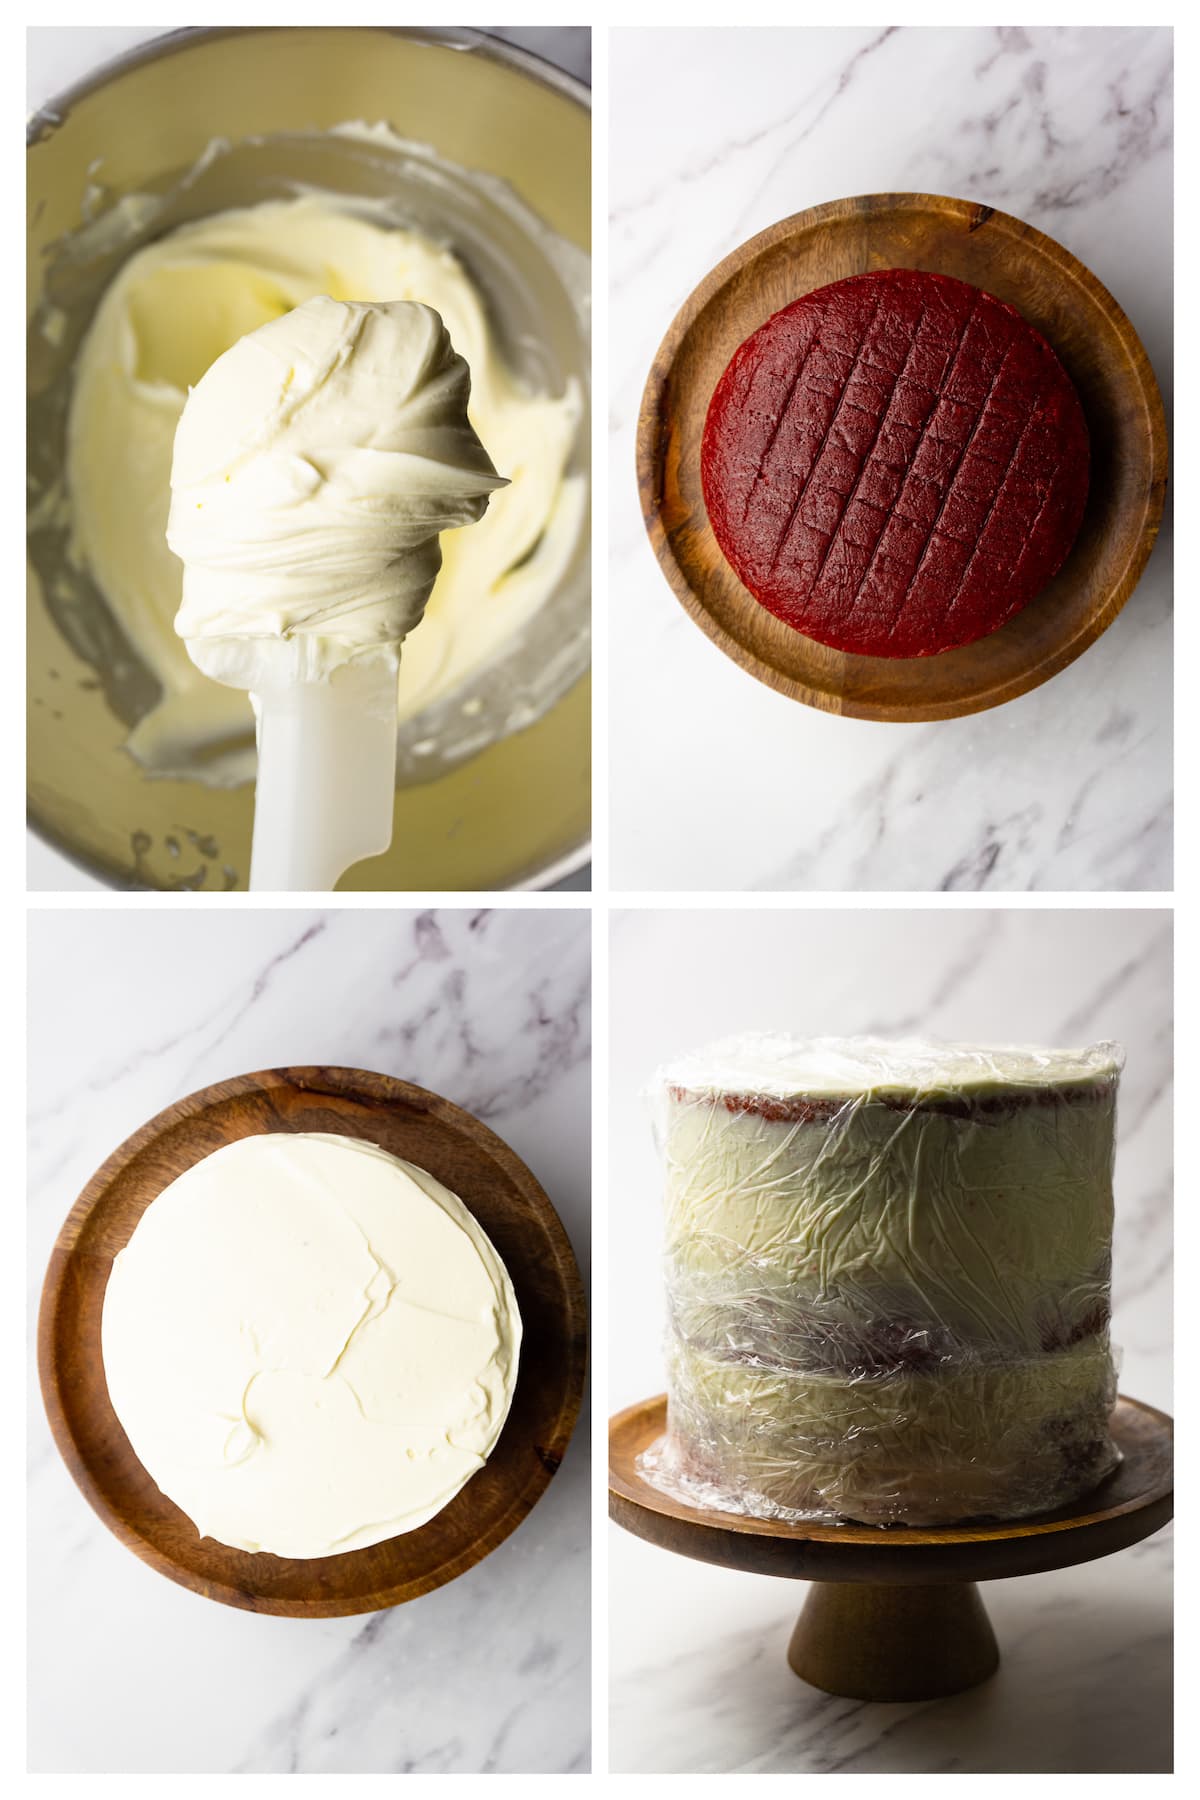
1. Place all the ingredients in a stand mixer fitted with a whisk attachment and mix on low until no dry powdered sugar is left. Then, beat on medium to a homogenous consistency. Scrape the sides of the bowl and mix on high until thick and fluffy.
2. Mix the frosting with a rubber spatula to remove air bubbles. Store the cream, covered with plastic wrap so it touches the cream, in the fridge until needed.
For the final frosting
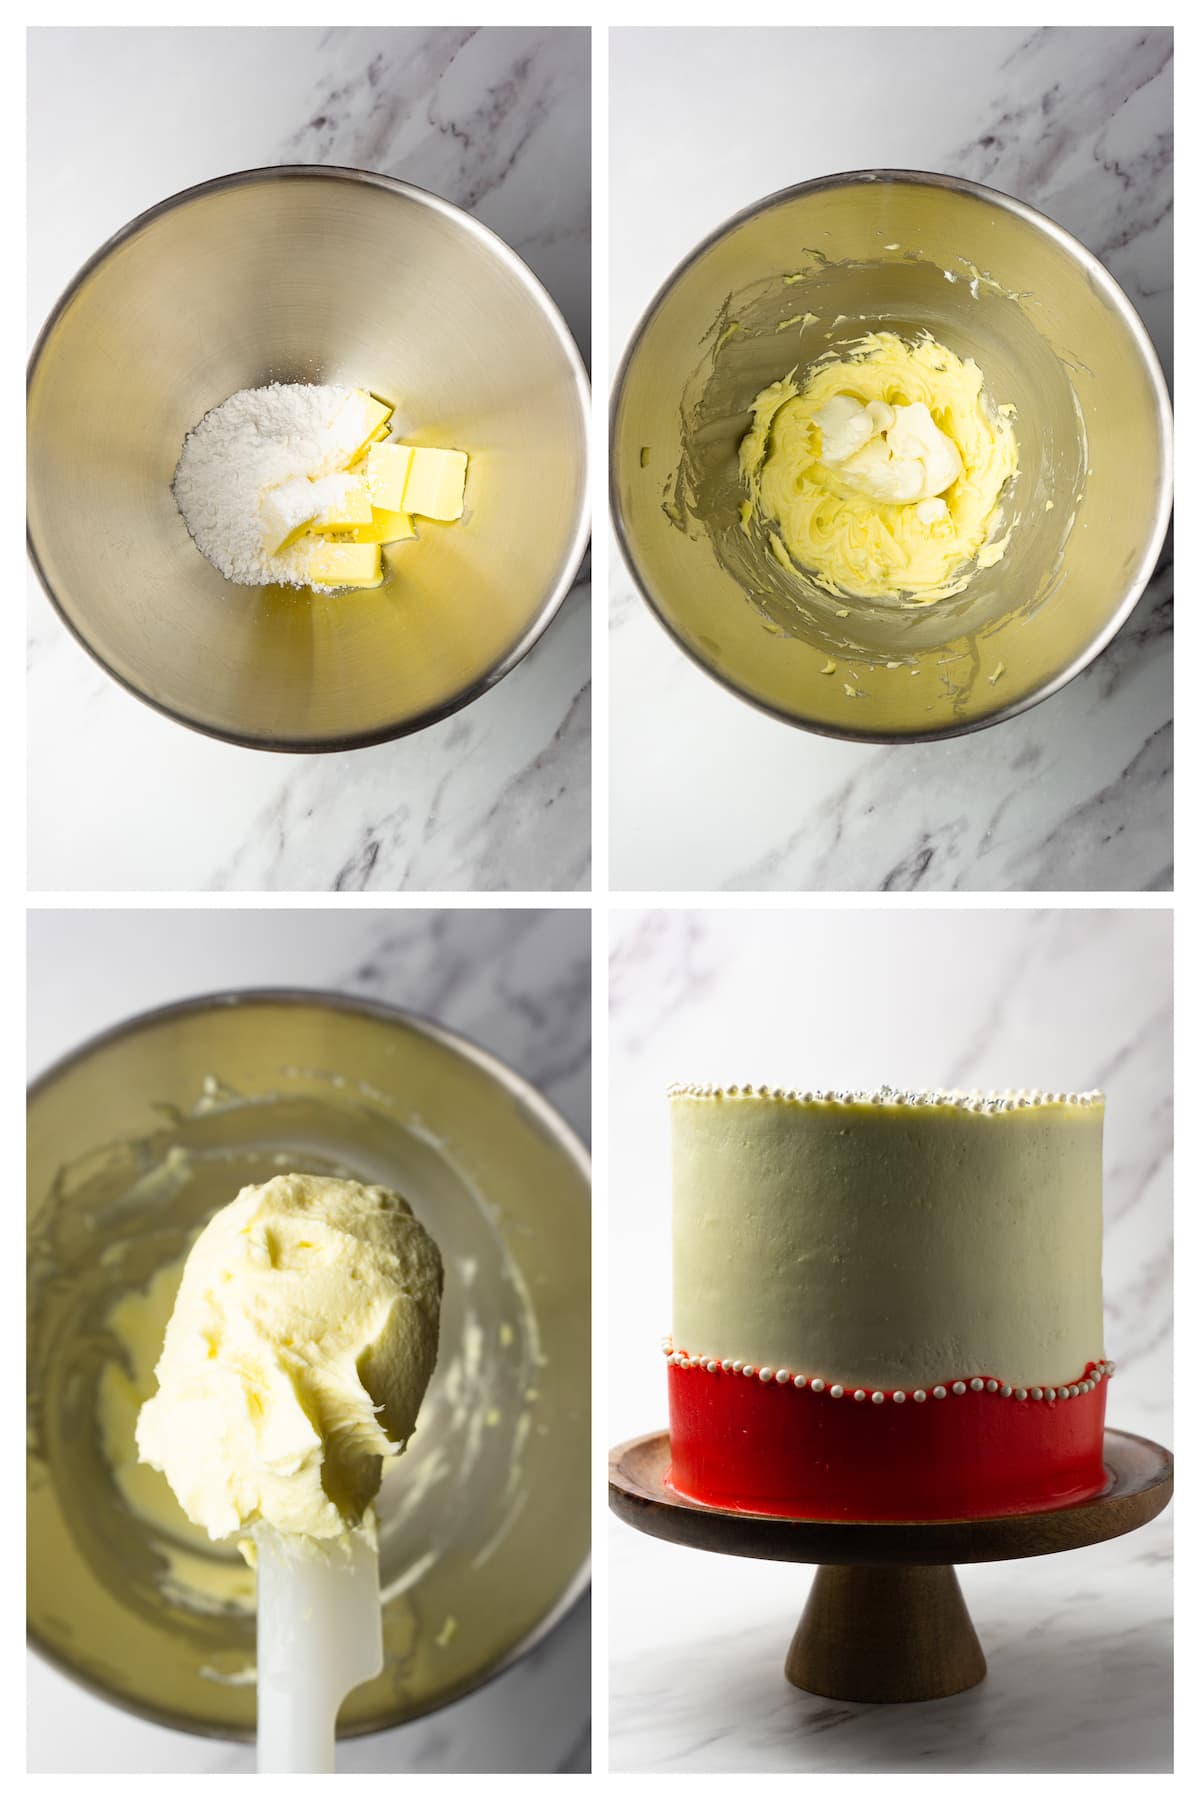
1. Place the butter, vanilla, and powdered sugar in the bowl of a stand mixer fitted with a whisk attachment and whip until fluffy and white.
2. Then, add the cream cheese in two parts and whip it to combine. Scrape the sides of the bowl and whip on medium-high until stable and fluffy. Store the cream, covered with plastic wrap so it touches the cream, in the fridge until needed.
Assembling the cake
1. Place the first cake layer on a plate and add ⅓ of the filling on top. Spread evenly and place the second layer on top. Repeat the process.
2. Place the last cake layer and spread the last ⅓ of the filling on top and sides of the cake as a crumb coat. Then, wrap the cake in plastic wrap and refrigerate for 2-4 hours or overnight.
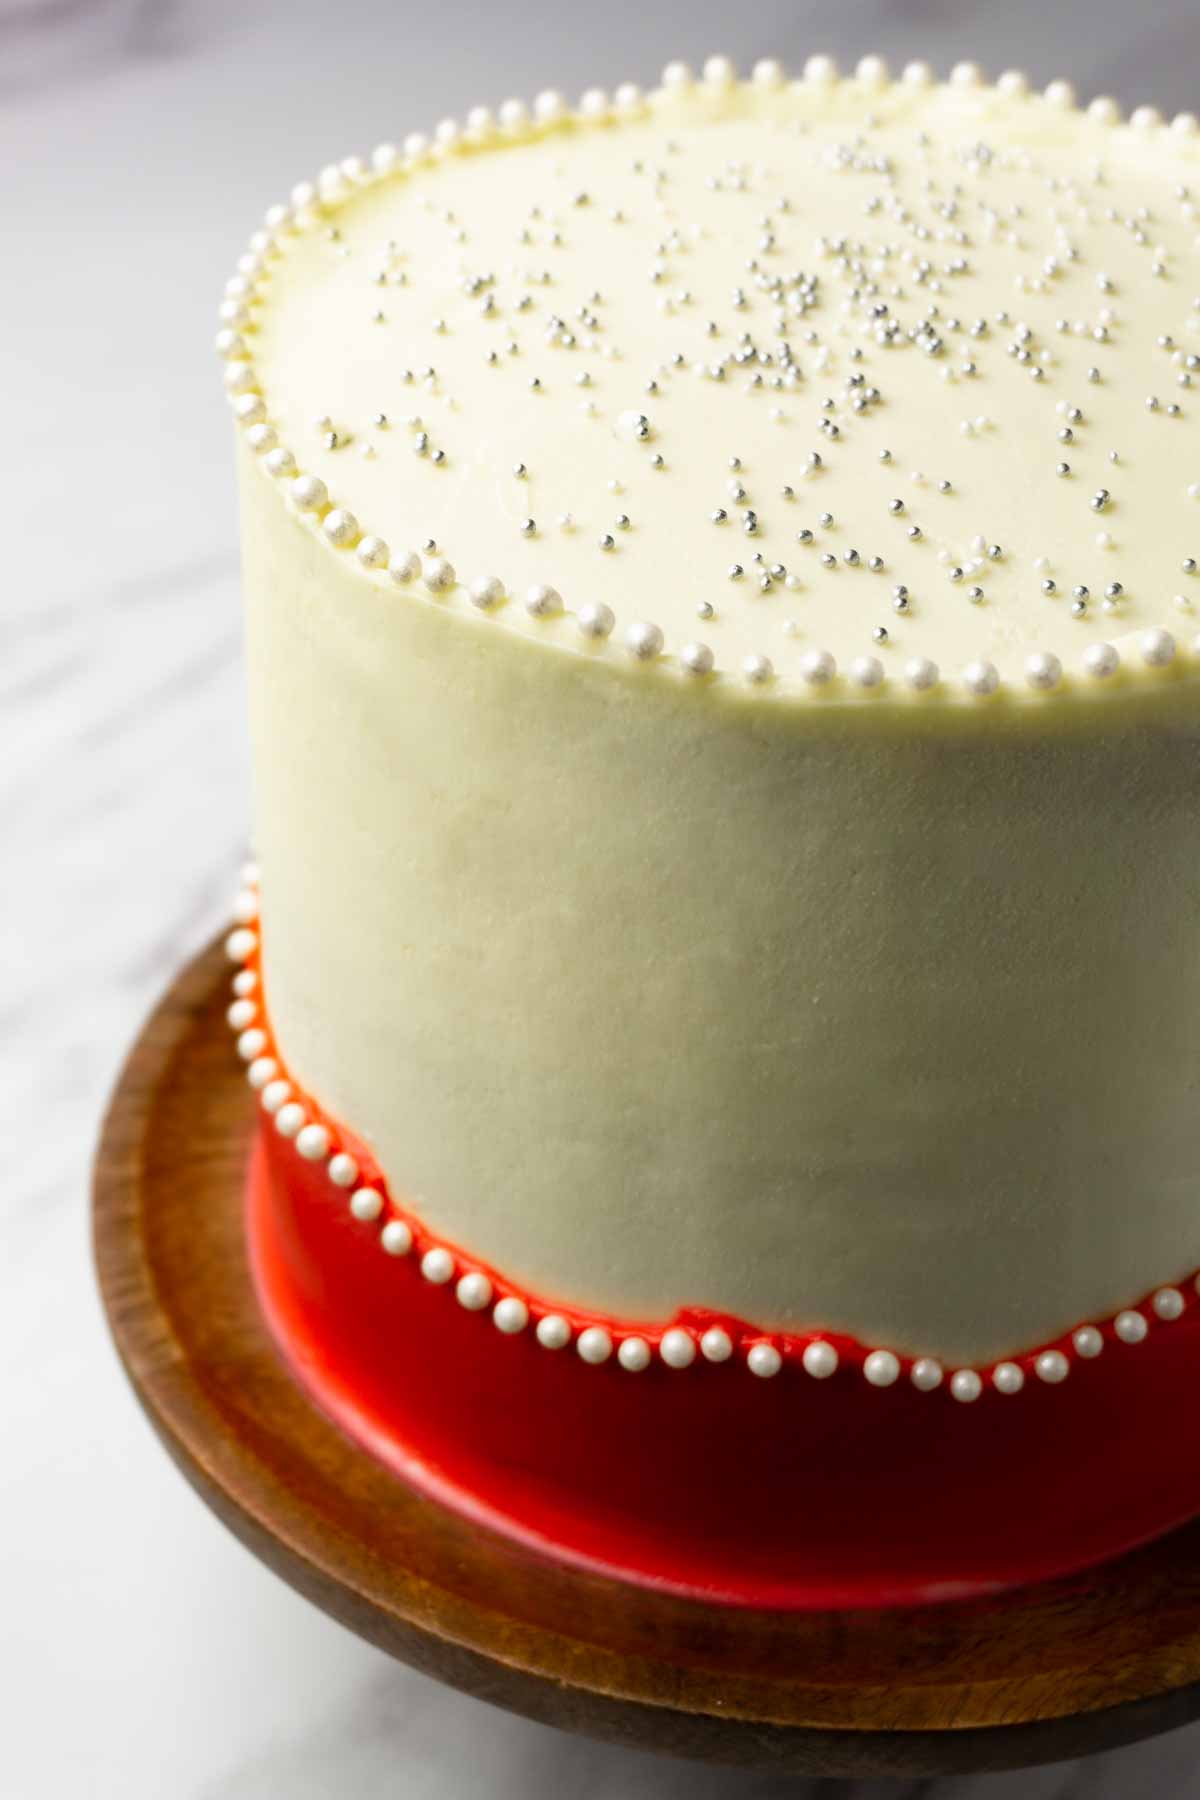
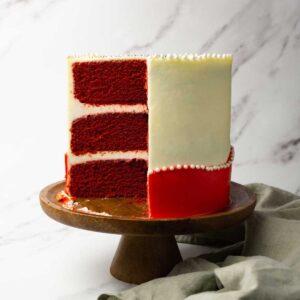
3. When well chilled, apply the final frosting and decorate to your taste (I colored a small amount of the frosting with red food coloring and created a thick border on the bottom of the cake. I also used different sprinkles to decorate the cake). Refrigerate for one hour and serve.
Possible variations
Raspberry coulis - You can add some of my Raspberry coulis in between the layers of the cake. The sweet-and-sour raspberry taste will complement the chocolate cake flavor.
Use another frosting - Traditionally, red velvet cake is made with ermine frosting, so you can make it instead of the cream cheese filling and frosting I use in my recipe. Softer versions of white chocolate ganache will fit this cake too, but the cake will be sweeter.
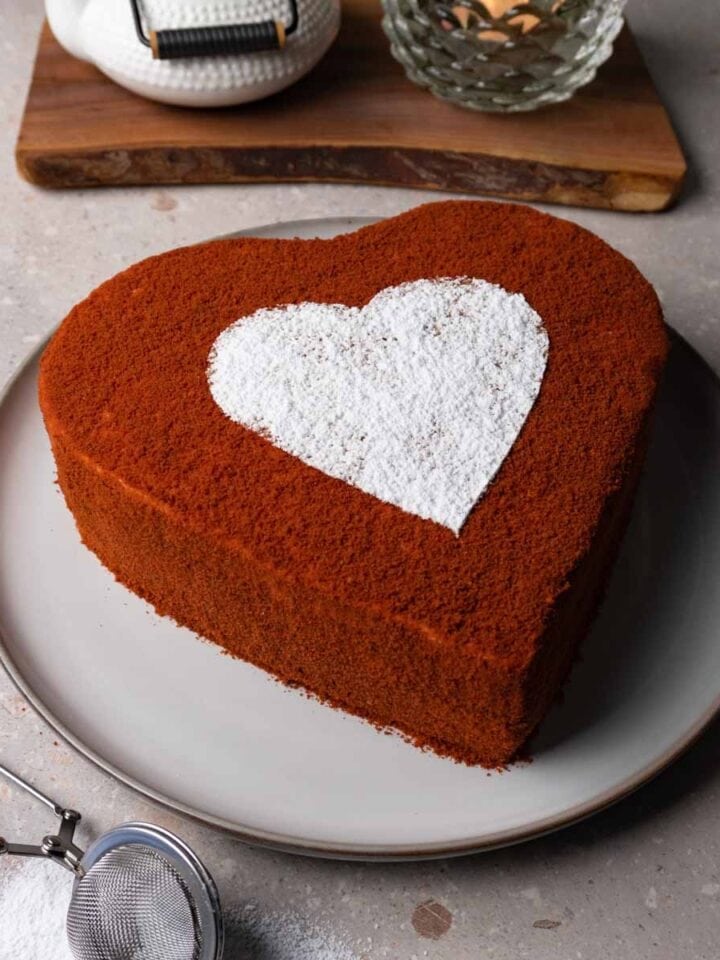
Decorate with crumbs - It's very common to see a red velvet cake decorated with red cake crumb. I think it fits this cake because, when done right, the exterior will look like soft velvet. To create crumbs that will be very fine and dry, you need to cut off thin pieces from each cake layer (the same way as if your cakes were domed and you needed to even them out before applying the cream). Then, tear these pieces apart into smaller pieces and place them on a tray lined with parchment paper. Dry them in your oven, preheated to 215F (100C), for 30-40 minutes or until very dry. You can then pulse them in a food processor until it resembles send. Dust your cake after applying the final frosting and serve.
FAQ
Store the cake in a cake box or wrapped in plastic wrap on a plate in the fridge for up to 4 days.
The frosted cake can't be frozen, but you can freeze unfrosted cake layers for up to 2 months.
Yes, you can! You can also double the final frosting recipe to decorate your cupcakes.
More cake recipes
Recipe card
Red velvet cake
Equipment
- Digital kitchen scale
- Stand mixer or hand mixer and a large mixing bowl
- 3 6" (15cm) cake pans
- Parchment paper
- Rubber spatula
Ingredients
For the cake
- 280 g all-purpose flour or cake flour
- 10 g Dutch-processed cocoa powder unsweetened
- 10 g baking powder
- ½ teaspoon salt
- 240 ml whole milk at room temperature
- 2 teaspoon lemon juice or white wine vinegar
- 2 teaspoon red food coloring gel food coloring, or any other water-soluble food coloring
- 90 g unsalted butter at room temperature
- 250 g white granulated sugar
- 1 teaspoon vanilla extract
- 30 g vegetable oil such as canola oil or sunflower seed oil
- 30 g semi-sweet chocolate melted
- 3 large eggs at room temperature
For the filling
- 500 g cream cheese cold
- 100 ml heavy whipping cream cold
- 60 g powdered sugar
- ½ teaspoon vanilla extract
For the final frosting
- 100 g unsalted butter at room temperature
- 60 g powdered sugar
- 200 g cream cheese taken out of the fridge at least one hour before use
- ½ teaspoon vanilla extract
Instructions
For the cake
- Preheat the oven to 160C (320F) and line the bottom and sides of three 6" (15cm) cake pans with parchment paper.
- In a bowl, combine the flour, cocoa powder, baking powder, and salt. Set aside.
- In a cup, add the milk and lemon juice, then stir. Then add the food coloring and stir until it’s fully dissolved and colored the milk.
- In the bowl of a stand mixer fitted with a paddle attachment (or use a bowl and a hand mixer), add the granulated sugar, butter, and vanilla. Beat for 5 minutes on medium-high until the mixture becomes pale and fluffy. Scrape the sides and the bottom of the bowl a few times during the process.
- Then, add the oil and beat until fully incorporated. After, add the melted chocolate and beat again.
- Add eggs one at a time and beat until the mixture looks homogenous and emulsified.
- Add the dry ingredients in three parts – alternating with the milk mixture, starting and ending with the dry ingredients – while beating on low until a homogenous and silky consistency is reached. The pattern should look like this: dry/milk/dry/milk/dry.
- Divide the batter evenly between the pans and bake for 30 minutes or until a toothpick inserted in the center comes out clean.
- Remove from the oven and let cool down in the pans until safe to handle. Then, place the cakes upside down onto a cooling rack to cool down completely. If you want to assemble the cake the next day, wrap cooled-down cake layers in plastic wrap and refrigerate overnight.
For the filling
- Place all the ingredients in a stand mixer fitted with a whisk attachment (or you can use a hand mixer) and mix on low until no dry powdered sugar is left. Then, beat on medium to a homogenous consistency. Scrape the sides of the bowl and mix on high until thick and fluffy.
- Mix the frosting with a rubber spatula to remove air bubbles. Use right away or store the cream, covered with plastic wrap so it touches the cream, in the fridge until needed.
For the final frosting
- Place the butter, vanilla, and powdered sugar in the bowl of a stand mixer fitted with a whisk attachment (or you can use a hand mixer and a bowl) and whip until fluffy and white.
- Then, add the cream cheese in two parts and whip it to combine. Scrape the sides of the bowl and whip on medium-high until stable and fluffy. Store the cream, covered with plastic wrap so it touches the cream, in the fridge until needed.
Assembling the cake
- Place the first cake layer on a plate and add ⅓ of the filling on top. Spread evenly and place the second layer on top. Repeat the process.
- Place the last cake layer and spread the last ⅓ of the filling on the top and sides of the cake as a crumb coat. Then, wrap the cake in plastic wrap and refrigerate for 2-4 hours or overnight.
- When well chilled, apply the final frosting and decorate to your taste (I colored a small amount of the frosting with red food coloring and created a thick border on the bottom of the cake. I also used different sprinkles to decorate the cake). Refrigerate for one hour and serve.

Leave a comment