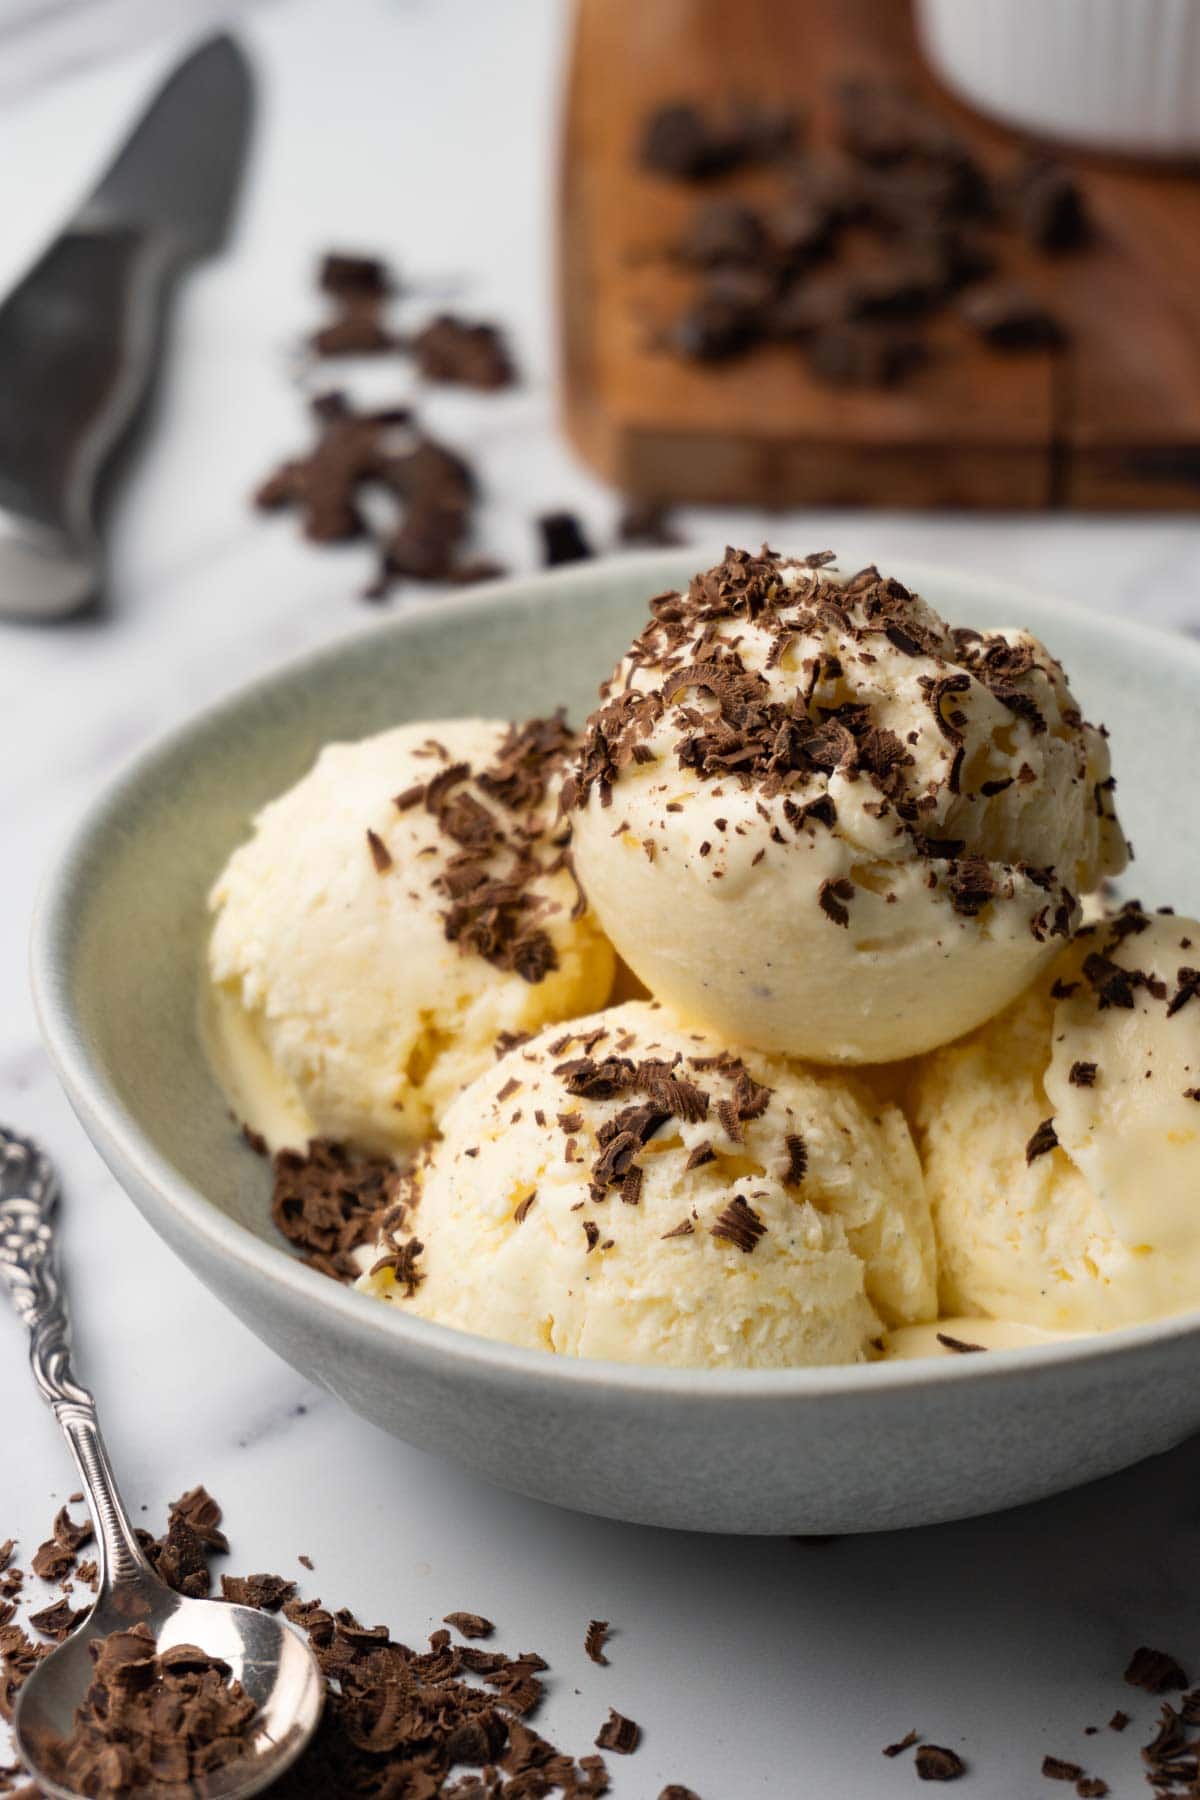
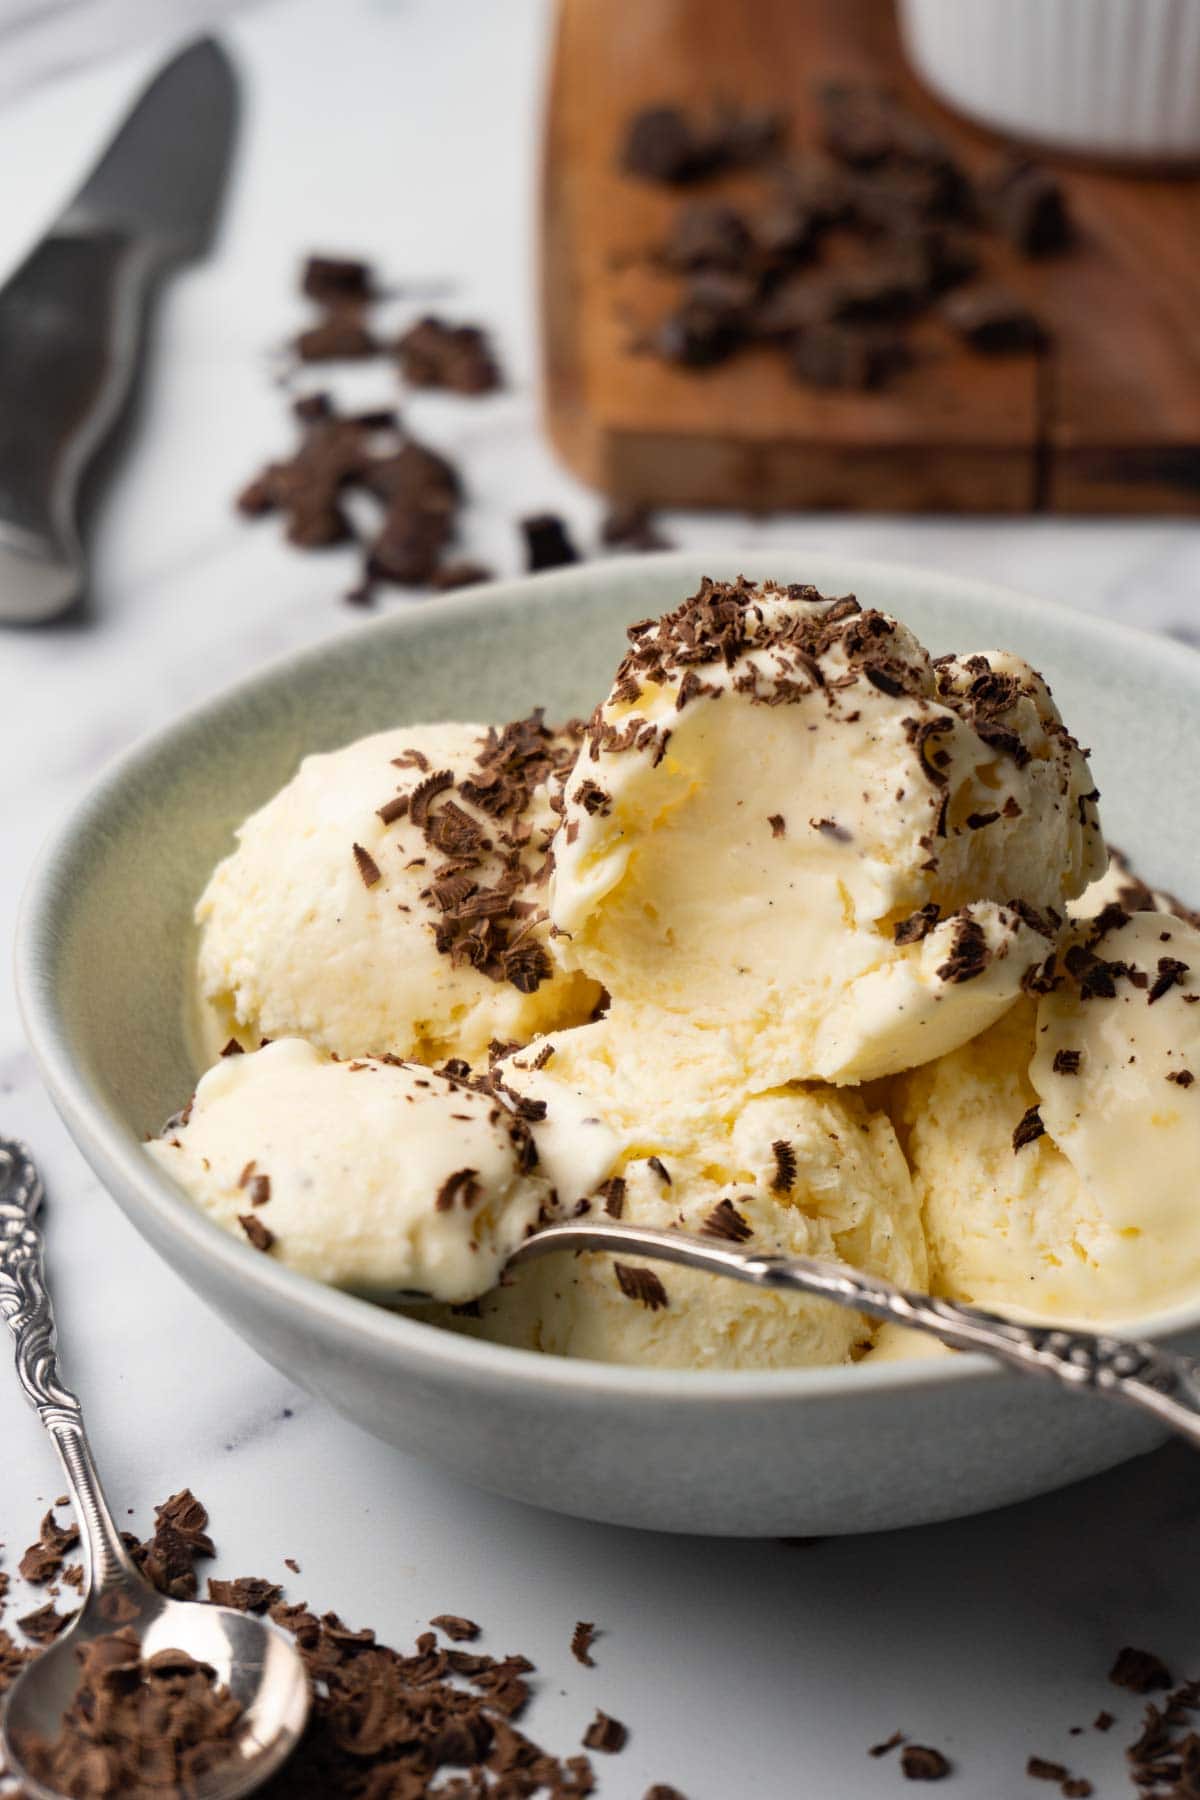
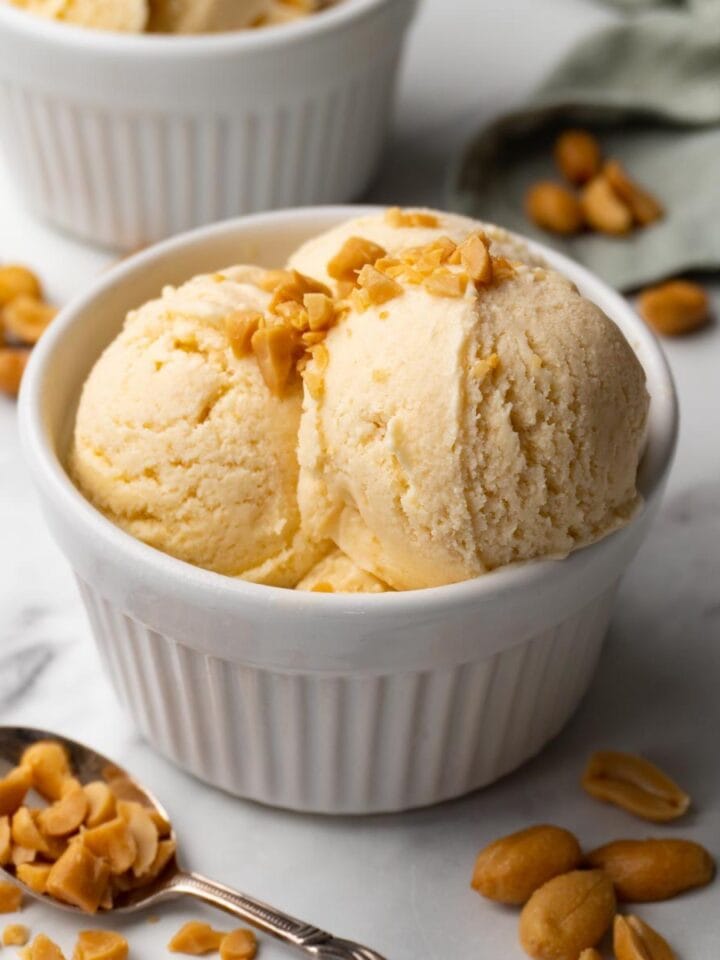
This extremely easy-to-make homemade vanilla bean ice cream recipe has everything a real ice cream lover wants – creamy texture, perfect sweetness, and irresistible vanilla flavor. Make this ice cream in your ice cream maker or use a no-churn method.
Jump to:
Why you should try this recipe
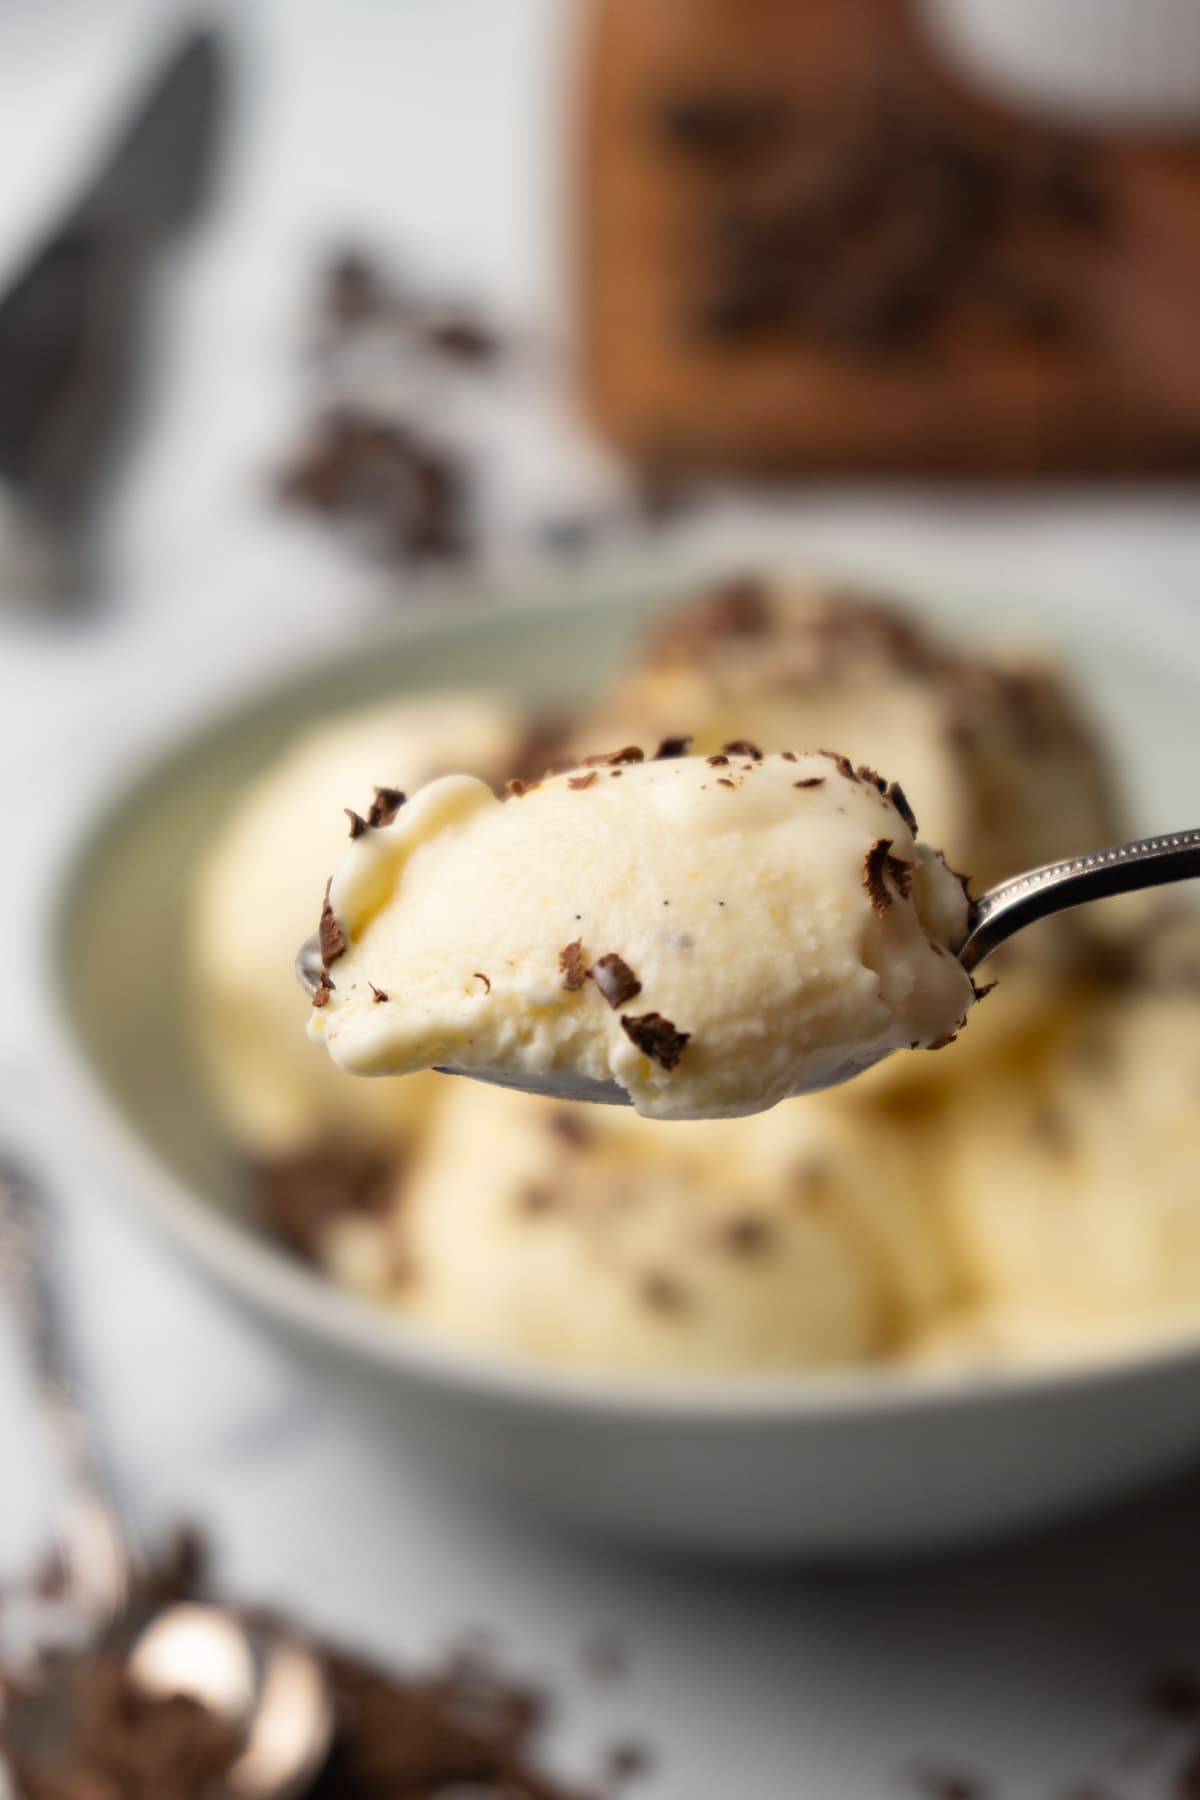
Amazing vanilla flavor – Vanilla is a classic for a reason, and this recipe takes it to a whole new level. By using real vanilla beans, you'll experience the authentic and aromatic flavor that elevates this ice cream from good to extraordinary. Of course, if you don't have vanilla beans on hand, you can easily substitute them with vanilla extract.
Perfect sweetness – Finding the right balance of sweetness in ice cream can be a challenge, but this recipe has got it spot-on.
You don’t need an ice cream maker – Whether you own an ice cream machine or not, this recipe has got you covered. If you have the machine, simply follow the manufacturer’s instructions. However, the no-churn method allows anyone to whip up a batch of this delectable treat with ease. It's versatile and accessible for all ice cream enthusiasts.
A creamy texture even with a no-churn method – This homemade ice cream, just like my Matcha green tea ice cream, Chocolate ice cream, and Condensed milk ice cream, is all about that smooth, creamy texture that will make your taste buds dance with joy. Say goodbye to icy ice cream and hello to a luscious, velvety treat that melts in your mouth.
Ingredients you will need
Egg yolks - The egg yolks (can be cold) serve as the base of the ice cream, providing richness and a smooth texture. They also contribute to the creaminess of the final product. If you don’t know what to do with the egg whites, you can make my Meringue cookies or this Mini pavlova recipe with lemon curd.
Powdered sugar - Powdered sugar adds sweetness to the ice cream while ensuring it dissolves easily into the mixture. It helps achieve the desired level of sweetness without leaving a grainy texture. However, if you don’t have powdered sugar on hand, use regular white granulated sugar. Just make sure that it dissolves completely in the egg yolk mixture.
Salt - Salt might seem like an odd addition to a sweet treat, but it plays a crucial role in balancing flavors. A small amount of salt enhances the sweetness and rounds out the overall taste of the ice cream.
Vanilla bean or vanilla extract - The star of the show! Vanilla bean or vanilla extract infuses the ice cream with its distinct and delightful flavor. The beans, when scraped, release tiny black seeds that are aromatic and visually appealing. If you don't have a vanilla bean on hand, vanilla extract or vanilla bean paste can be used as a convenient substitute.
Milk – You will need whole milk (can be cold).
Heavy cream – Heavy whipping cream is responsible for the luxurious and indulgent nature of this ice cream. Its high-fat content ensures a rich and creamy consistency, making each bite incredibly satisfying.
Cooking tips
Scrape the vanilla bean properly - If you're using a vanilla bean, make sure to scrape out the seeds properly. Split the bean lengthwise and use the back of your knife to scrape out the tiny black seeds. These seeds are what gives the ice cream its beautiful specks and intense vanilla flavor.
Stir continuously - While heating the egg yolk mixture in the saucepan, stir continuously with a whisk or spatula. This ensures even cooking and prevents the mixture from sticking to the bottom of the pan.
Don't let the custard boil - It's important to keep an eye on the heat and avoid letting the mixture come to a boil. Boiling can cause the eggs to curdle and result in an unpleasant texture.
Seal tightly when storing - Transfer the ice cream to an air-tight container. This prevents ice crystals from forming and maintains the desired texture. Press a piece of plastic wrap directly onto the surface of the ice cream before sealing the container for optimal freshness.
Step by step directions
1. Combine the egg yolks, salt, sugar, and vanilla seeds. Whisk well until a homogenous paste-like mixture has formed.
2. Add the milk and the seedless vanilla pod, and heat over medium to medium-low heat stirring continuously until the mixture thickens and leaves a thick film on the back of the spoon.
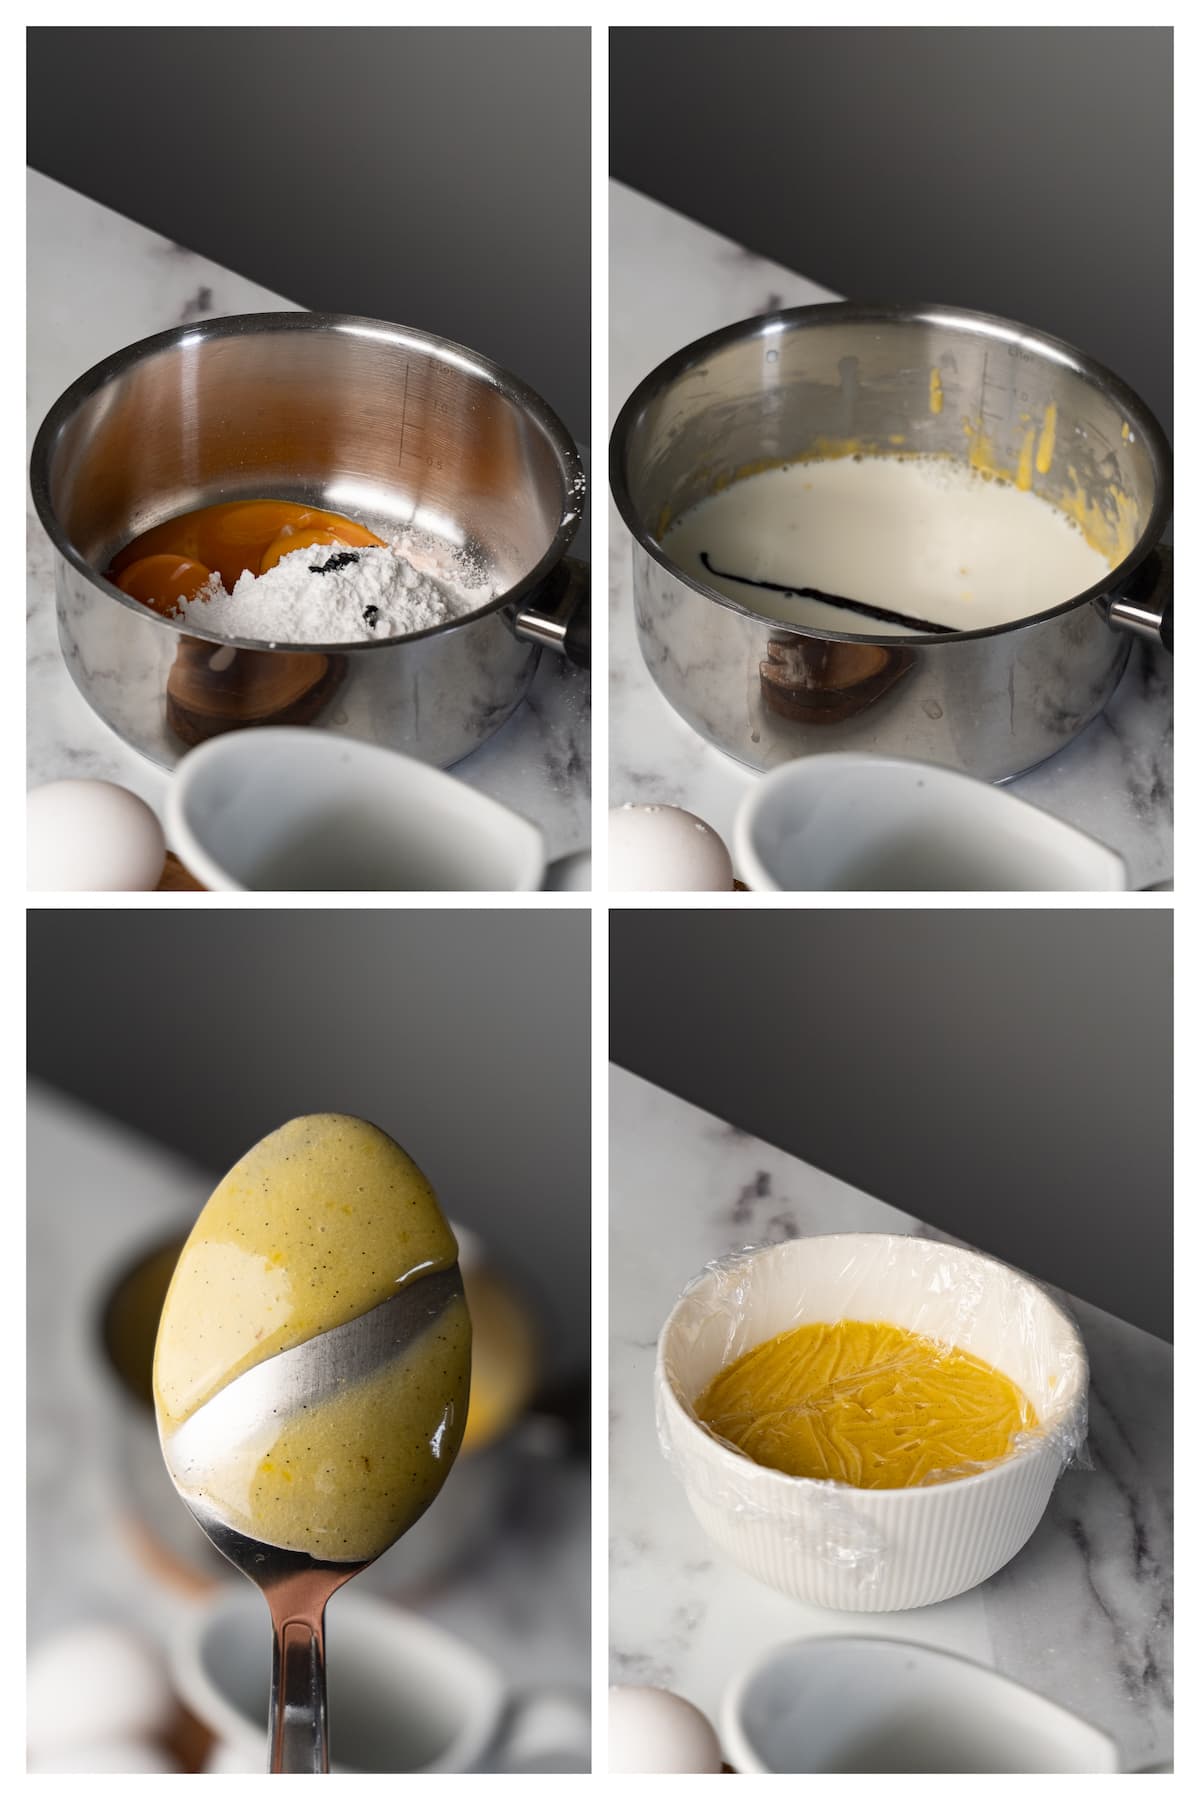
3. Remove from the heat and pour into a bowl. Cover the mixture with plastic wrap, ensuring that it touches the surface, and leave it to cool down to room temperature.
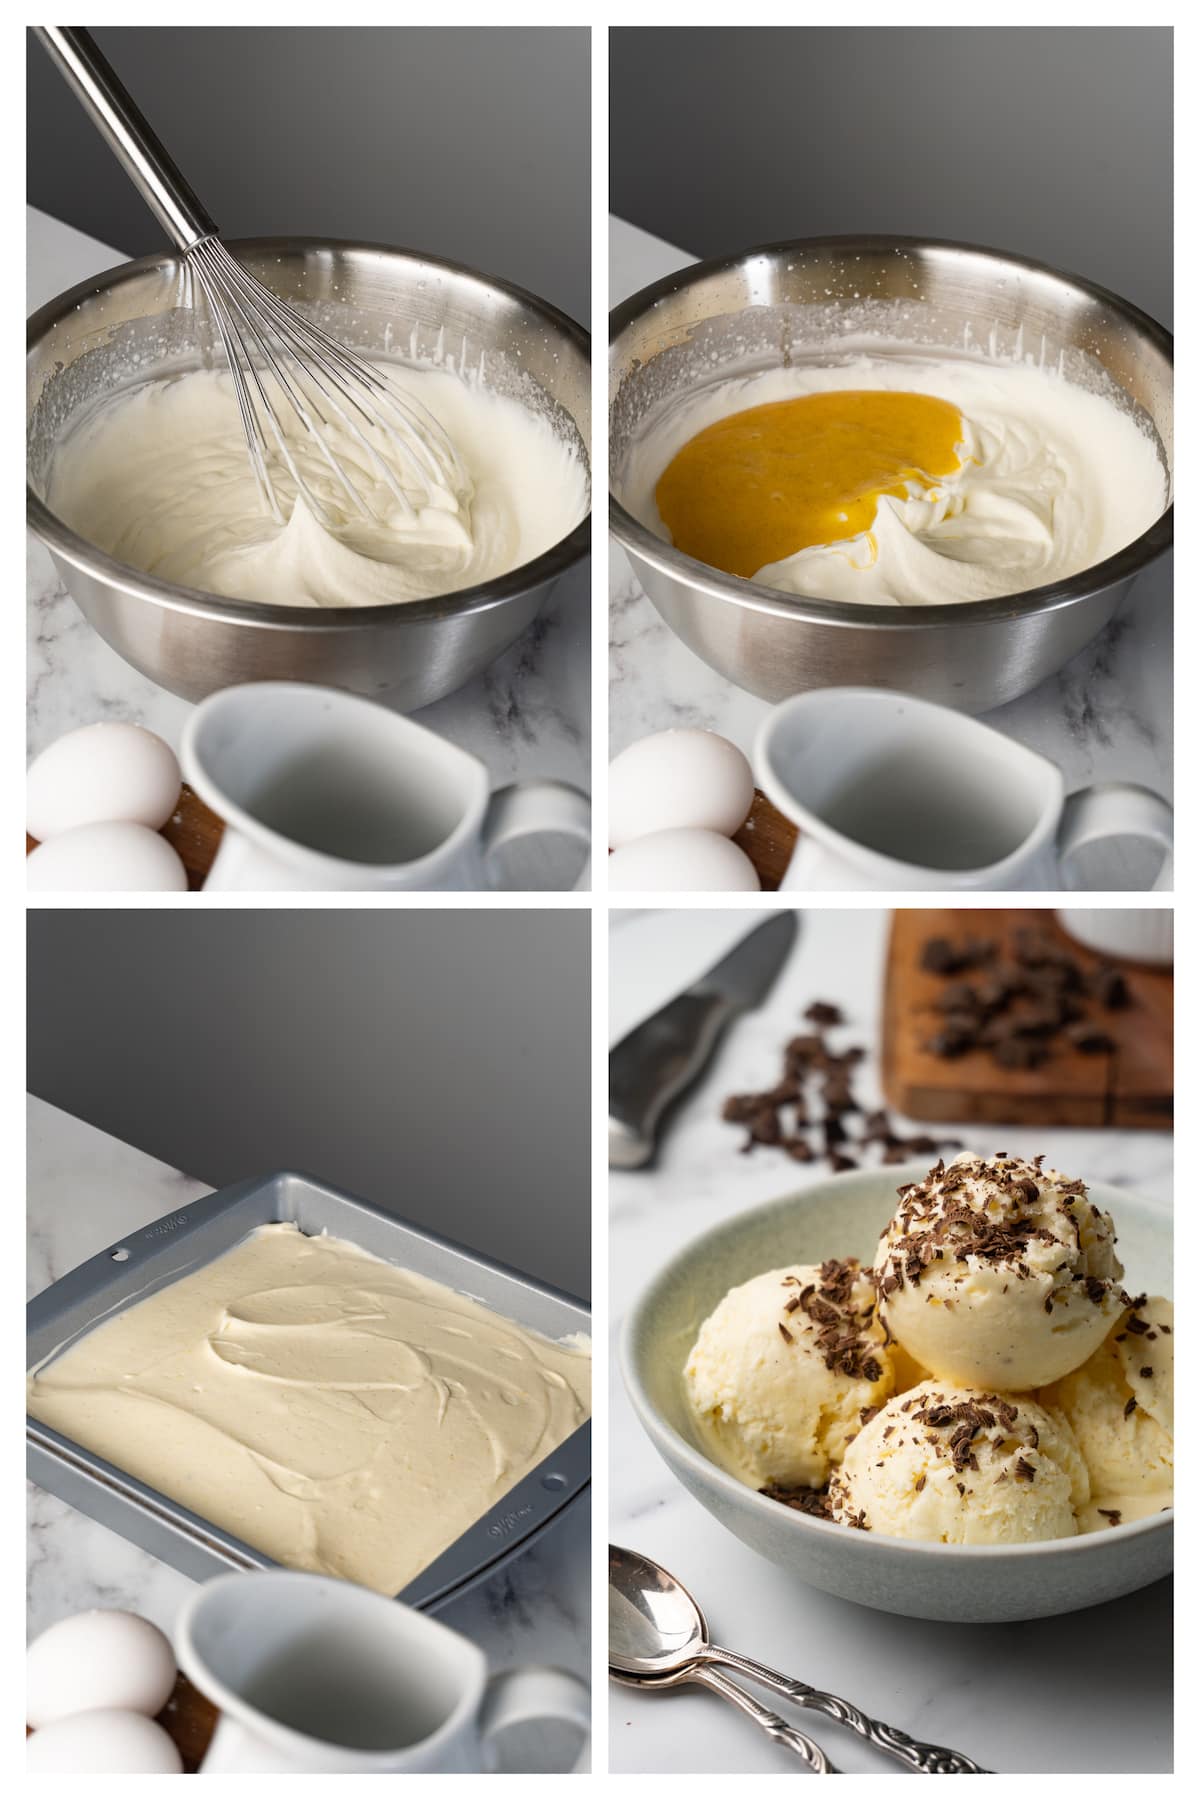
4. Whip up the heavy cream to stiff peaks.
5. Remove the pod from the egg mixture and pour it into the whipped cream. Whisk until homogeneous in consistency.
6. Pour the mixture into your ice cream maker and churn it according to the manufacturer's instructions. Then, transfer the soft ice cream to a container, close it tightly, and refrigerate further until the ice cream is at desired consistency.
How to make no-churn vanilla ice cream
To make no-churn ice cream, transfer the whipped cream and egg yolk mixture into an air-tight container or in a container and close it with plastic wrap so they touch each other, and place it in the freezer for 4 hours or overnight.
Possible variations and serving ideas
Add-ins - Try folding in crushed cookies, chocolate chips, chopped nuts, or swirls of fruit preserves. You can get creative and tailor the mix-ins to your preferences, creating unique flavor combinations.
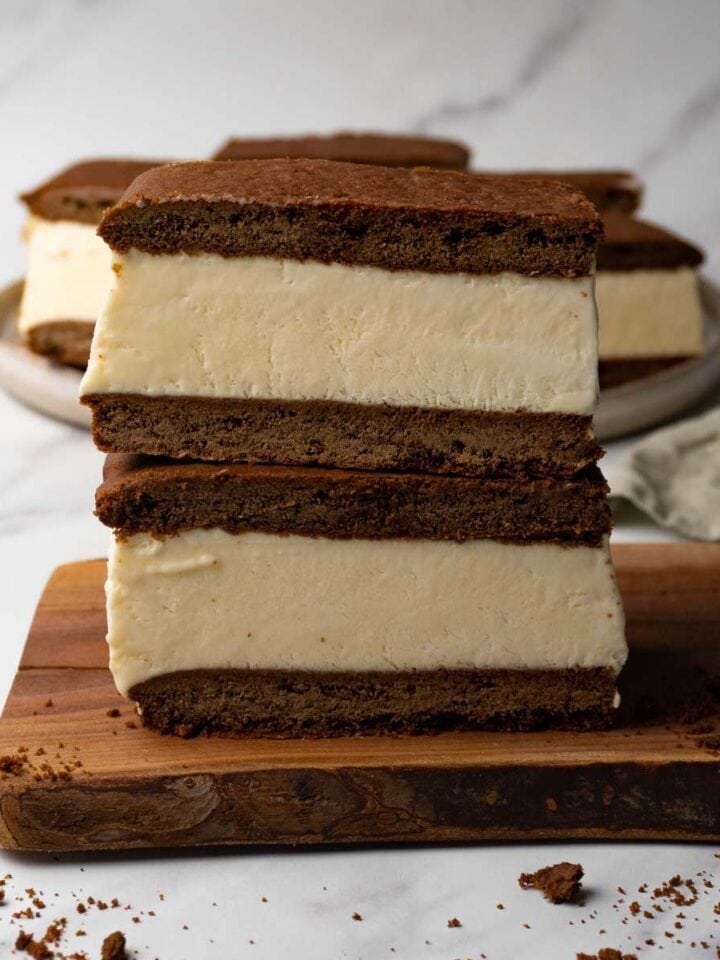
Ice cream sandwiches - Take your vanilla bean ice cream to the next level by sandwiching it between two cookies. You can use your favorite store-bought cookies or try my homemade Honey cookies.
Caramel or chocolate sauce - Drizzle Salted caramel or slightly warm Chocolate ganache over a scoop of vanilla bean ice cream for a decadent and indulgent treat.
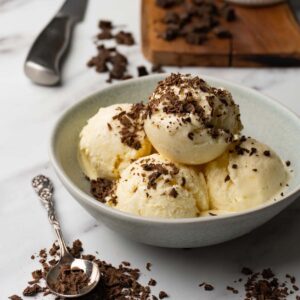
Toppings - Take your vanilla bean ice cream to new heights by garnishing it with crushed nuts, sprinkles, or grated chocolate. Alternatively, you can dust your vanilla bean ice cream with cocoa powder to add visual appeal and an extra touch of flavor. You can also top it with fresh fruits and berries or berry sauces like this Raspberry coulis.
FAQ
Store it in an air-tight container in the freezer for up to 2 weeks.
Sure, you can! It will take more time to freeze it though. So, better make it in the evening and freeze the ice cream overnight.
More recipes you may like
Recipe card
Vanilla bean ice cream
Equipment
- Digital kitchen scale
- Saucepan
- Hand mixer or a whisk
- Mixing bowl
- Container
Ingredients
- 4 egg yolks
- 150 g powdered sugar
- 1 teaspoon salt
- 1 vanilla bean or 1-2 teaspoon vanilla extract
- 100 ml whole milk
- 500 ml heavy cream
Instructions
- In a saucepan, add the egg yolks, salt, sugar, and vanilla seeds. Whisk well until a homogenous paste-like mixture has formed.
- Add the milk and the seedless vanilla pod, and heat over medium to medium-low heat stirring continuously until the mixture thickens and leaves a thick film on the back of the spoon. Do not let the mixture boil by controlling the heat.
- Remove from the heat and pour into a bowl. Cover the mixture with plastic wrap, ensuring that it touches the surface, and leave it to cool down to room temperature. Speed up the process by placing the mixture in the fridge or freezer, but don’t let it cool down lower than room temperature.
- Whip up the heavy cream to stiff peaks.
- Remove the pod from the egg mixture and pour it into the whipped cream. Whisk until homogeneous in consistency.
- Pour the mixture into your ice cream maker and churn it according to the manufacturer's instructions. Then, transfer the soft ice cream to a container, close it tightly, and refrigerate further until the ice cream is at desired consistency.
- To make no-churn ice cream, transfer the whipped cream and egg yolk mixture into an air-tight container or in a container and close it with plastic wrap so they touch each other, and place it in the freezer for 4 hours or overnight.

Martina
Thanks for inspiration for this summer, definitely gonna try it !
Anna
Happy to hear that, Martina!