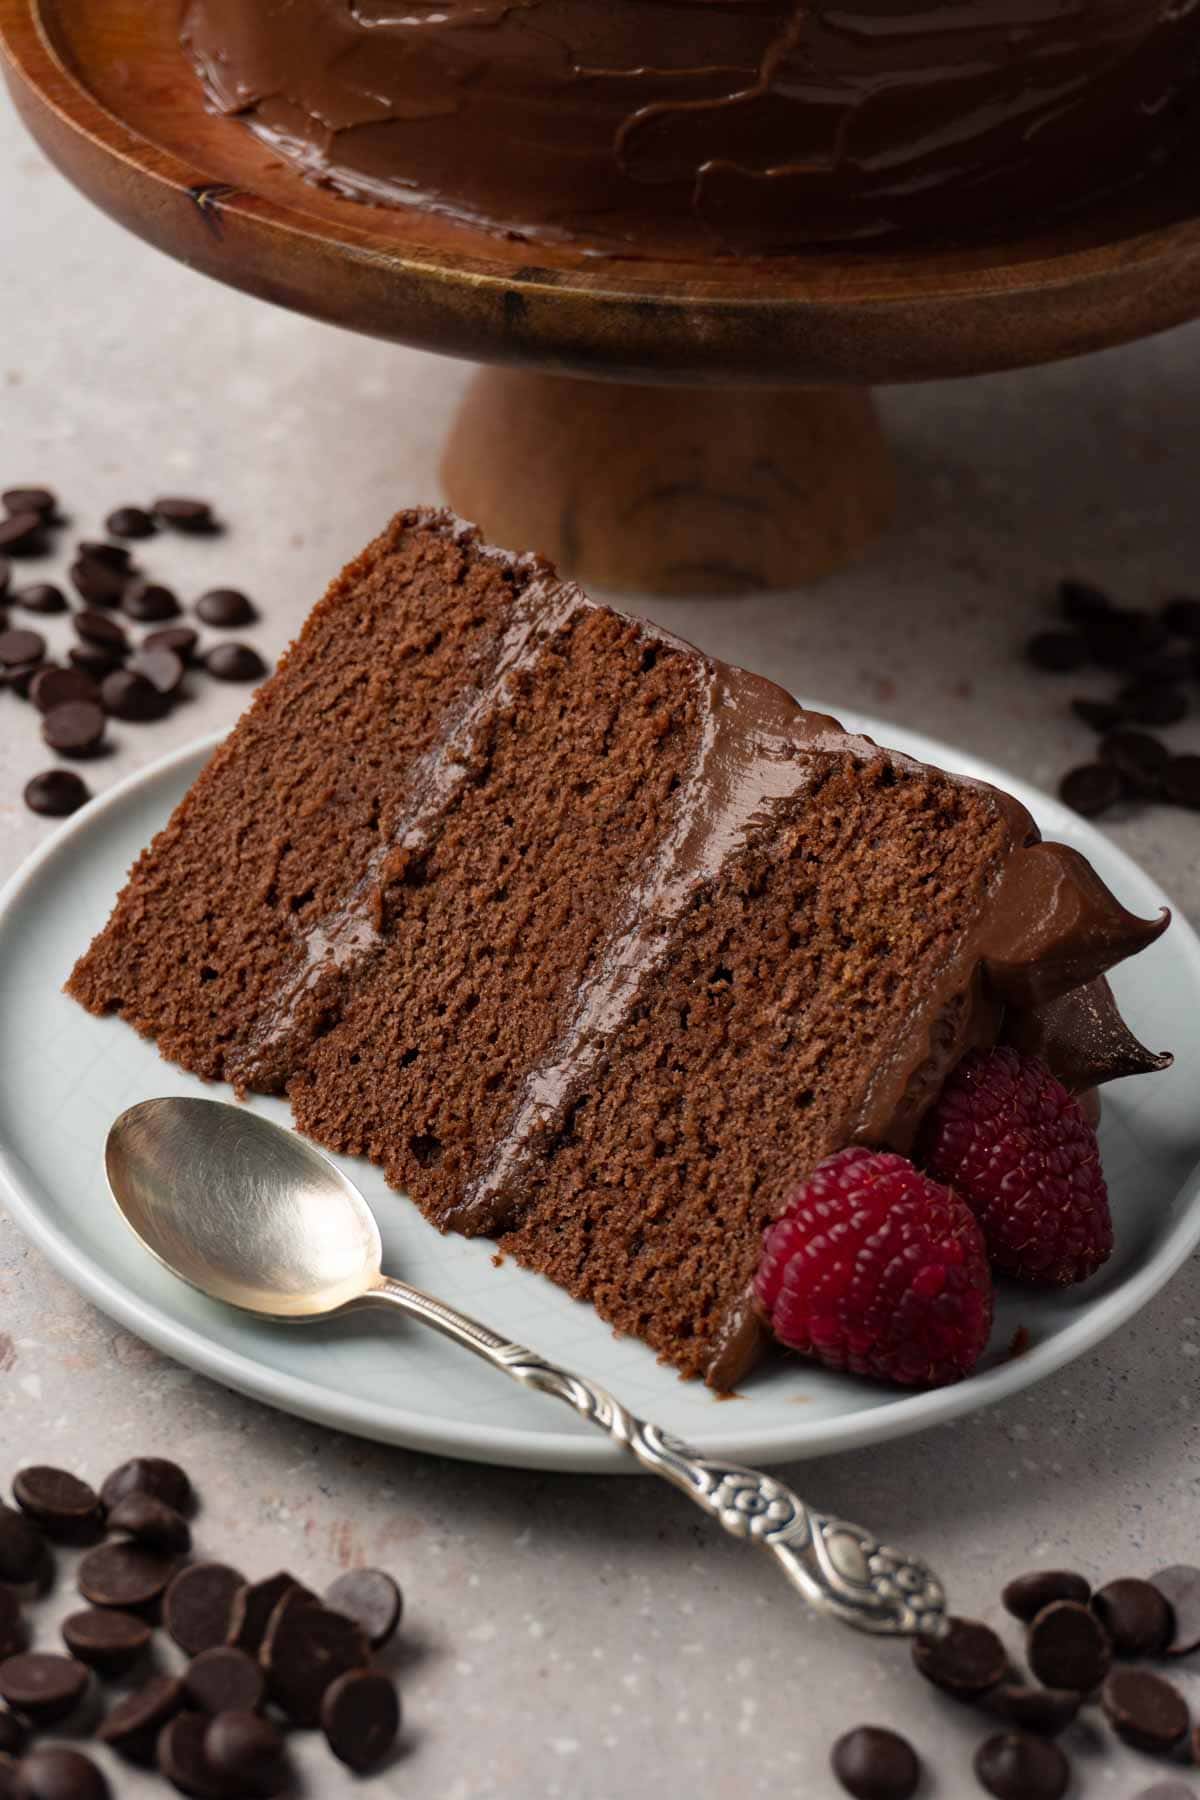
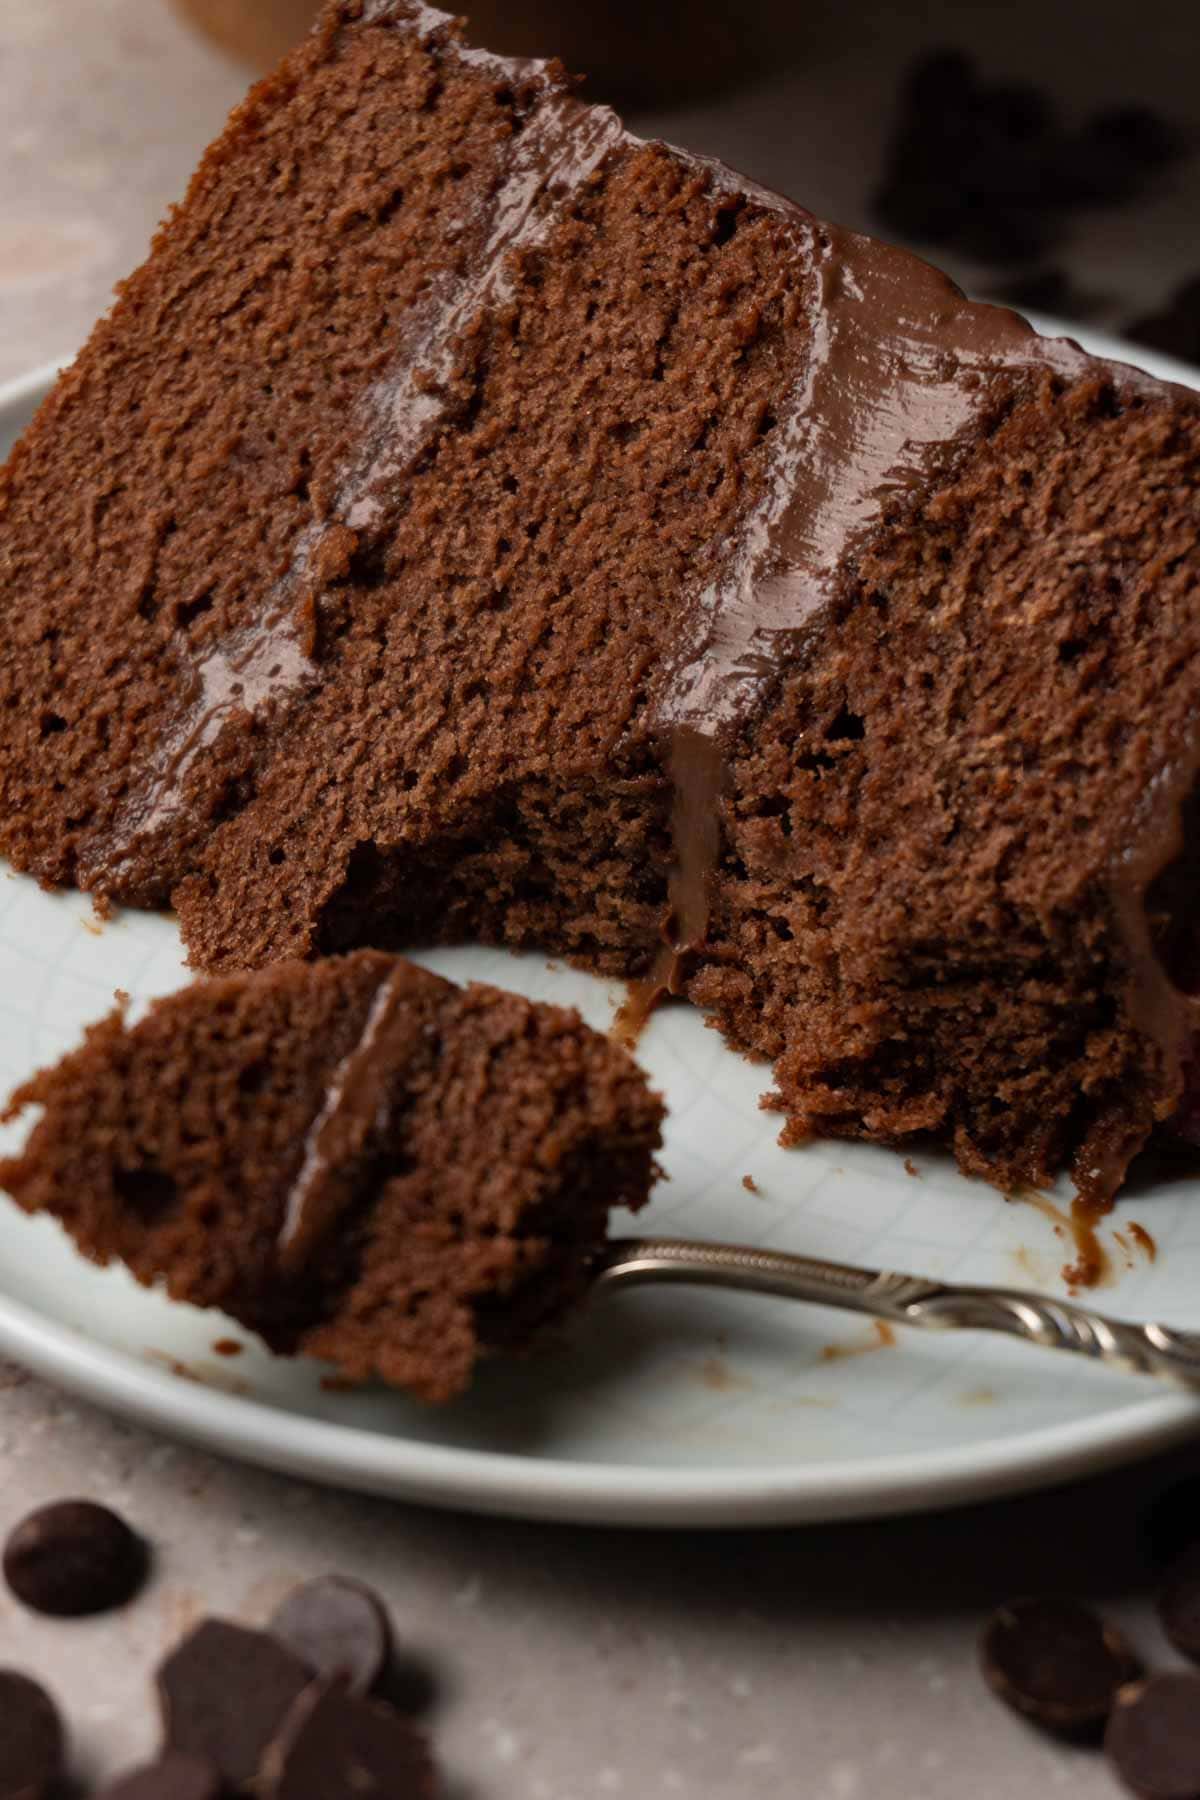
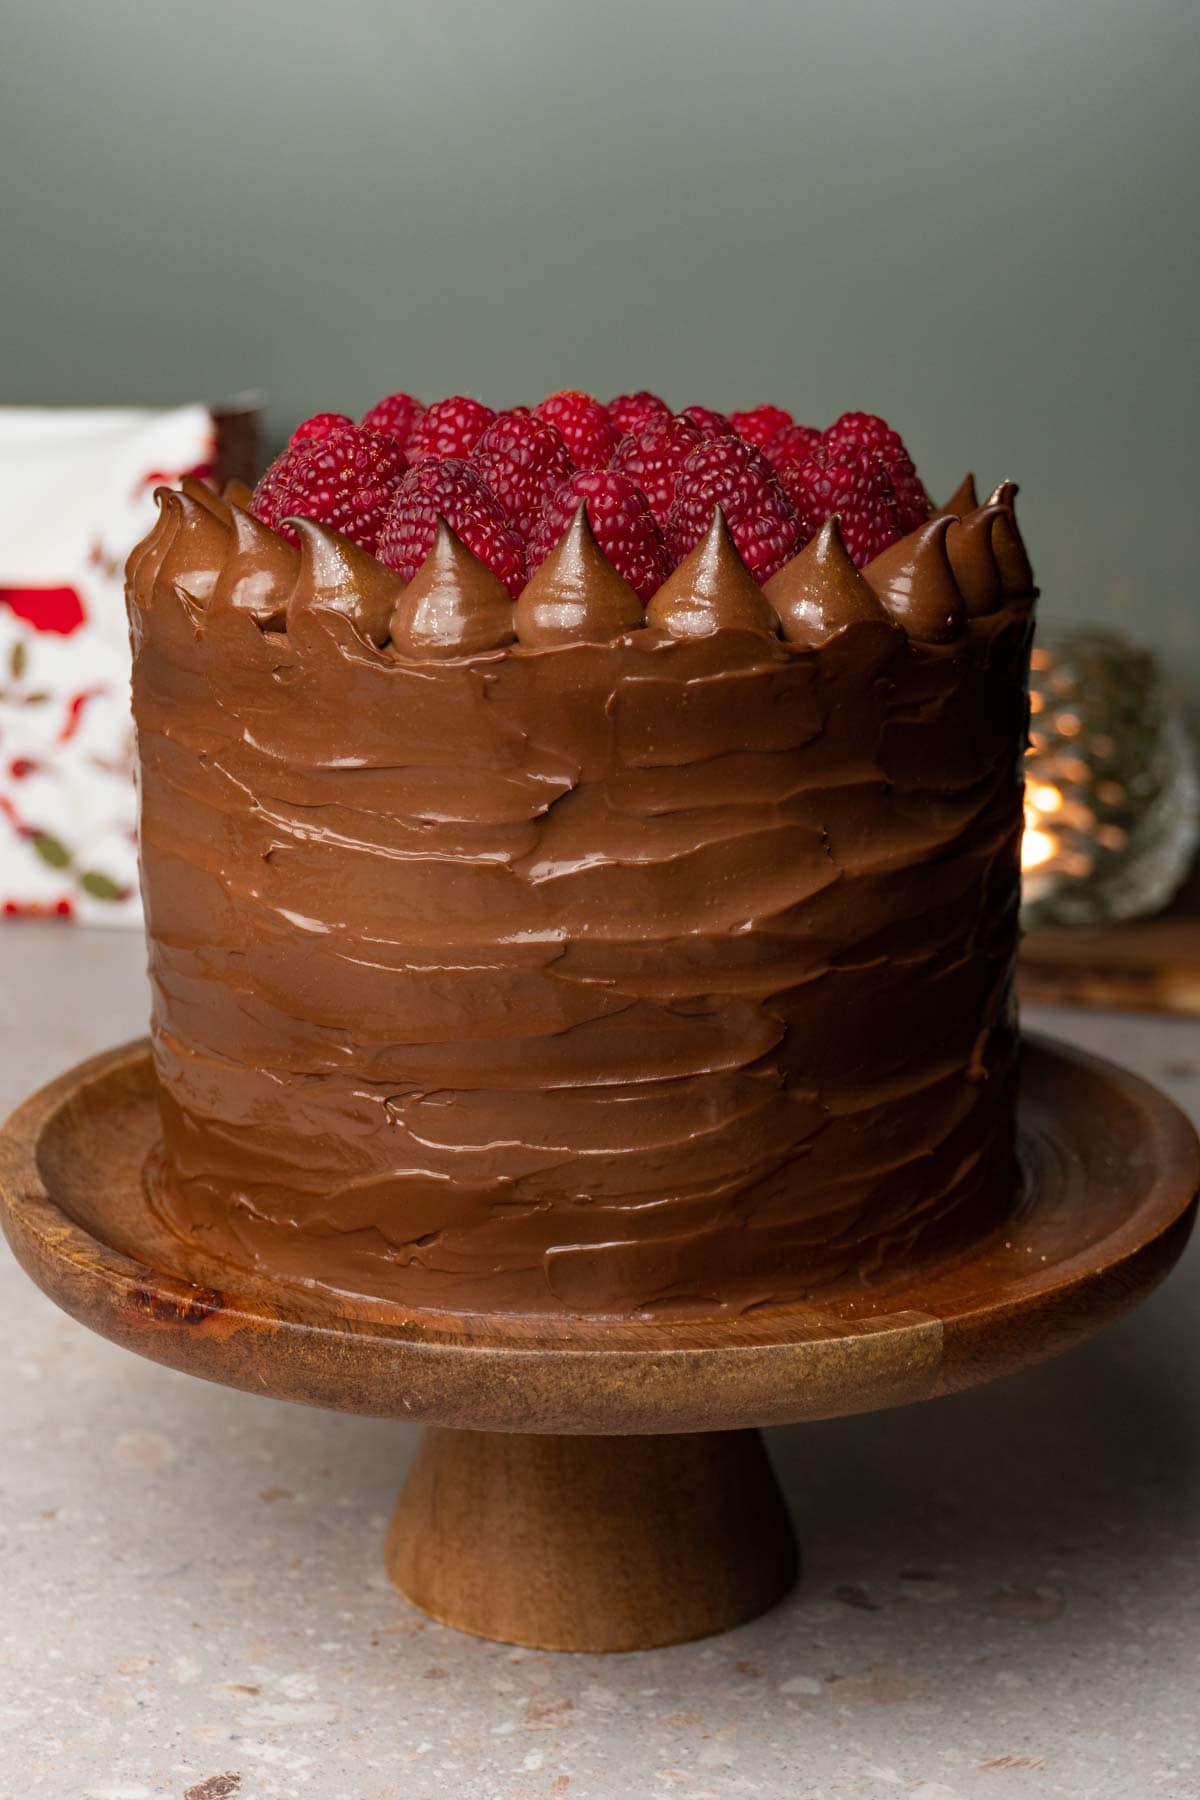
This Chocolate fudge cake with a melt in your mouth texture and heavenly delicious chocolate flavor in every bite is a rustic-looking cake that is moist and fudgy. If you love chocolate, this cake will leave you with the feeling of wanting more.

Jump to:
Why you should make this chocolate fudge cake recipe
- Easy to assemble. This chocolate fudge cake is a breeze to make. Whether you're a pro or just starting out in the kitchen, you won't stress over putting it together.
- Brownie in a cake form. Imagine the chewy goodness of a brownie but in cake form. This recipe gives you that rich, fudgy vibe that's just like biting into a brownie, only better.
- The chocolate filling is extra special. The secret weapon here? A super tasty Chocolate cremeux that takes this cake to the next level. It's the kind of chocolatey goodness that'll make you want to bake this again and again.
Ingredients you will need
For the chocolate cremeux
- Chocolate – Use semi-sweet chocolate to make this chocolate cream. And no, you can’t replace it with other types of chocolate, unfortunately.
- Egg yolks – You will need approximately egg yolks of 5 large eggs. If you don’t know what to do with egg white, here are some suggestions: Coconut macaroons, Mini pavlova, Chocolate pavlova, and Meringue cookies.
- Sugar – Use white granulated sugar.
- Salt
- Whole milk
- Heavy whipping cream
- Instant coffee – optional but highly recommended.
For the cake layers
- Flour – You will need all-purpose flour or you can use cake flour instead to make this chocolate fudge cake recipe.
- Cocoa powder – Use unsweetened Dutch-processed cocoa powder.
- Baking powder
- Salt
- Whole milk
- Unsalted butter
- White granulated sugar
- Vanilla extract – Can be omitted or replaced with instant coffee.
- Vegetable oil – Any odorless oil such as canola or sunflower oil will work great in this chocolate cake recipe.
- Semi-sweet chocolate
- Eggs – Use eggs at room temperature. If you forgot to take them out of the fridge in advance, you can place them in a bowl with warm water for 3-5 minutes.
Looking for more chocolate dessert recipes? Look no further! Try this Chocolate Mousse Cake, Chocolate Pound Cake, or these Double Chocolate Cookies.
Cooking tips
- Prepare the cream in advance. Chocolate cremeux needs time to cool down and become thick enough to work with. So, I recommend making this cream one day before you plan to assemble the cake. This way, you can split your working process into smaller parts, making baking this cake more manageable, and your cream will have enough time to stabilize.
- Handle stabilized cream with care. Once the cream has stabilized, avoid excessive agitation. Overmixing can lead to a softer consistency, making it more challenging to work with during the cake assembly.
- Wrap the cake layers in plastic wrap and refrigerate. Wrap warm cake layers securely in plastic wrap and refrigerate. This step not only helps your cake layers stay moist and maintain freshness but also makes the layering process more manageable.
How to make chocolate fudge cake
Making the chocolate cream
- Place the chocolate in a large mixing bowl. Set aside.
- In a heat-proof bowl, add the egg yolks, sugar and salt. Whip until the mixture turns into a pale yellow color and fluffy. Set aside.
- Into a saucepan, add the milk, heavy cream, and instant coffee. Heat the mixture until it starts simmering.
- Slowly, pour the hot milk with cream into the bowl with eggs and sugar while whisking continuously to prevent egg yolks from curdling.
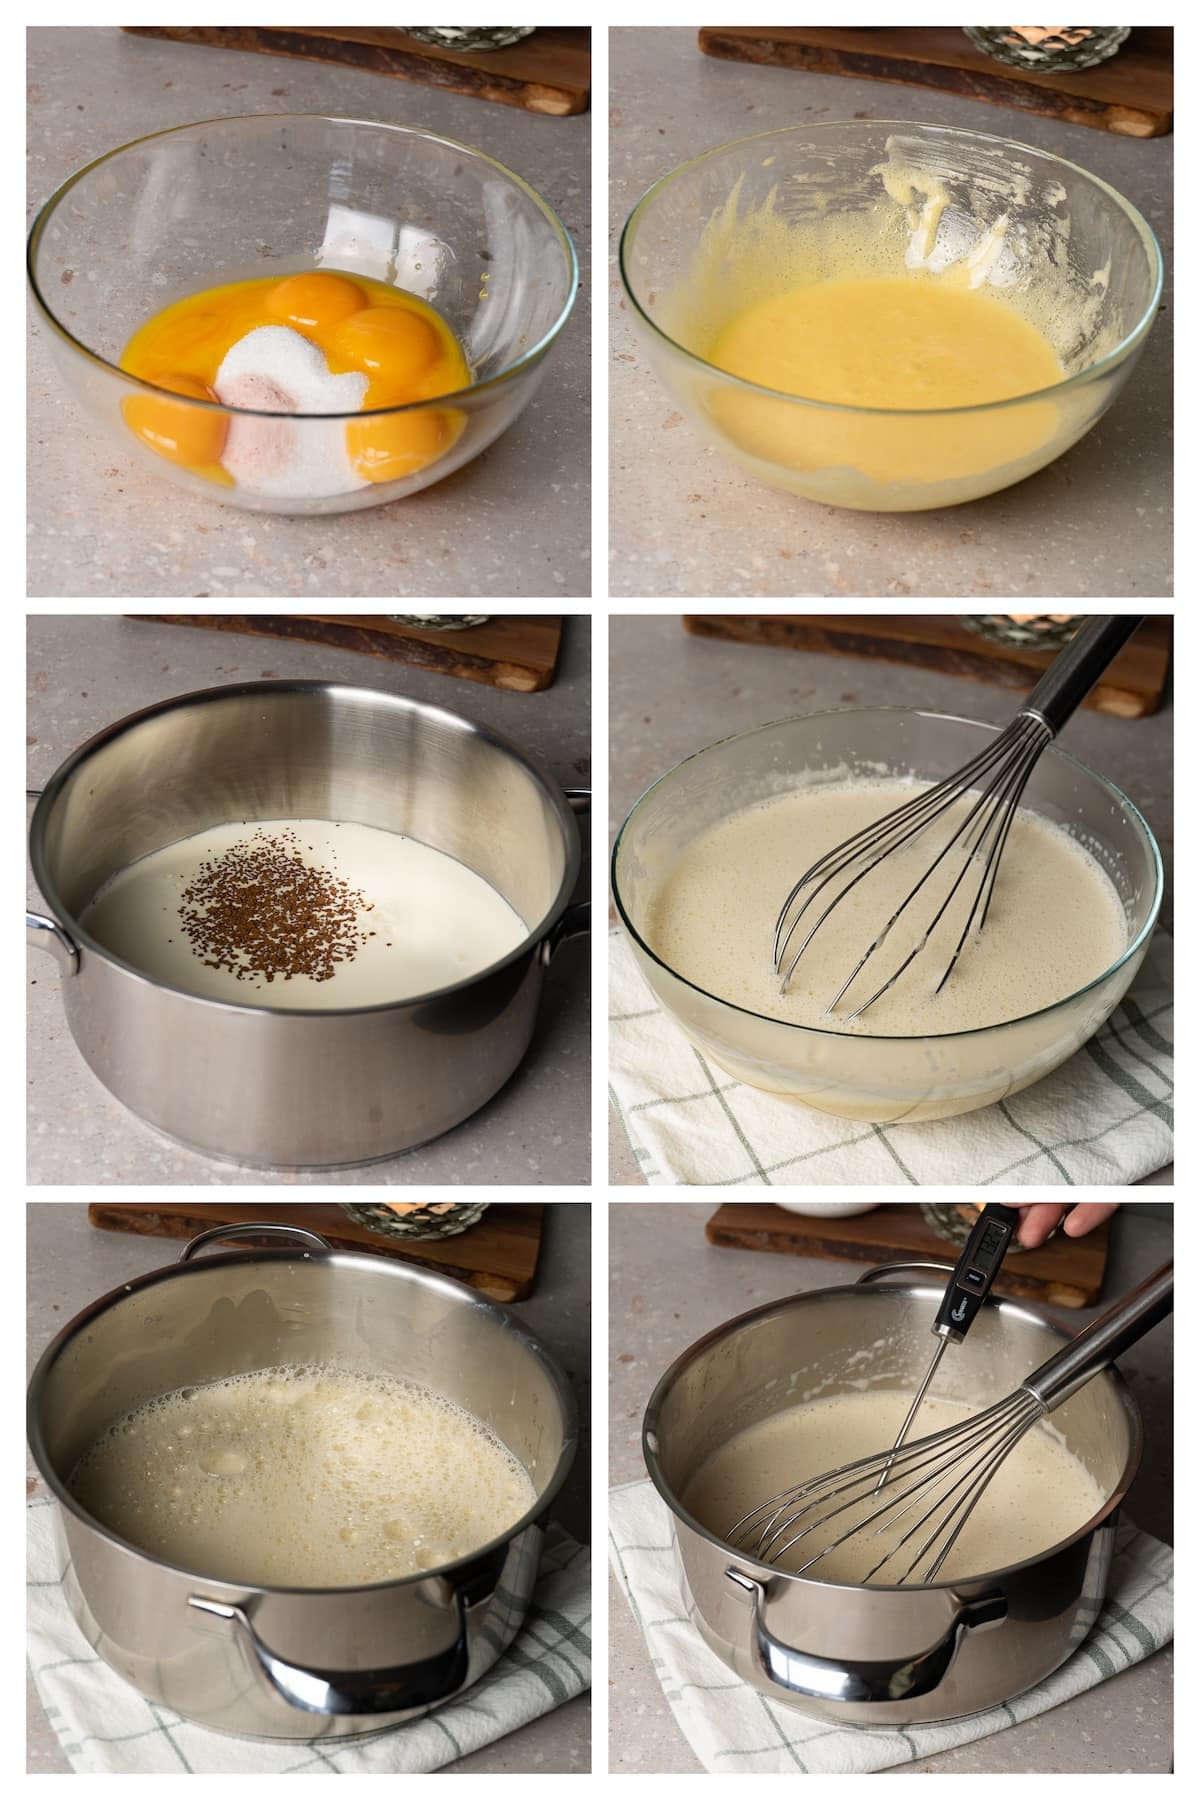
- Pour the mixture back into the saucepan and cook it over low heat stirring continuously until it reaches 179F (82C). It will take approximately 10 minutes.
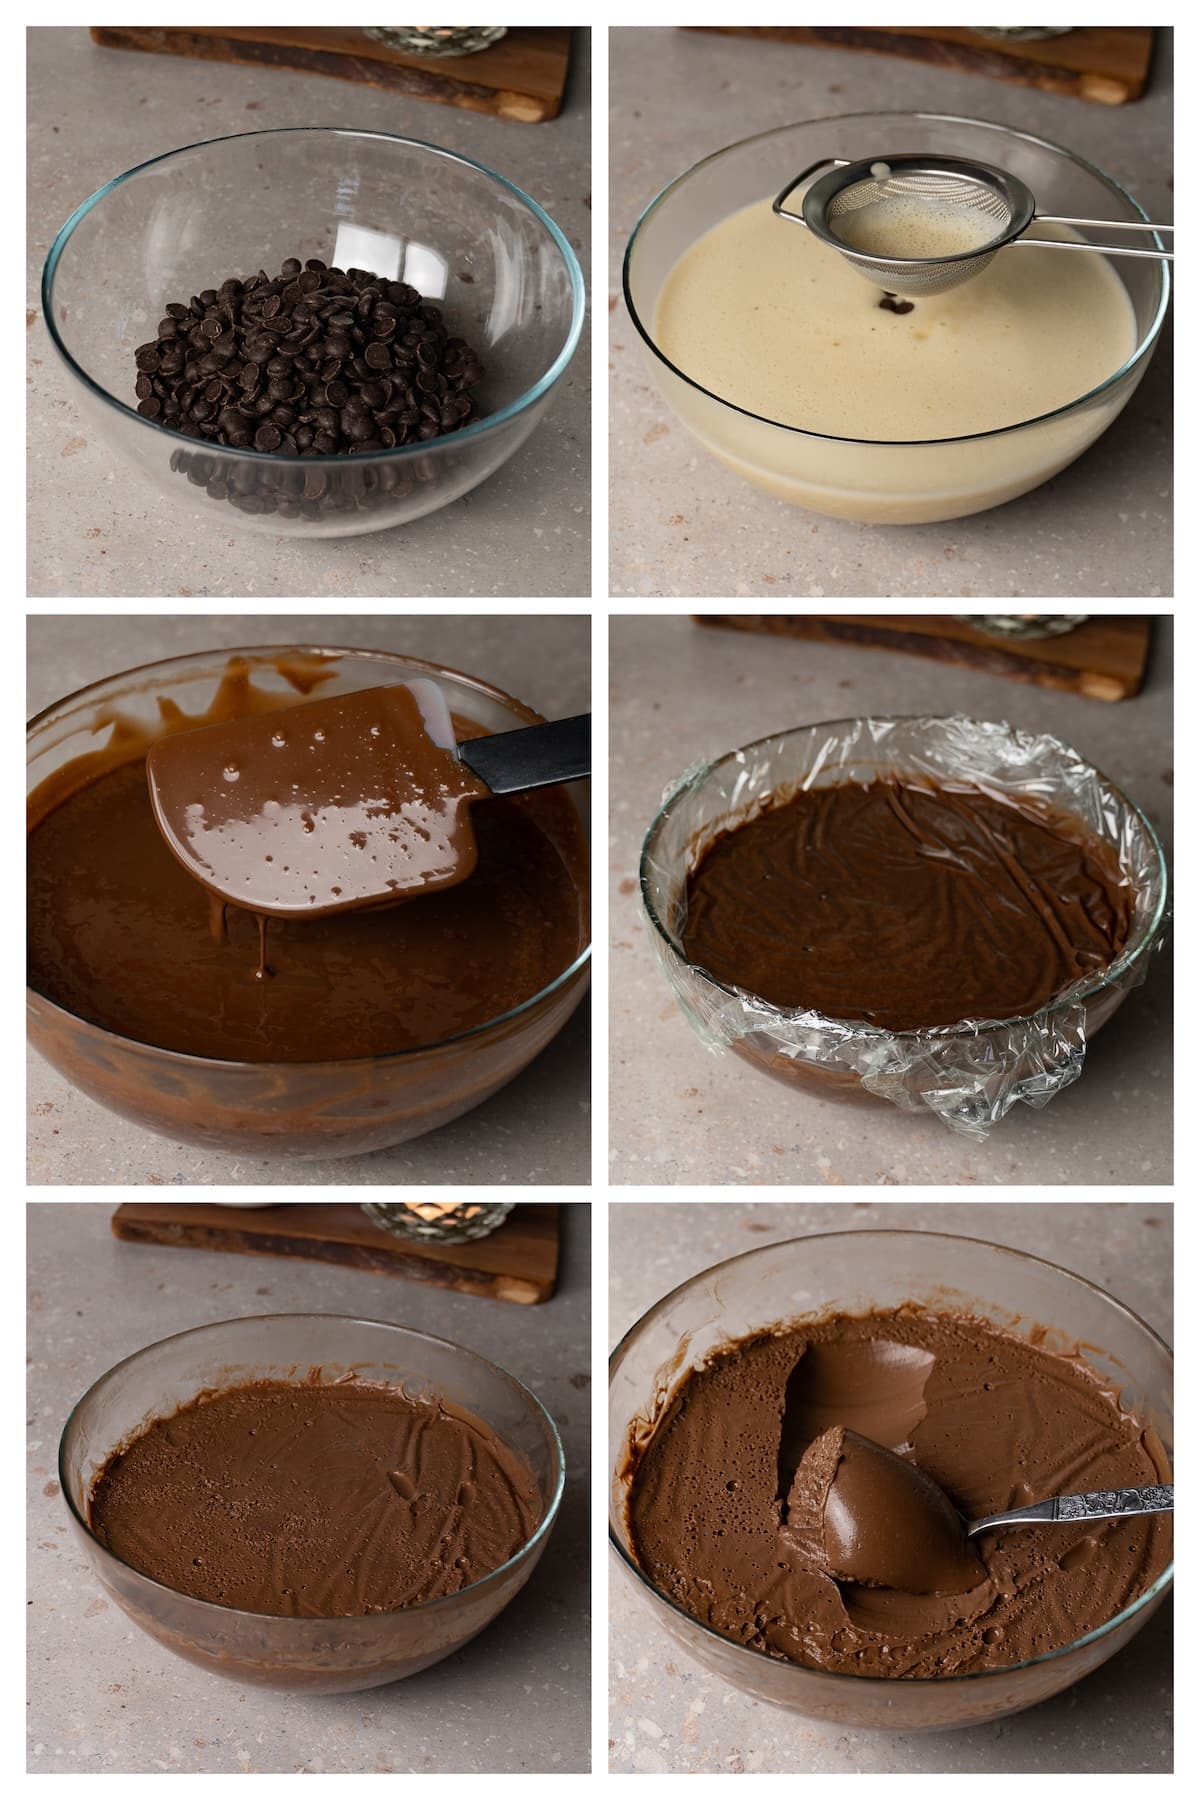
- When done, pour the custard through a fine-mesh strainer into the bowl with the chocolate.
- Mix until all chocolate has melted and the mixture is glossy and has a smooth and homogenous consistency.
- Cover with plastic wrap so it touches the entire surface of the chocolate mixture.
- Before assembling the cake, place all the cream in a piping bag with a round piping nozzle.
Making the cake layers
- Preheat the oven to 160C (320F) and line the bottom and sides of three 6" (15cm) cake pans with parchment paper.
- In a bowl, combine the flour, cocoa powder, baking powder and salt. Set aside.
- In the bowl of a stand mixer fitted with a paddle attachment, add the granulated sugar, butter, and vanilla. Beat for 5 minutes on medium-high until the mixture becomes pale and fluffy.
- Add the oil and beat until fully incorporated. After, add the melted chocolate and beat again.
- Add eggs one at a time and beat until the mixture looks homogenous and emulsified.
- Add the dry ingredients in three parts – alternating with the milk, starting and ending with the dry ingredients – while beating on low until a homogenous and silky consistency is reached. The pattern should look like this: dry/milk/dry/milk/dry.
- Divide the batter evenly between the pans and bake for 27-30 minutes or until a toothpick inserted in the center comes out clean.
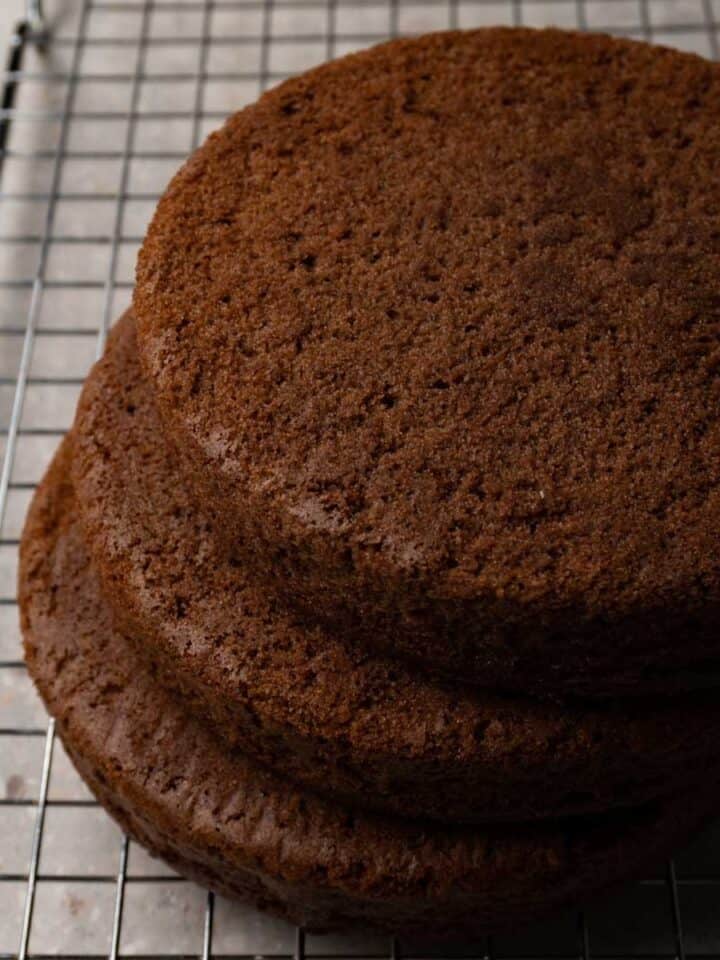
- Remove from the oven and let cool down in the pans until safe to handle. Then, place the cake layers upside down onto a cooling rack to cool down completely.

Assembling the cake
- Place the first cake layer on a plate and add ¼ of the prepared cream on top. Spread evenly and place the second layer on top. Repeat the process.
- Place the last cake layer and spread cream on the top and sides of the cake as a crumb coat. Freeze the cake for 30 minutes.
- When the cake has chilled, apply the final chocolate frosting and freeze for 30 minutes again. Optionally, when the final frosting has stabilized on the cake, take an offset spatula and create uneven strokes on the surface giving the cake a rustic look.
- Use the rest of the cream to decorate the top of the cake. Additionally, decorate with fresh raspberries. Refrigerate for 1 hour and serve.

Possible variations
- Another frosting – Go wild and experiment with alternative frostings! Whether it's a classic buttercream, cream cheese frosting, or a rich Chocolate Ganache, changing up the frosting can add a new twist to your chocolate fudge cake.
- Nuts – Fancy a bit of crunch? Toss in your favorite nuts! Whether it's walnuts, pecans, or almonds, adding nuts to your chocolate fudge cake brings a delightful texture that complements the rich, gooey goodness. You can mix them into the cake batter before baking or sprinkle some right on top of the filling between the cake layers
- Infuse your chocolate cremeux with other flavors – Check out a detailed blog post about Chocolate Cremeux to learn how you can infuse this delicious cream with cinnamon, chili, orange zest, or other flavors.
FAQ
Store the assembled cake in a plastic cake box in the fridge for up to 4 days. The cream and the baked layers can be stored in the fridge as well for the same amount of time. Make sure everything is tightly wrapped in plastic wrap.
Yes, the cake layers can be frozen for up to 2 months. Wrap them in plastic wrap and foil before freezing. Thaw in the fridge overnight before assembling the cake.
Freezing and thawing this chocolate cream may affect the texture, so I don’t recommend doing so.
More dessert recipes that you may like
Recipe card

Chocolate fudge cake
Equipment
- Digital kitchen scale
- Saucepan
- Instant read thermometer
- Mixing bowl
- Metal whisk
- Plastic wrap
- 3 6" (15cm) cake pan
- Parchment paper
- Stand mixer fitted with a paddle attachment or a hand mixer and a large mixing bowl
- Rubber spatula
Ingredients
Chocolate frosting
- 270 g semi-sweet chocolate chips if using a chocolate bar, chop it before using it
- 90 g egg yolks 5 egg yolks of large eggs
- 100 g sugar
- 1 teaspoon salt
- 270 g whole milk
- 270 g heavy whipping cream
- ½ teaspoon instant coffee
Cake layers
- 200 g all-purpose flour
- 20 g Dutch-processed cocoa powder
- 2 teaspoon baking powder
- ½ teaspoon salt
- 200 ml whole milk at room temperature
- 70 g unsalted butter
- 200 g white granulated sugar
- 1 teaspoon vanilla extract
- 30 g vegetable oil
- 30 g semi-sweet chocolate melted
- 2 large eggs at room temperature
Instructions
Chocolate frosting
- Place the chocolate in a large mixing bowl. Set aside.
- In a heat-proof bowl, add the egg yolks, sugar and salt. Whip until the mixture turns into a pale yellow color and fluffy. Set aside.
- Into a saucepan, add the milk, heavy cream, and instant coffee. Heat the mixture until it starts simmering.
- Slowly, pour the hot milk with cream into the bowl with eggs and sugar while whisking continuously to prevent egg yolks from curdling.
- Pour the mixture back into the saucepan and cook it over low heat stirring continuously until it reaches 179F (82C). It will take approximately 10 minutes.
- When done, pour the custard through a fine-mesh strainer into the bowl with the chocolate.
- Mix until all chocolate has melted and the mixture is glossy and has a smooth and homogenous consistency. Additionally, you can blend the mixture using an immersion blender to make sure that the mixture has emulsified.
- Cover with plastic wrap so it touches the entire surface of the chocolate mixture.
- Before assembling the cake, place all the cream in a piping bag with a round piping nozzle. Do not stir the cream, before transferring it. When you agitate it too much, it becomes softer and more difficult to work with.
For the cake
- Preheat the oven to 160C (320F) and line the bottom and sides of three 6" (15cm) cake pans with parchment paper. Or you can butter and flour the sides of the cake pans.
- In a bowl, combine the flour, cocoa powder, baking powder and salt. Set aside.
- In the bowl of a stand mixer fitted with a paddle attachment (or use a bowl and a hand mixer), add the granulated sugar, butter, and vanilla. Beat for 5 minutes on medium-high until the mixture becomes pale and fluffy. Scrape the sides and the bottom of the bowl a few times during the process.
- Then, add the oil and beat until fully incorporated. After, add the melted chocolate and beat again.
- Add eggs one at a time and beat until the mixture looks homogenous and emulsified.
- Add the dry ingredients in three parts – alternating with the milk, starting and ending with the dry ingredients – while beating on low until a homogenous and silky consistency is reached. The pattern should look like this: dry/milk/dry/milk/dry.
- Divide the batter evenly between the pans and bake for 27-30 minutes or until a toothpick inserted in the center comes out clean.
- Remove from the oven and let cool down in the pans until safe to handle. Then, place the cake layers upside down onto a cooling rack to cool down completely. If you want to assemble the cake the next day, wrap cooled cake layers in plastic wrap and refrigerate overnight.
Assembling the cake
- Place the first cake layer on a plate and add ¼ of the prepared cream on top. Spread evenly and place the second layer on top. Repeat the process.
- Place the last cake layer and spread cream on the top and sides of the cake as a crumb coat. Freeze the cake for 30 minutes. Place the piping bag with the cream in the freezer too, so the cream doesn’t become too warm to work with. You can also wrap the cake with plastic wrap and refrigerate it overnight to assemble the next day. In that case, keep the cream leftovers in the sealed piping bag in the fridge too.
- When the cake has chilled, apply the final chocolate frosting (don’t try to achieve sharp edges, this cream is not suitable for that) and freeze for 30 minutes again. Optionally, when the final frosting has stabilized on the cake, take an offset spatula and create uneven strokes on the surface giving the cake a rustic look.
- Use the rest of the cream to decorate the top of the cake. Additionally, decorate with fresh raspberries. Refrigerate for 1 hour and serve.

Leave a comment