Soft and moist, with a rich chocolate flavor, these chocolate sponge cake layers are a perfect base for any chocolate cake you can imagine. Stack them using your favorite buttercream, chocolate ganache, cremeux, or tangy cream cheese frosting to make a delicious dessert that you can serve for any occasion.

Jump to:
Ingredients you will need
- Flour – You can use all-purpose flour or cake flour for a softer texture and tender crumb.
- Cocoa powder – Use unsweetened Dutch-processed cocoa powder.
- Baking powder
- Salt
- Milk – I use whole milk (at room temperature).
- Oil – Any odorless vegetable oil will work in this chocolate sponge cake recipe. I prefer using canola oil but you can replace it with sunflower seed oil or even extra mild olive oil if you like.
- Sugar – You will need white granulated sugar.
- Vanilla extract – It’s optional but I prefer adding a little bit of vanilla extract to this chocolate cake.
- Chocolate – I use semi-sweet chocolate but bittersweet or even milk chocolate will work as well in this recipe.
- Eggs – Bring the eggs to room temperature before mixing them with other ingredients.
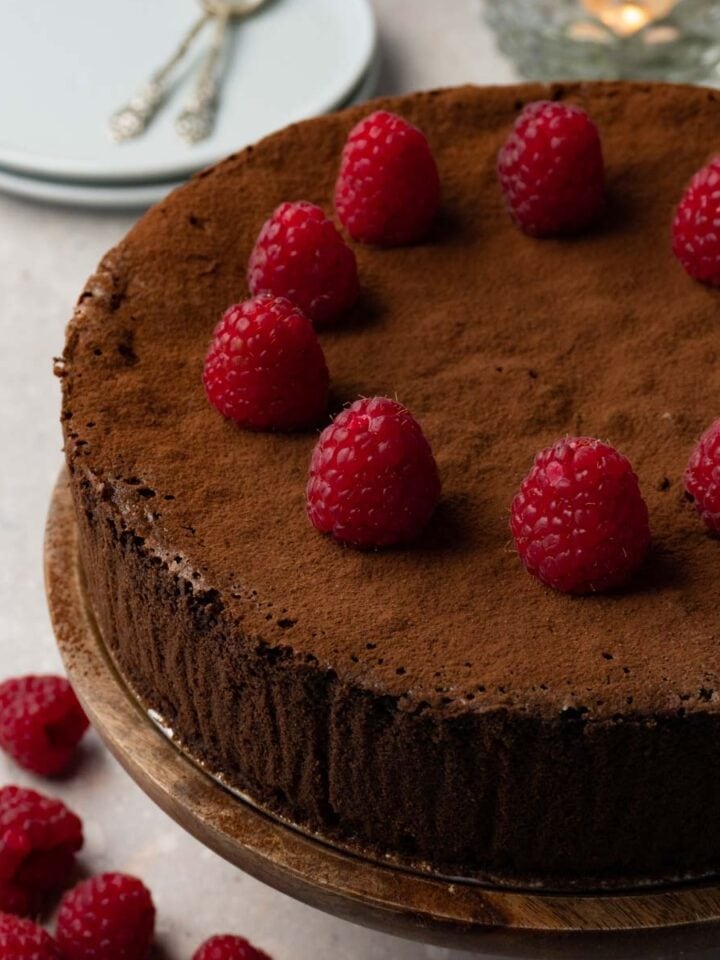
Looking for more delicious chocolate dessert recipes? Check out this Flourless chocolate cake, Chocolate roll, or this decadent Chocolate mousse cake.
How to bake flat cake layers
Say goodbye to domed cakes with overly browned edges! Here's how you achieve flat cakes without the need for cake strips.
While cake strips can be effective tools for baking flat cake layers, I find them unnecessary when using a low and slow baking method along with parchment paper lining the bottom and sides of your cake pans.
Using parchment paper prevents the edges of your sponge cakes from sticking to the pan, promoting even rising on the sides as well as in the middle during baking. Additionally, parchment paper acts as an extra protective layer between the cake batter and the metal pan, reducing browning, especially on the sides of your sponge cakes.
Furthermore, using silver color cake pans instead of black or dark color cake pans will help to bake your cake layers evenly. Lighter color pans attract less heat, which will help to bake your cakes slower, without unnecessary browning.

Expert tips
Use a digital kitchen scale. Weighing all ingredients using a digital kitchen scale helps to bake delicious cake layers that have the exact same texture and taste every single time. It will also be handy when dividing the cake batter between the pans, creating chocolate sponge cakes that have the same thickness.
Wrap still warm sponge cakes with plastic wrap and refrigerate. Wrapping still-warm cake layers will help to trap some steam inside them, creating a soft and moist texture. As for refrigerating, it will solidify all fats inside the cake, which will make the cake less crumbly and fragile, and easier to lift and work with.
How to make this chocolate sponge cake
- Preheat the oven to 160C (320F) and line the bottom and sides of three 6" (15cm) cake pans with parchment paper.
- In a bowl, combine the dry ingredients. Set aside.
- Beat the sugar, butter, and vanilla for 5 minutes on medium-high until the mixture becomes pale and fluffy.
- Add the oil and beat until fully incorporated. After, add the melted chocolate and beat again.

- Add the eggs one at a time and beat until the mixture looks homogenous and emulsified.
- Add the dry ingredients in three parts – alternating with the milk, starting and ending with the dry ingredients – while beating on low until a homogenous and silky consistency is reached. The pattern should look like this: dry/milk/dry/milk/dry.
- Divide the batter evenly between the pans and bake for 27-30 minutes or until a toothpick inserted in the center comes out clean.
- Remove from the oven and let cool down in the pans until safe to handle. Then, place the cake layers upside down onto a cooling rack to cool down completely. If you want to assemble the cake the next day, wrap cooled cake layers in plastic wrap and refrigerate overnight.

Flavor variations
Instant coffee – Adding 1 teaspoon of instant coffee or espresso powder won’t add a coffee flavor to your cake, but it will enhance the chocolate flavor even more.
Nuts – You can always add some chopped walnuts, pecans, or hazelnuts to add a nutty flavor and crunchy texture to your chocolate sponge cake.
Rum – No worries, after baking your cake layers, all the alcohol will evaporate, leaving a warm and spicy touch of dark rum.
Where to use these chocolate sponges
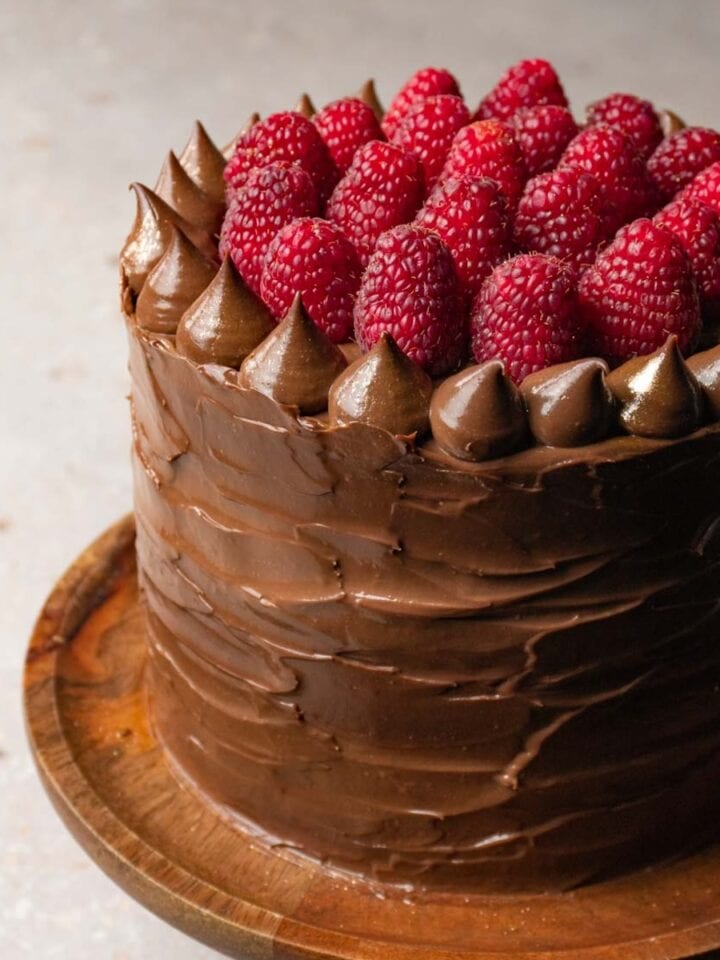
These cake layers are so delicious, you can eat them on their own. However, if you need to make a multi-layer cake that is simple, and will look amazing on your table, I suggest you try making this Chocolate cake with cream cheese frosting. You can also prepare my Chocolate ganache, refrigerate it until it’s firm enough to work with and stack your chocolate cake using it.
If you feel like stepping up your cake game and challenging yourself, try making this rich Chocolate fudge cake with Chocolate cremeux.

FAQ
Wrap your sponge cakes in plastic wrap and refrigerate for up to 4 days.
Yes, you can freeze it for up to 2 months. Don’t forget to wrap it in plastic wrap and a piece of foil to prevent freezer burn.
More recipes you may like
Recipe card

Chocolate sponge cake
Equipment
- Digital kitchen scale
- 3 6" (15cm) cake pan
- Stand mixer with a paddle attachment or hand mixer and a large mixing bowl
Ingredients
- 200 g all-purpose flour
- 20 g Dutch-processed cocoa powder
- 2 teaspoon baking powder
- ½ teaspoon salt
- 200 ml whole milk at room temperature
- 70 g unsalted butter at room temperature
- 200 g white granulated sugar
- 1 teaspoon vanilla extract
- 30 g vegetable oil
- 30 g semi-sweet chocolate melted
- 2 large eggs at room temperature
Instructions
- Preheat the oven to 160C (320F) and line the bottom and sides of three 6" (15cm) cake pans with parchment paper.
- In a bowl, combine the flour, cocoa powder, baking powder and salt. Set aside.
- In the bowl of a stand mixer fitted with a paddle attachment (or use a bowl and a hand mixer), add the granulated sugar, butter, and vanilla. Beat for 5 minutes on medium-high until the mixture becomes pale and fluffy. Scrape the sides and the bottom of the bowl a few times during the process.
- Then, add the oil and beat until fully incorporated. After, add the melted chocolate and beat again.
- Add eggs one at a time and beat until the mixture looks homogenous and emulsified.
- Add the dry ingredients in three parts – alternating with the milk, starting and ending with the dry ingredients – while beating on low until a homogenous and silky consistency is reached. The pattern should look like this: dry/milk/dry/milk/dry.
- Divide the batter evenly between the pans and bake for 27-30 minutes or until a toothpick inserted in the center comes out clean.
- Remove from the oven and let cool down in the pans until safe to handle. Then, place the cake layers upside down onto a cooling rack to cool down completely. If you want to assemble the cake the next day, wrap cooled cake layers in plastic wrap and refrigerate overnight.


Leave a comment