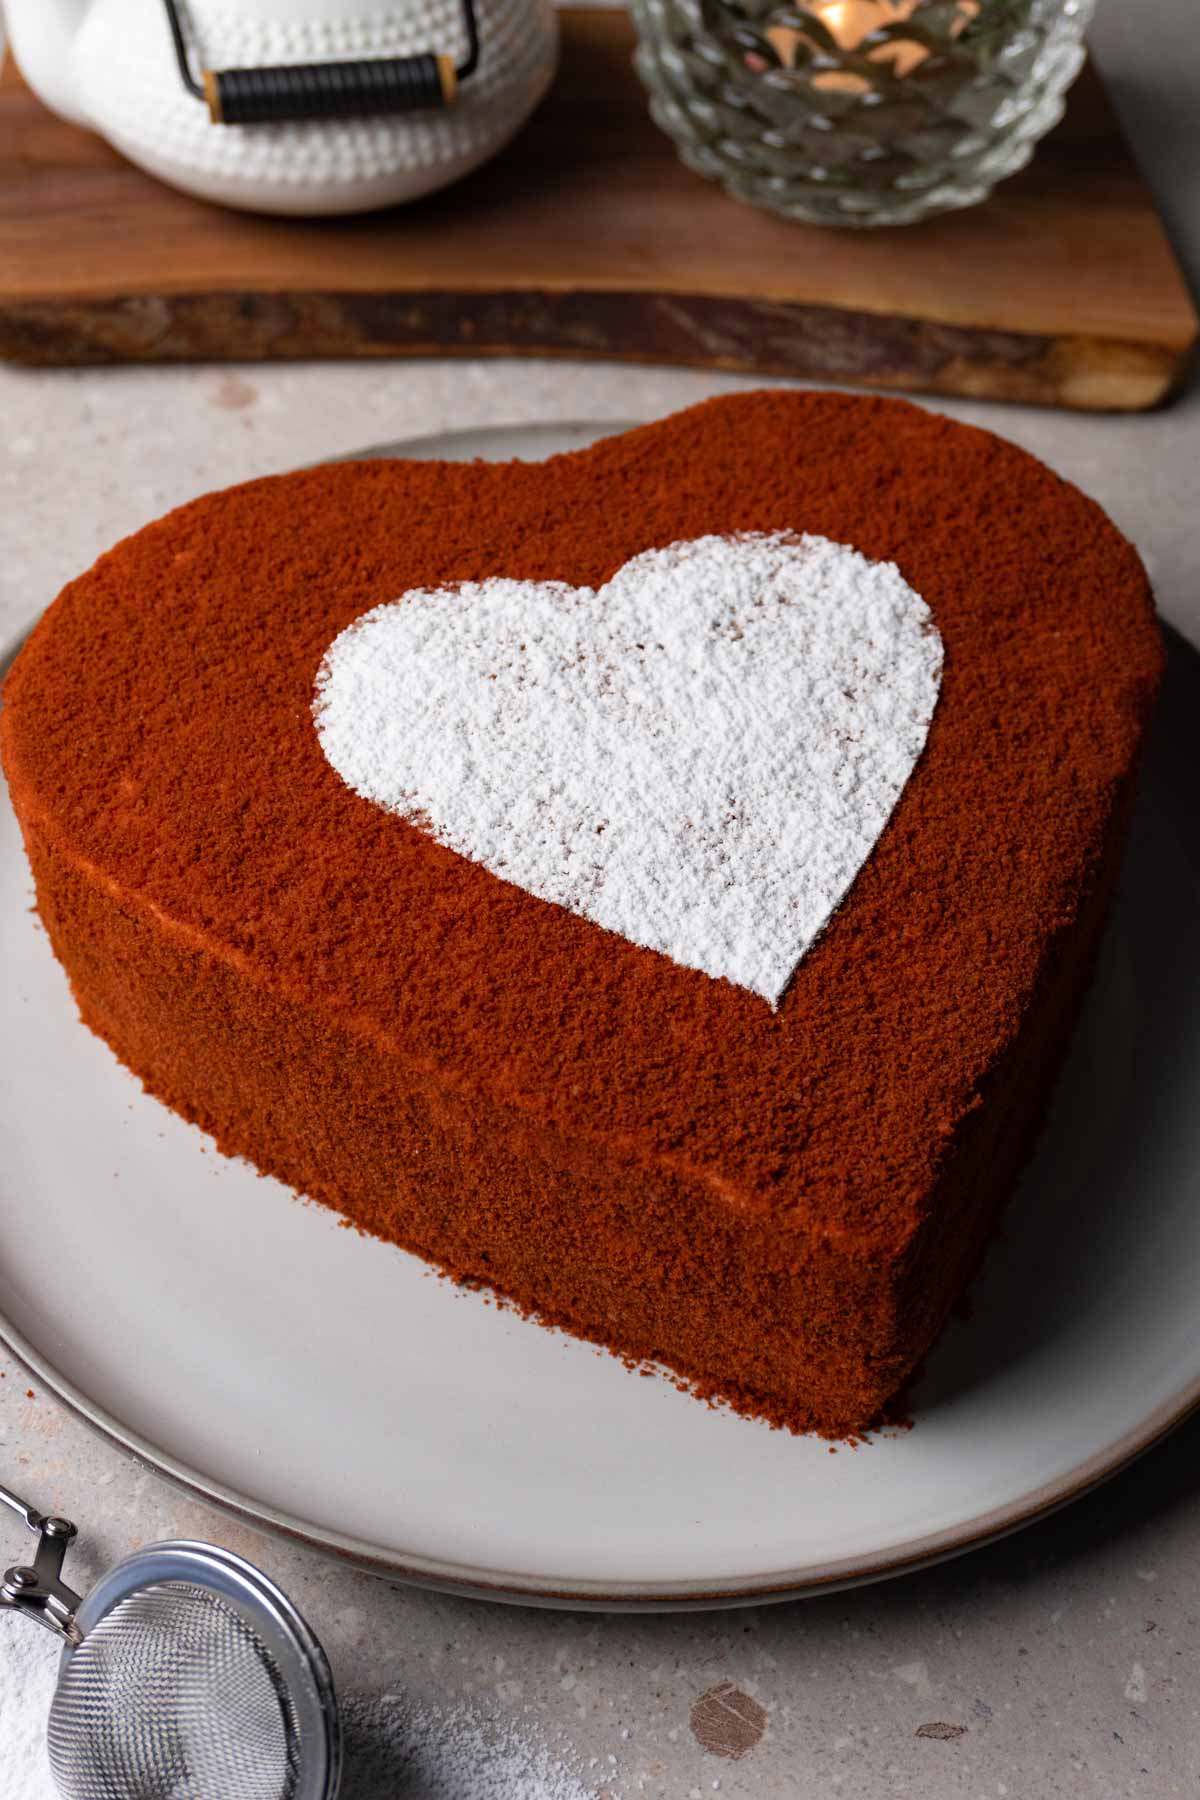
Soft and moist, this red velvet heart shaped cake with cream cheese frosting is an easy and stunning dessert you can make to treat your loved ones during Valentine’s Day or other special occasions.
Jump to:
Why you should make this heart shaped cake recipe
- Fun to make – Creating this heart-shaped cake is an enjoyable and creative process, from crafting the heart stencil to cutting out the layers. It can be a great baking project to do with your kids, friends, and family.
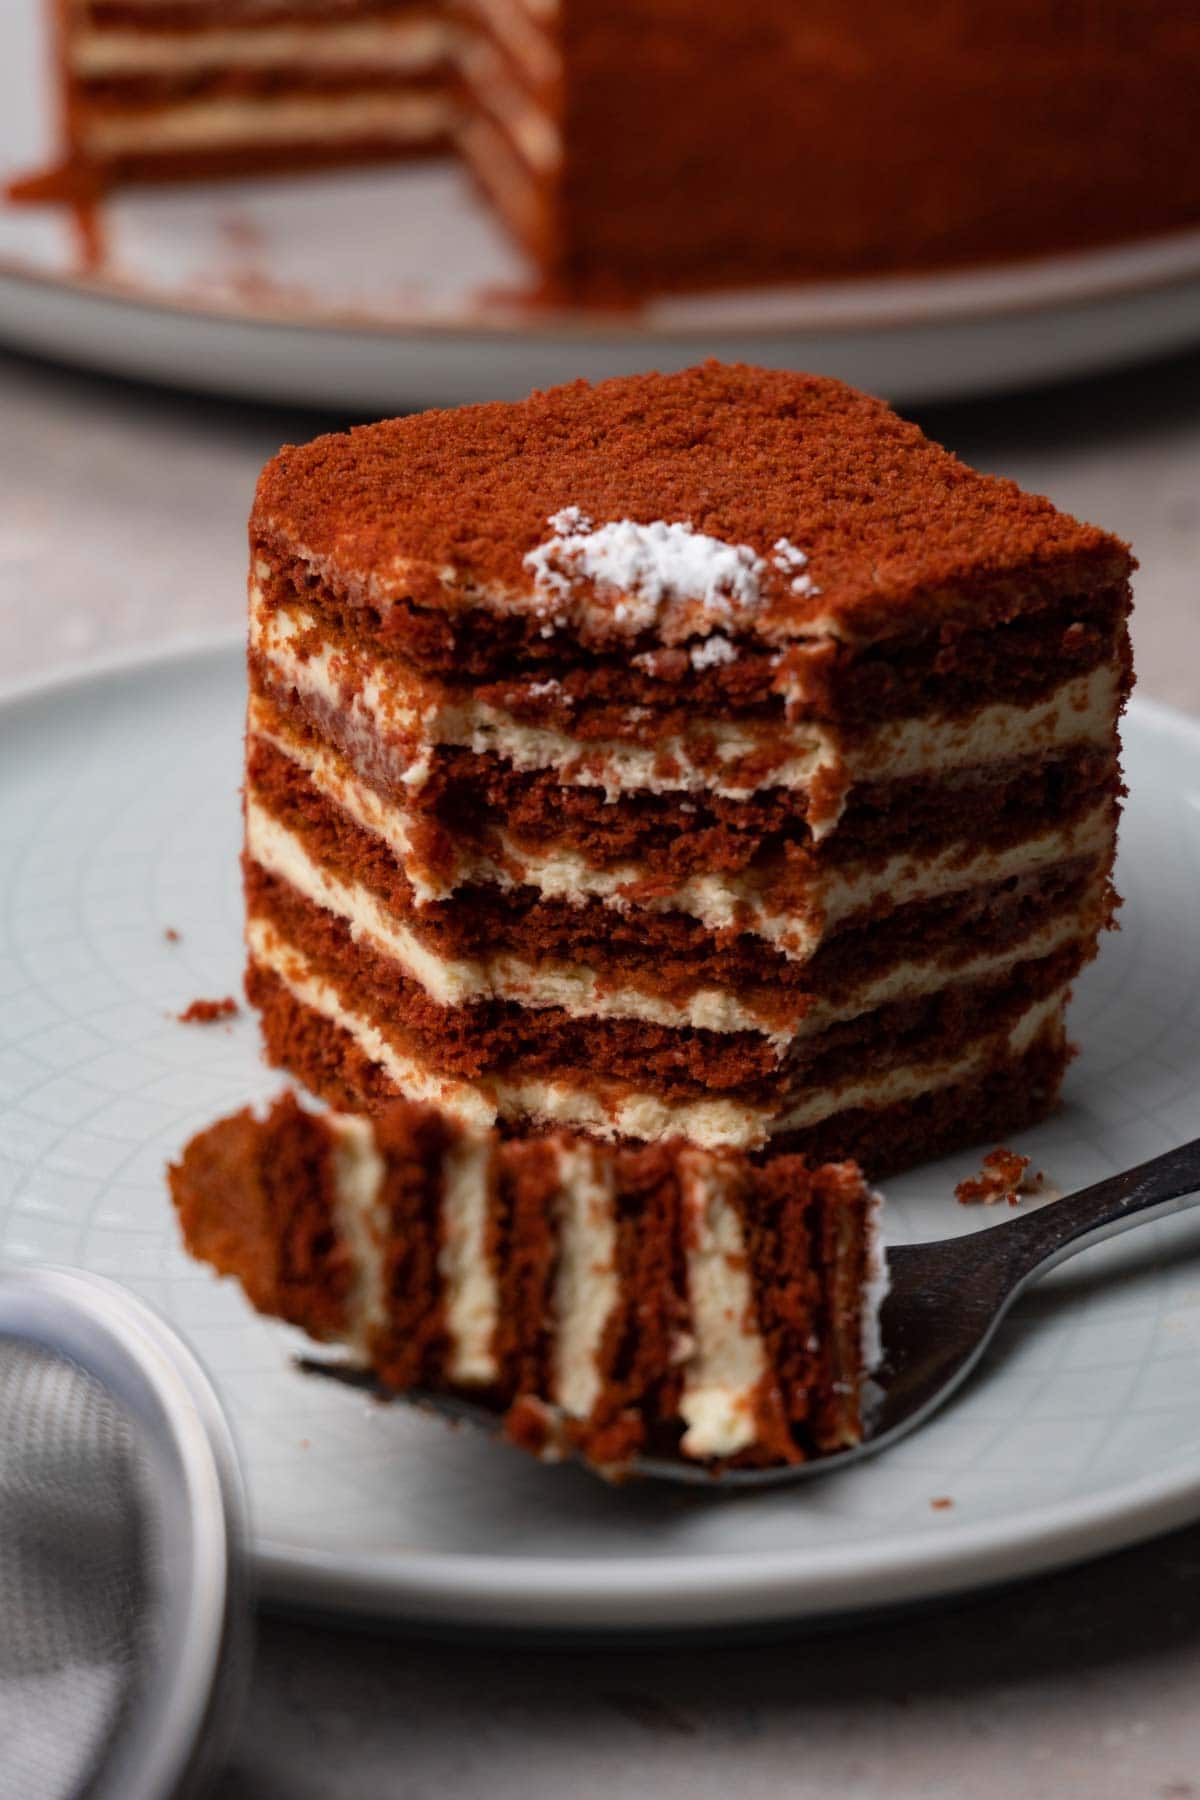
- The cake that melts in your mouth – If you’ve ever tried Honey cake before, you know how incredibly moist and soft it is. I took my honey cake recipe and transformed it into a unique red velvet heart cake with cream cheese frosting that won’t leave you disappointed. The texture is so special; once you try it, you won’t be able to forget it.
- Easy homemade cake – This heart-shaped cake is a testament to simplicity and ease in homemade baking. The straightforward instructions guide you through the process, ensuring that even those new to baking can achieve a delicious and visually stunning result. No complicated techniques or hard-to-find ingredients – just a straightforward recipe for a delightful homemade treat.

Looking for more Valentine's Day recipes? Look no further! Check out these Valentine cookies, Red velvet cookies, Red velvet brownies, or this classic Red velvet cake.
Ingredients you will need
For the cake layers
- Egg – No need to bring it to room temperature; you can use it right from the fridge.
- Vanilla extract
- Honey – Honey affects the taste of this cake, so make sure to use honey with a flavor you enjoy on its own.
- Butter – Use unsalted butter.
- White granulated sugar
- Baking soda – Don’t try to replace baking soda with baking powder.
- Red food coloring – You will need water-soluble coloring in gel or liquid form.
- Flour – You can use either all-purpose flour or cake flour to make this heart shaped cake recipe.
- Cocoa powder – You will need unsweetened Dutch-processed cocoa powder.
- Salt
For the cream cheese frosting
- Cream cheese – Use cold original Philadelphia cheese, or similar.
- Heavy whipping cream – Should be sold to whip well.
- Powdered sugar
- Vanilla extract
Cooking tips
- Don’t burn the honey mixture. Once you’ve added baking soda to the hot honey mixture, don’t stop mixing it, and keep an eye on it. It will start changing color very quickly and can burn in a matter of seconds. Once you see the mixture turn a light amber color, remove it from the heat.
- Don’t overbake the cake layers. There are two problems you can run into if you overbake your cake layers. Overbaked cake layers will become hard and brittle after cooling down, and the bright red color can turn into a brick red color (depending on the food coloring you use). Usually, 5 minutes is enough for these cake layers to cook through, so keep an eye on them and don’t overbake.
- Bake the cake layers before cutting out the heart shape. I find it easier to cut the heart shape out of the baked cake layers rather than from the raw dough. Also, it makes the edges very straight and sharp, which will make frosting your cake easier.
- Don’t overwhip the cream. Cream cheese frosting is a straightforward cream that you can make to frost your cake. The only thing you should be aware of is that it can be overwhipped. And if this happens, there’s no way to fix it. To avoid this situation, stop your mixer every 10-20 seconds to check for consistency. Once the cream has reached stiff peaks, meaning it holds its shape very well, stop your mixer and start assembling the cake.
How to make heart cake
Make the dough
- Make a heart stencil that is approximately 7” (18cm) wide and 7” (18cm) long.
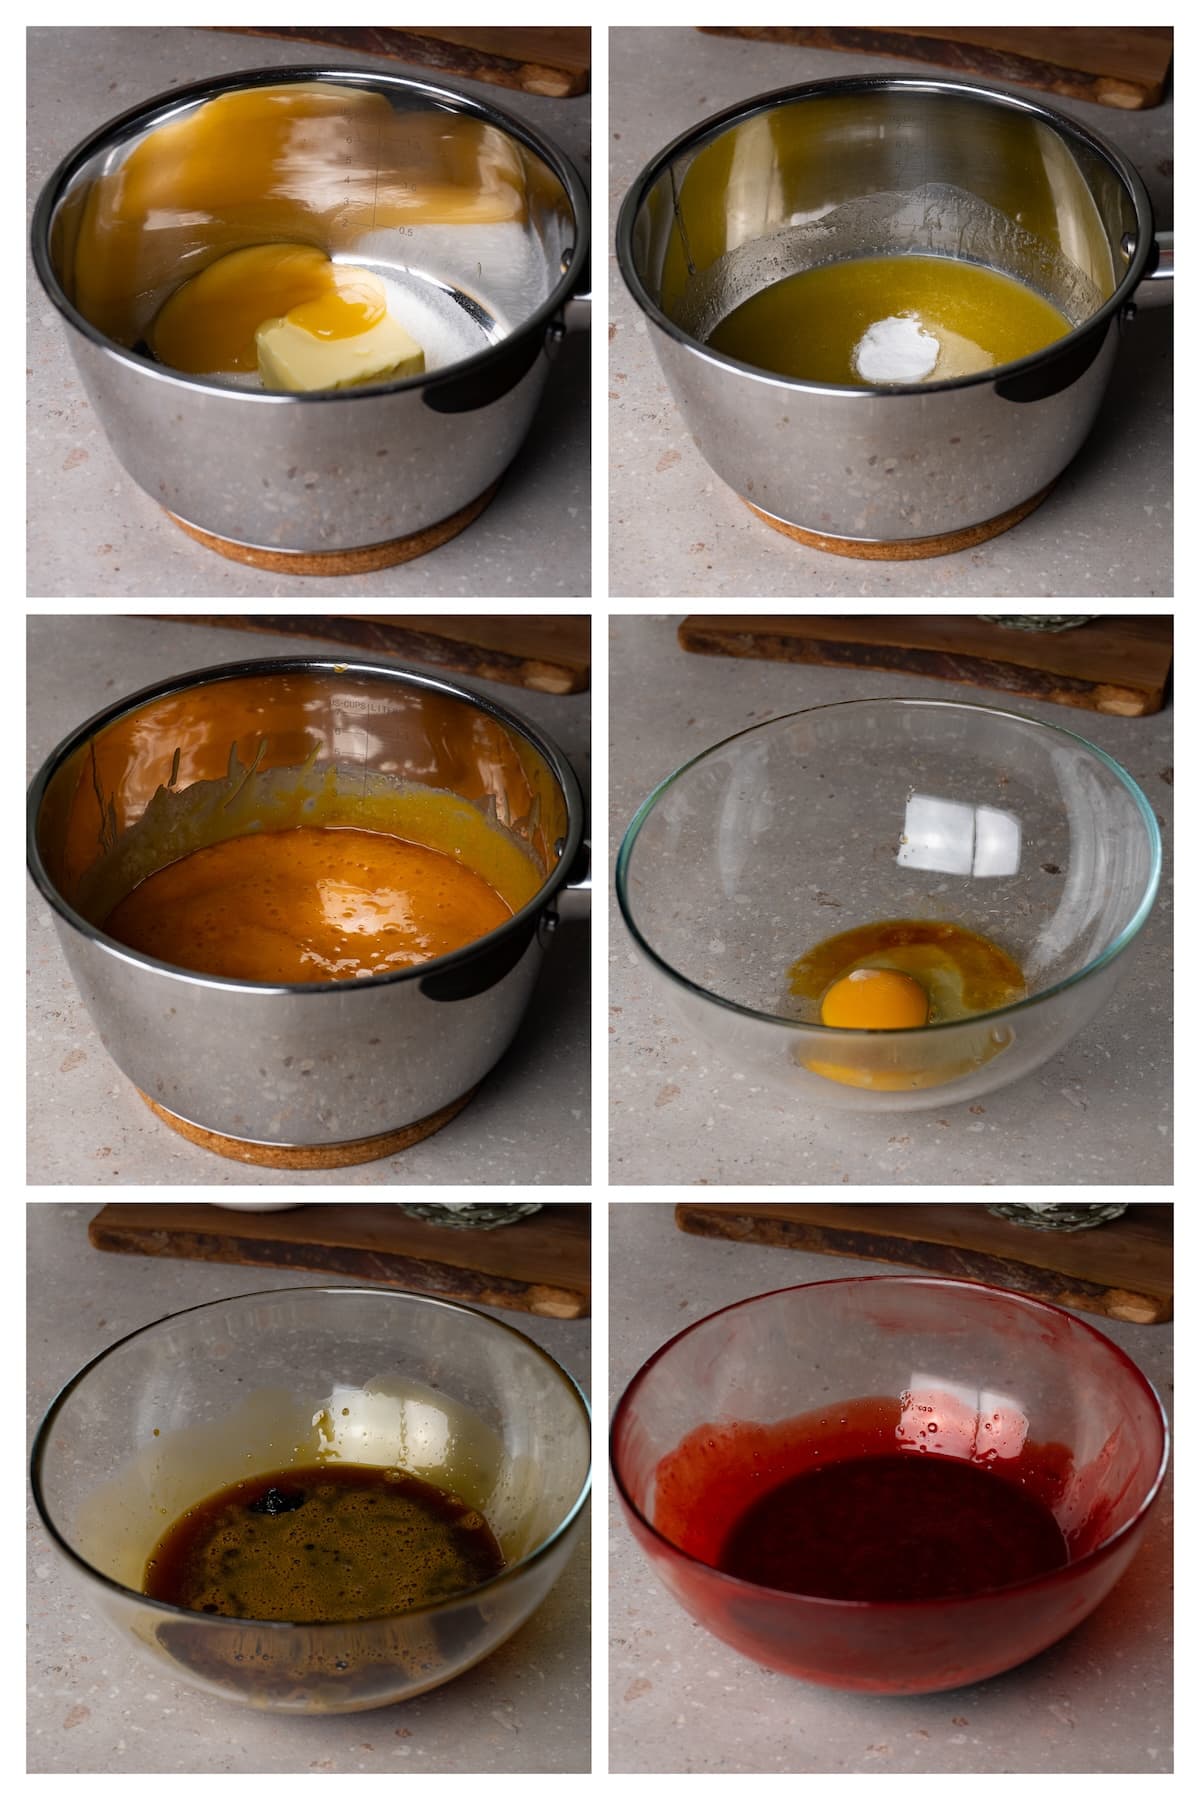
- Crack the egg into a mixing bowl and add in vanilla extract. Set aside.
- In a heavy-bottomed medium saucepan, add the butter, honey, and sugar. Heat over medium heat until the butter has melted and the mixture starts simmering.
- Lower the heat to low and add baking soda. Whisk to combine. Cook over low heat, stirring continuously to prevent the honey from burning, until the mixture turns a light amber color.
- Remove from the heat and slowly pour the honey mixture into the bowl with the egg, whisking continuously.
- Add red food coloring and mix well to incorporate.
- Then, sift in the flour, cocoa powder, and salt, and mix until no dry ingredients are left. Wrap the dough in plastic wrap and place it in the fridge for 1 hour, or overnight.
Bake the cake layers
- Preheat the oven to 180C (355F). Prepare a baking sheet and 5 pieces of parchment paper.
- Split the dough into 5 even parts. Take one piece and place it on parchment paper, cover it with a piece of plastic wrap, and roll it out. The final slab should be around 2-3mm thick, and you should be able to cut out a heart shape using the stencil that you have prepared.
- Bake each layer for 5 minutes or until puffy and no longer shiny.
- Cut out the heart shape using the stencil and a small sharp knife. Place the leftovers on a separate plate.
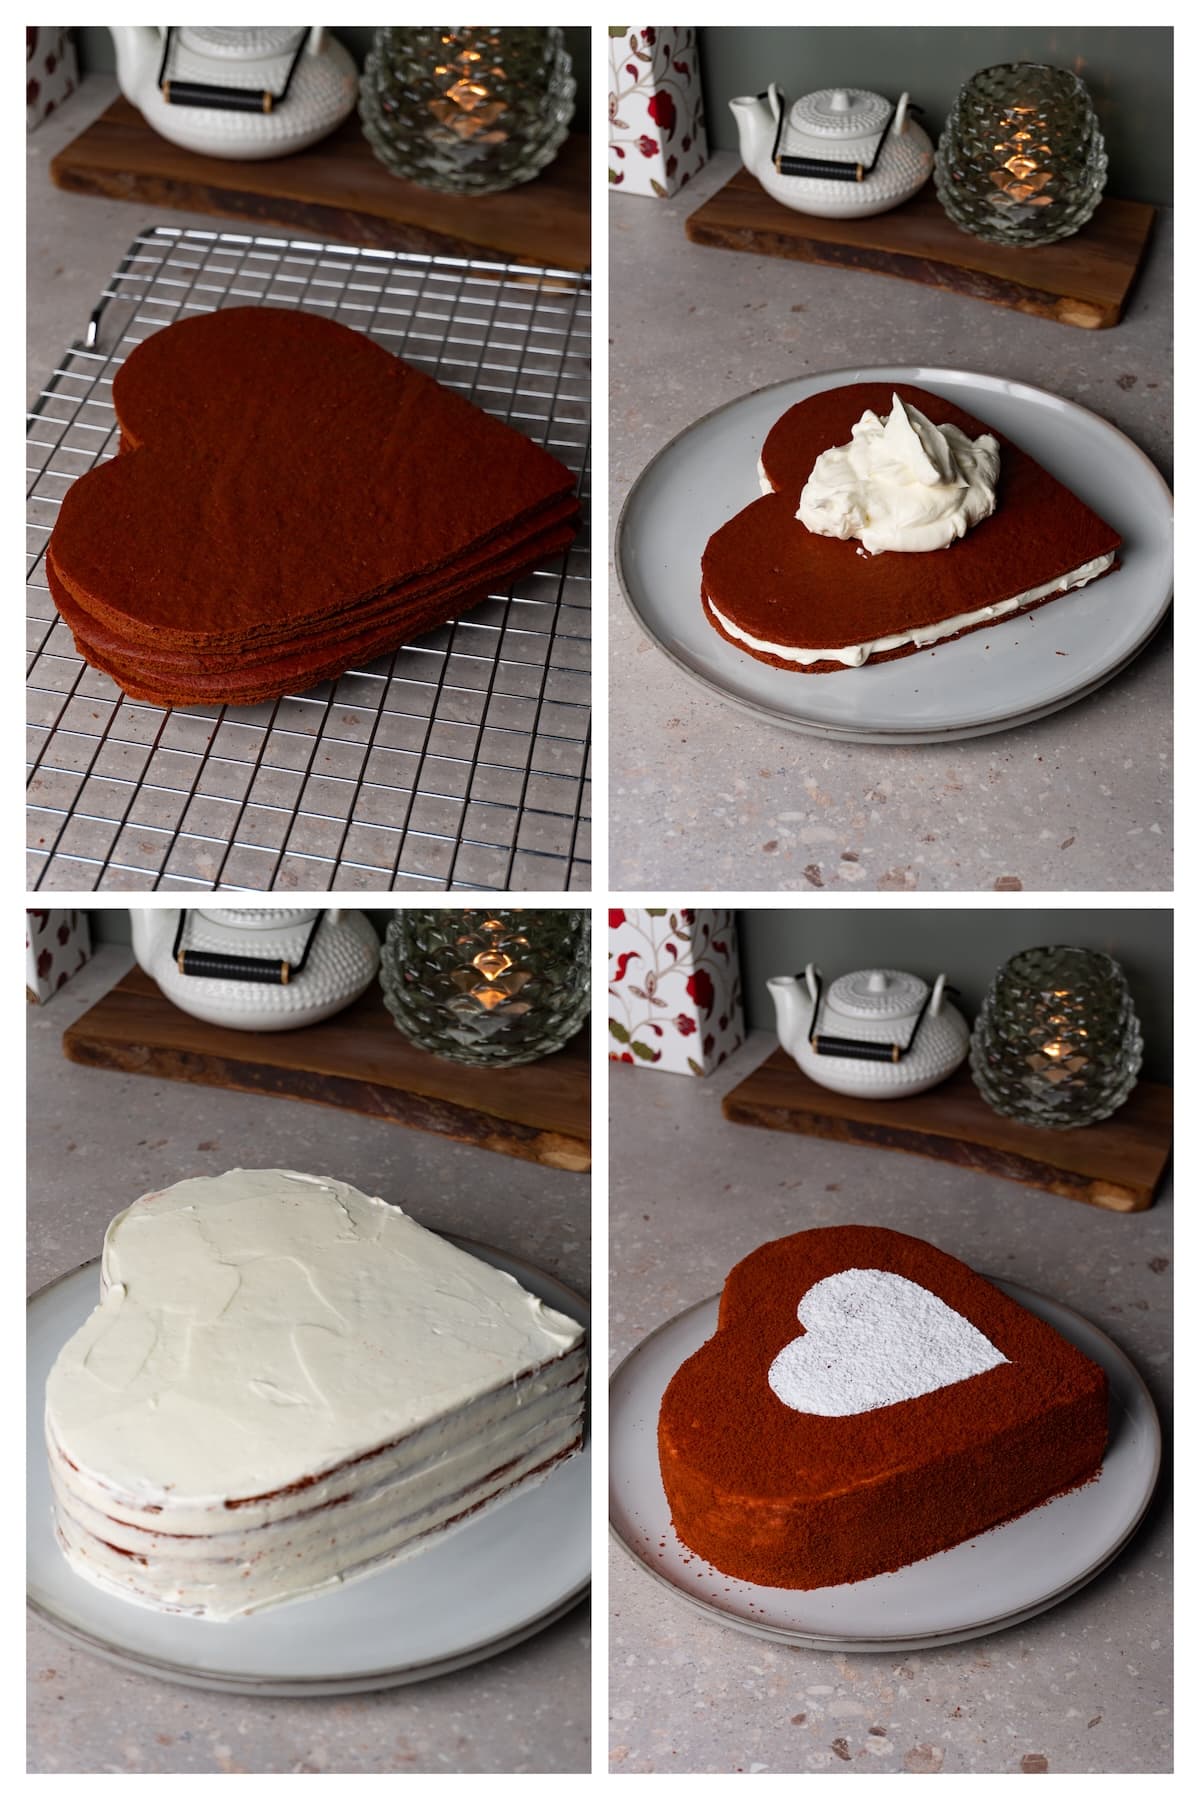
- Transfer the cake layer onto a cooling rack.
- Roll out, bake, and cut out the rest of the cake layers.

Make the cream
- Place all ingredients in the bowl of a stand mixer fitted with a whisk attachment (or use a bowl and a hand mixer).
- Whip to stiff peaks, scraping the sides and the bottom of the bowl a couple of times in between.
Assemble the cake
- Spread one teaspoon of the cream on the surface/plate that you’re going to use to assemble your cake.
- Place the first cake layer on top. Then, add around ⅕ of the cream (100g) and spread it evenly. Cover with the second cake layer and repeat the process until no cake layers are left.
- Crumb coat the cake with the rest of the cream and refrigerate for 2 hours.
- Place the cake layers leftovers in a food processor and pulse until a fine crumb is reached.
- Cover the cake evenly with the crumbs and decorate the top to your liking.
Flavor variations
- Add fresh berries – Boost the taste of your red velvet heart shaped cake by tossing on some juicy strawberries, blueberries, or raspberries between the layers or as a tasty topping.
- Raspberry coulis – Add a thin layer of Raspberry coulis between the cake layers or serve it on the side for a tangy twist that pairs perfectly with red velvet cake.
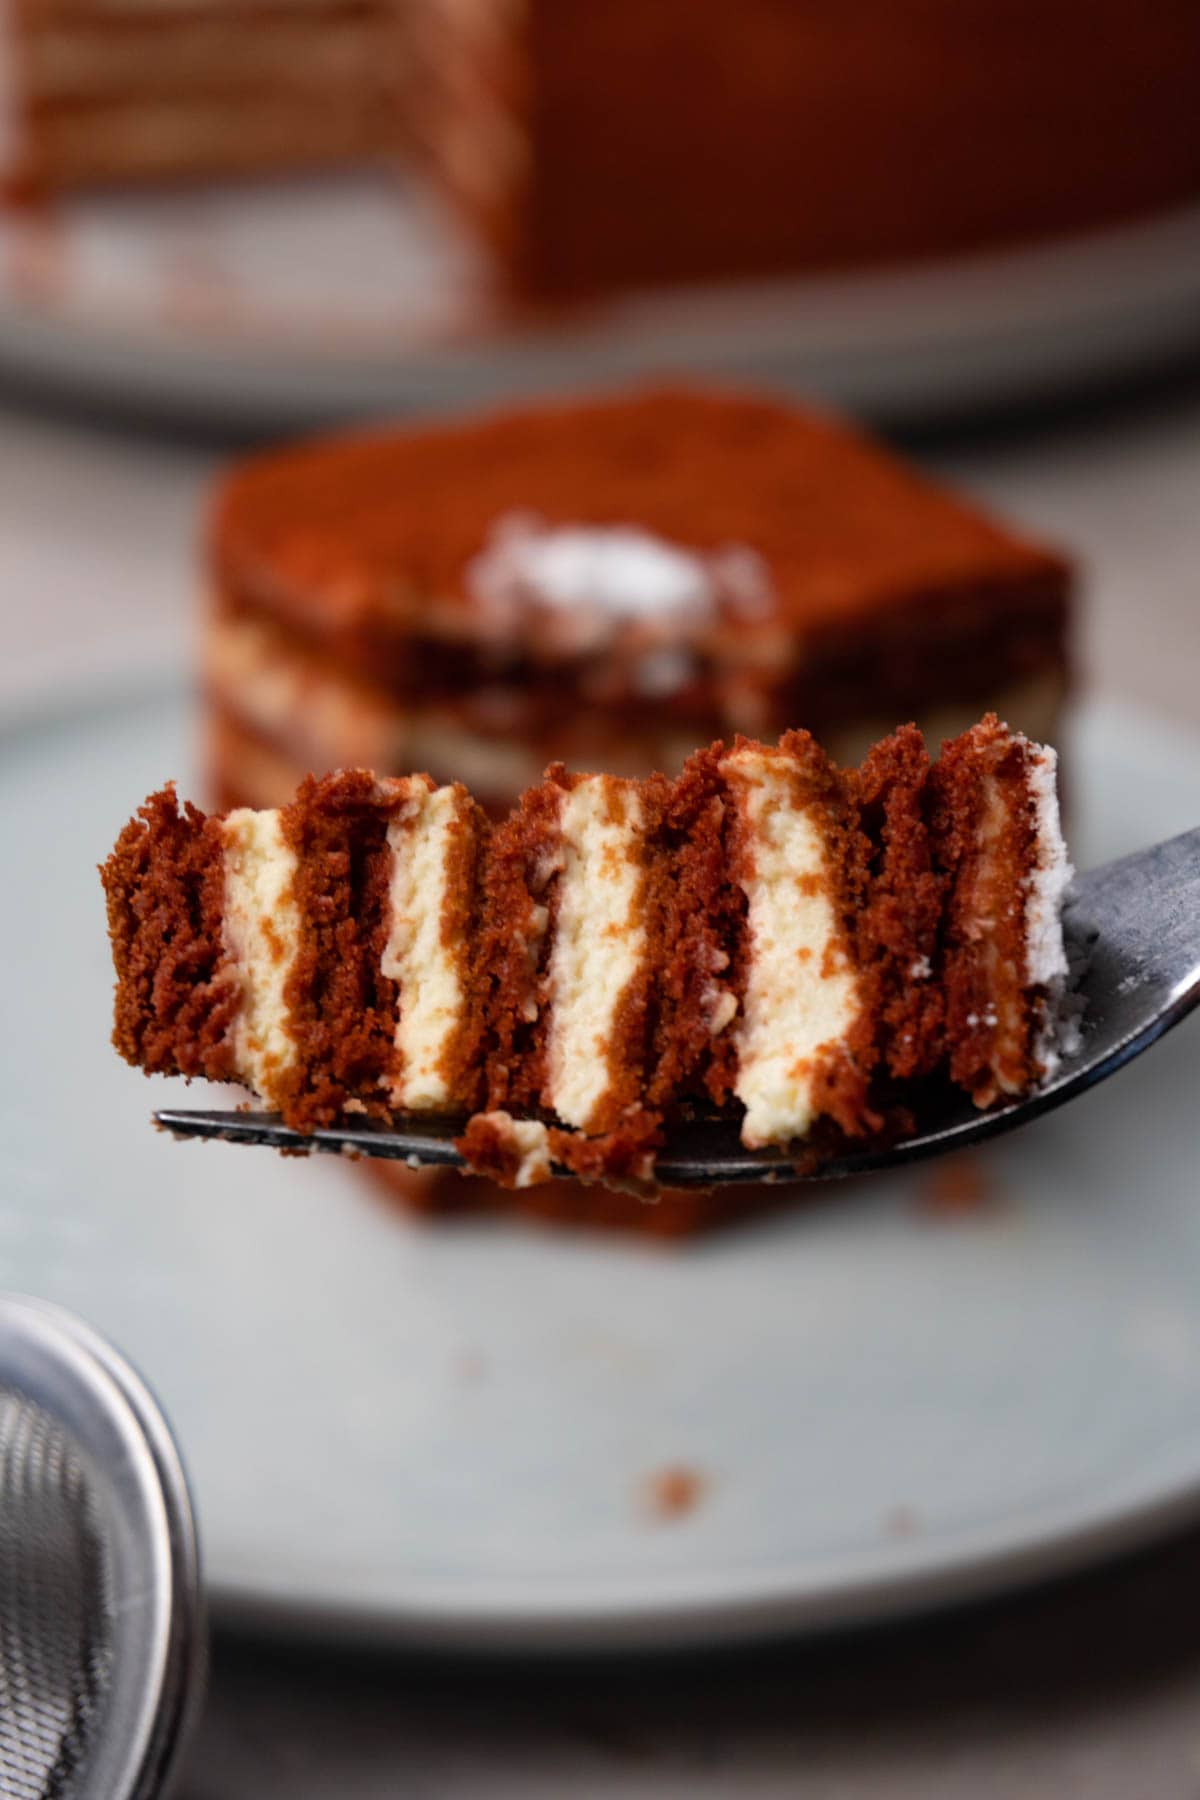
Decoration variations
- Make it another shape – Feel free to explore different shapes beyond the classic heart. Whether it's a round cake for a more traditional look, or perhaps a star, square, or any shape that resonates with your creativity.
- Change the color – Experiment with various food coloring options to customize the appearance and mood of this homemade cake. However, be mindful that this recipe includes cocoa powder, which can influence the final color of the cake.
FAQ
Store it in a cake box in the fridge for up to 4 days.
Unfortunately, this cake should not be frozen.
The dough can be wrapped and stored in the fridge for up to 4 days or frozen for up to 2 months. The cream is best used right away after whipping, but if you have leftovers, you can store them in the fridge for up to 4 days. Don’t forget that if you make the cream and store it in the fridge for 4 days, the cake assembled with this cream should be consumed the same day.
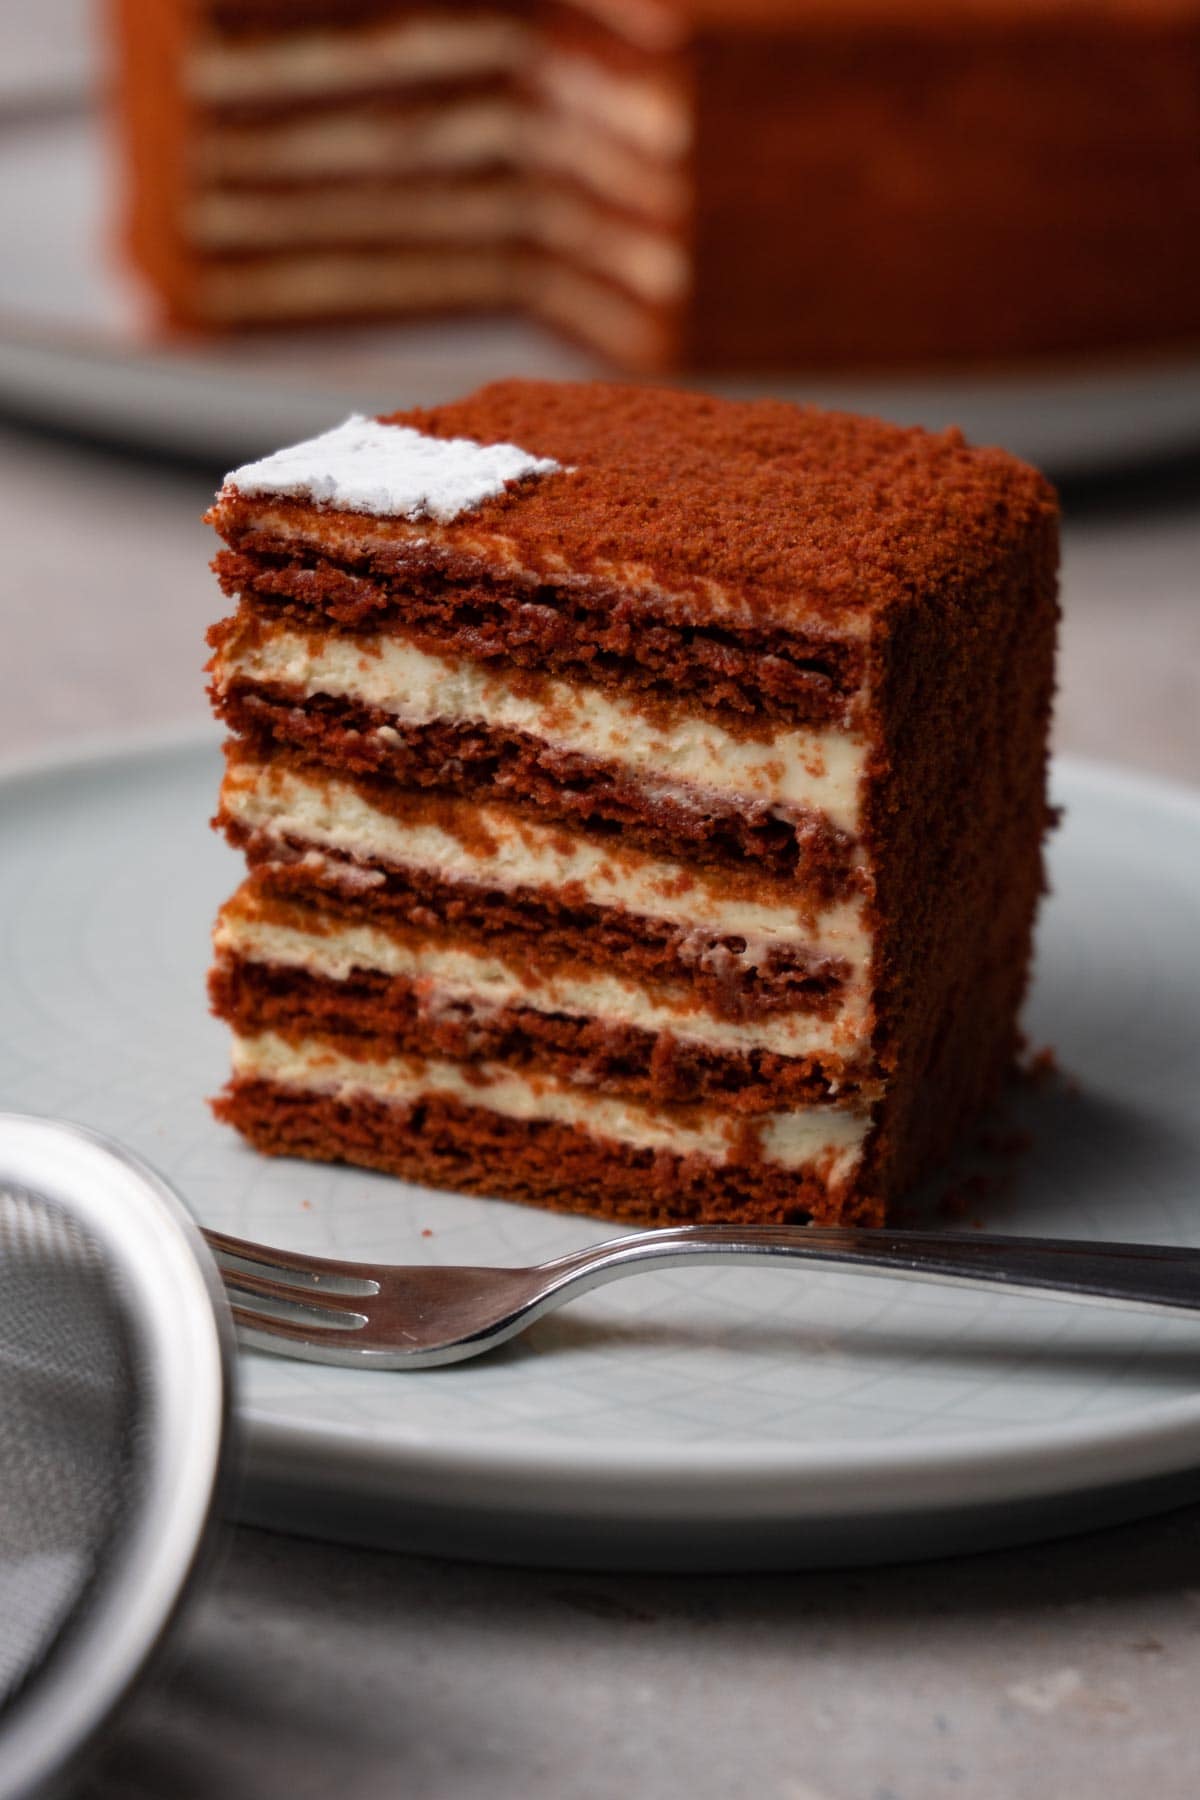
More cake recipes you may like
Recipe card

Heart shaped cake
Equipment
- Digital kitchen scale
- 2 Mixing bowl
- Whisk
- Rubber spatula
- Saucepan
- Rolling Pin
- Parchment paper
Ingredients
Cake layers
- 1 large egg
- 1 teaspoon vanilla extract
- 70 g honey
- 60 g butter
- 50 g white granulated sugar
- 5 g baking soda
- Red food coloring water-soluble coloring in gel or liquid form
- 190 g all-purpose flour
- 10 g Dutch-processed cocoa powder unsweetened
- ½ teaspoon salt
Cream
- 400 g cream cheese I use original Philadelphia cheese
- 100 g heavy whipping cream cold
- 80 g powdered sugar
- 1 teaspoon vanilla extract
Instructions
For the cake layers
- Make a heart stencil that is approximately 7” (18cm) wide and 7” (18cm) long. I use a regular A4 piece of paper.
- Crack the egg into a mixing bowl and add in vanilla extract. Set aside.
- In a heavy-bottomed medium saucepan, add the butter, honey, and sugar. Heat over medium heat until the butter has melted and the mixture starts simmering.
- Lower the heat to low and add baking soda. Whisk to combine. The mixture will bubble and expand a lot but will then subside. Cook over low heat, stirring continuously to prevent the honey from burning, until the mixture turns a light amber color.
- Remove from the heat and slowly pour the honey mixture into the bowl with the egg, whisking continuously.
- Add red food coloring and mix well to incorporate.
- Then, sift in the flour, cocoa powder, and salt, and mix until no dry ingredients are left. The dough should be sticky, so don’t add more flour! Wrap the dough in plastic wrap and place it in the fridge for 1 hour, or overnight.
- Preheat the oven to 180C (355F). Prepare a baking sheet and 5 pieces of parchment paper.
- Split the dough into 5 even parts (around 85g each). Take one piece and place it on parchment paper, cover it with a piece of plastic wrap, and roll it out. If it sticks to the parchment paper, lift the dough slab, flip it cover it with the plastic wrap again, and keep rolling. The final slab should be around 2-3mm thick, and you should be able to cut out a heart shape using the stencil that you have prepared. Do not cut it out yet.
- Bake each layer for 5 minutes or until puffy and no longer shiny. Take the baking sheet out of the oven. Lift the baking paper with the cake layer and remove it from the baking sheet.
- Cut out the heart shape using the stencil and a small sharp knife. Place the leftovers on a separate plate. We will use them to decorate the cake.
- Transfer the cake layer onto a cooling rack. Don’t stack baked cake layers on top of each other if they’re still warm.
- Roll out, bake, and cut out the rest of the cake layers.
For the cream
- Place all ingredients in the bowl of a stand mixer fitted with a whisk attachment (or use a bowl and a hand mixer).
- Whip to stiff peaks, scraping the sides and the bottom of the bowl a couple of times in between.
Assembling the cake
- Spread one teaspoon of the cream on the surface/plate that you’re going to use to assemble your cake.
- Place the first cake layer on top. Then, add around ⅕ of the cream (100g) and spread it evenly. Cover with the second cake layer and repeat the process until no cake layers are left.
- Crumb coat the cake with the rest of the cream and refrigerate for 2 hours.
- Meanwhile, place the cake layers leftovers in a food processor and pulse until a fine crumb is reached.
- When the cake is chilled, dust it evenly with the crumbs and decorate the top with fresh berries or use powdered sugar as shown in the picture.
- The cake is best served the next day.

Leave a comment