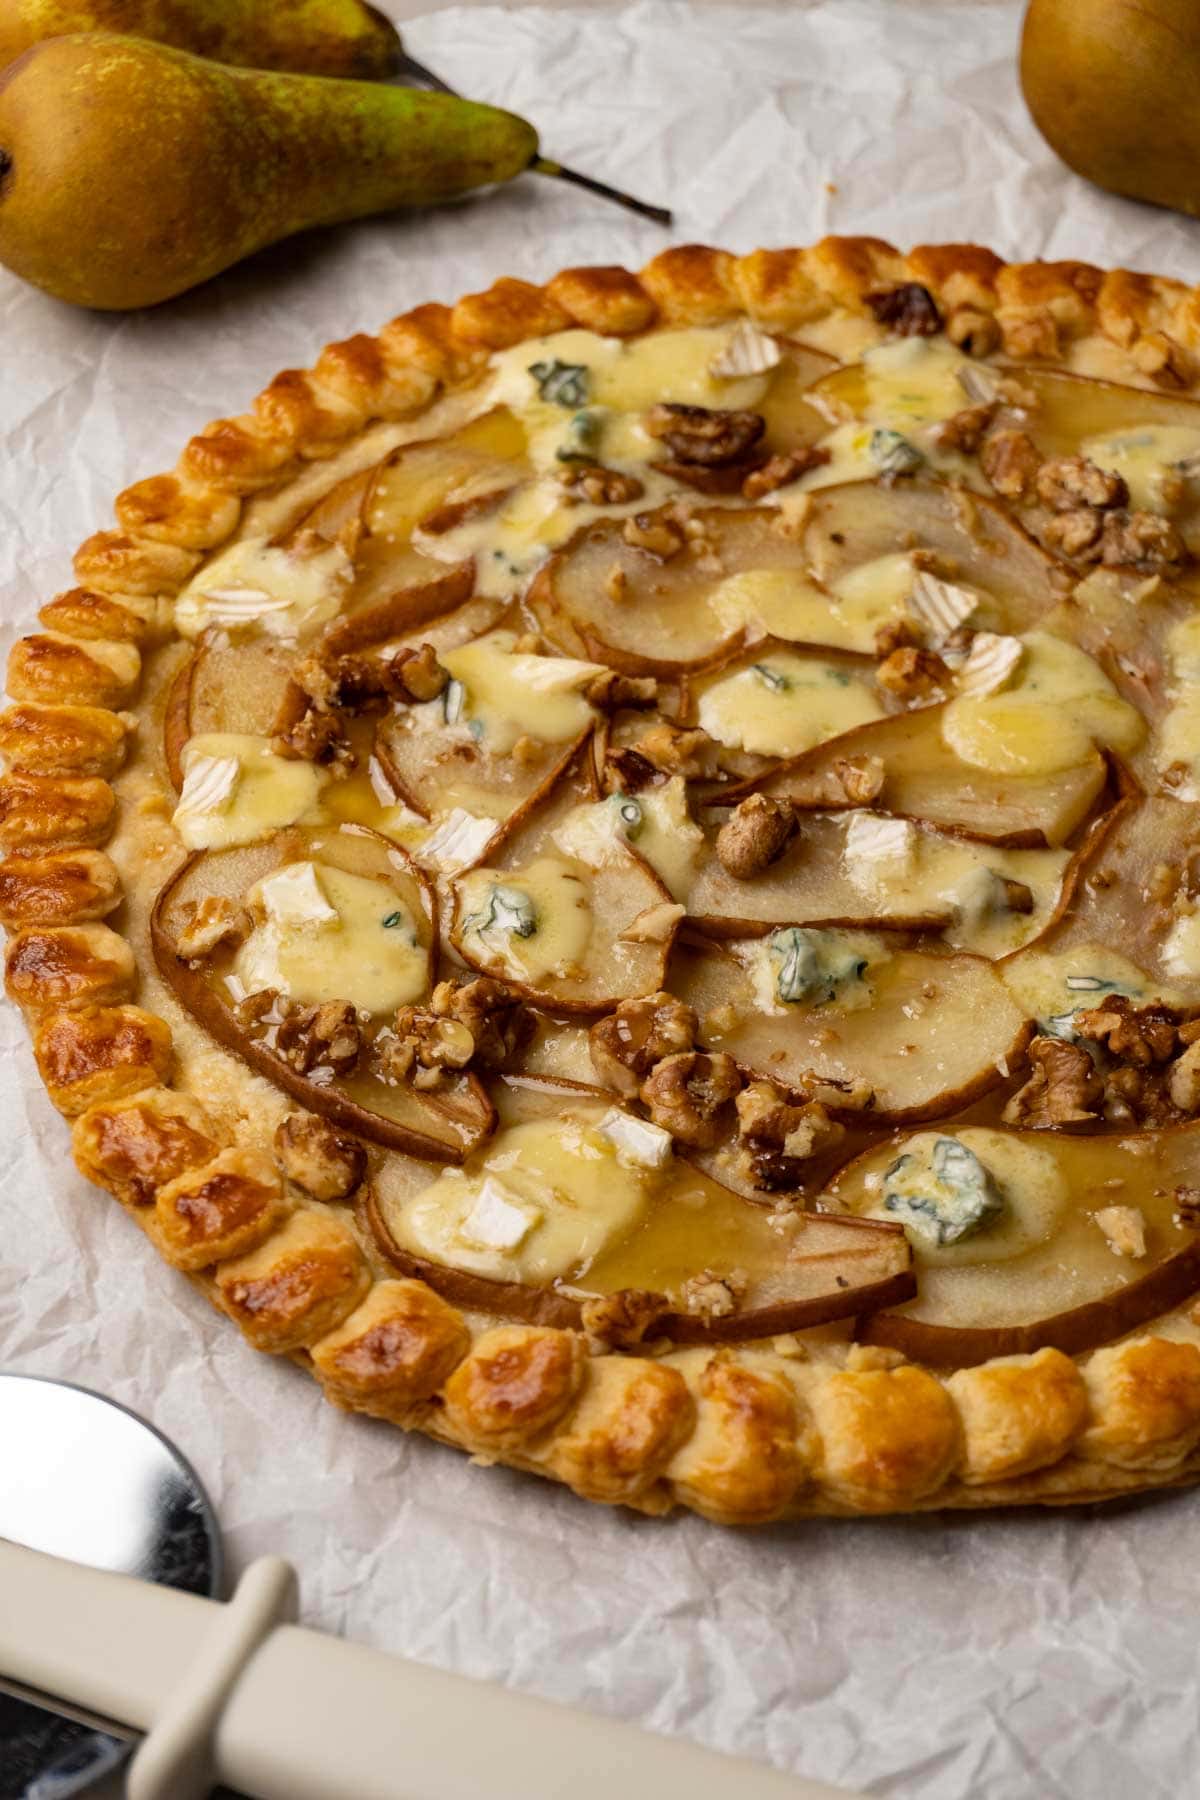
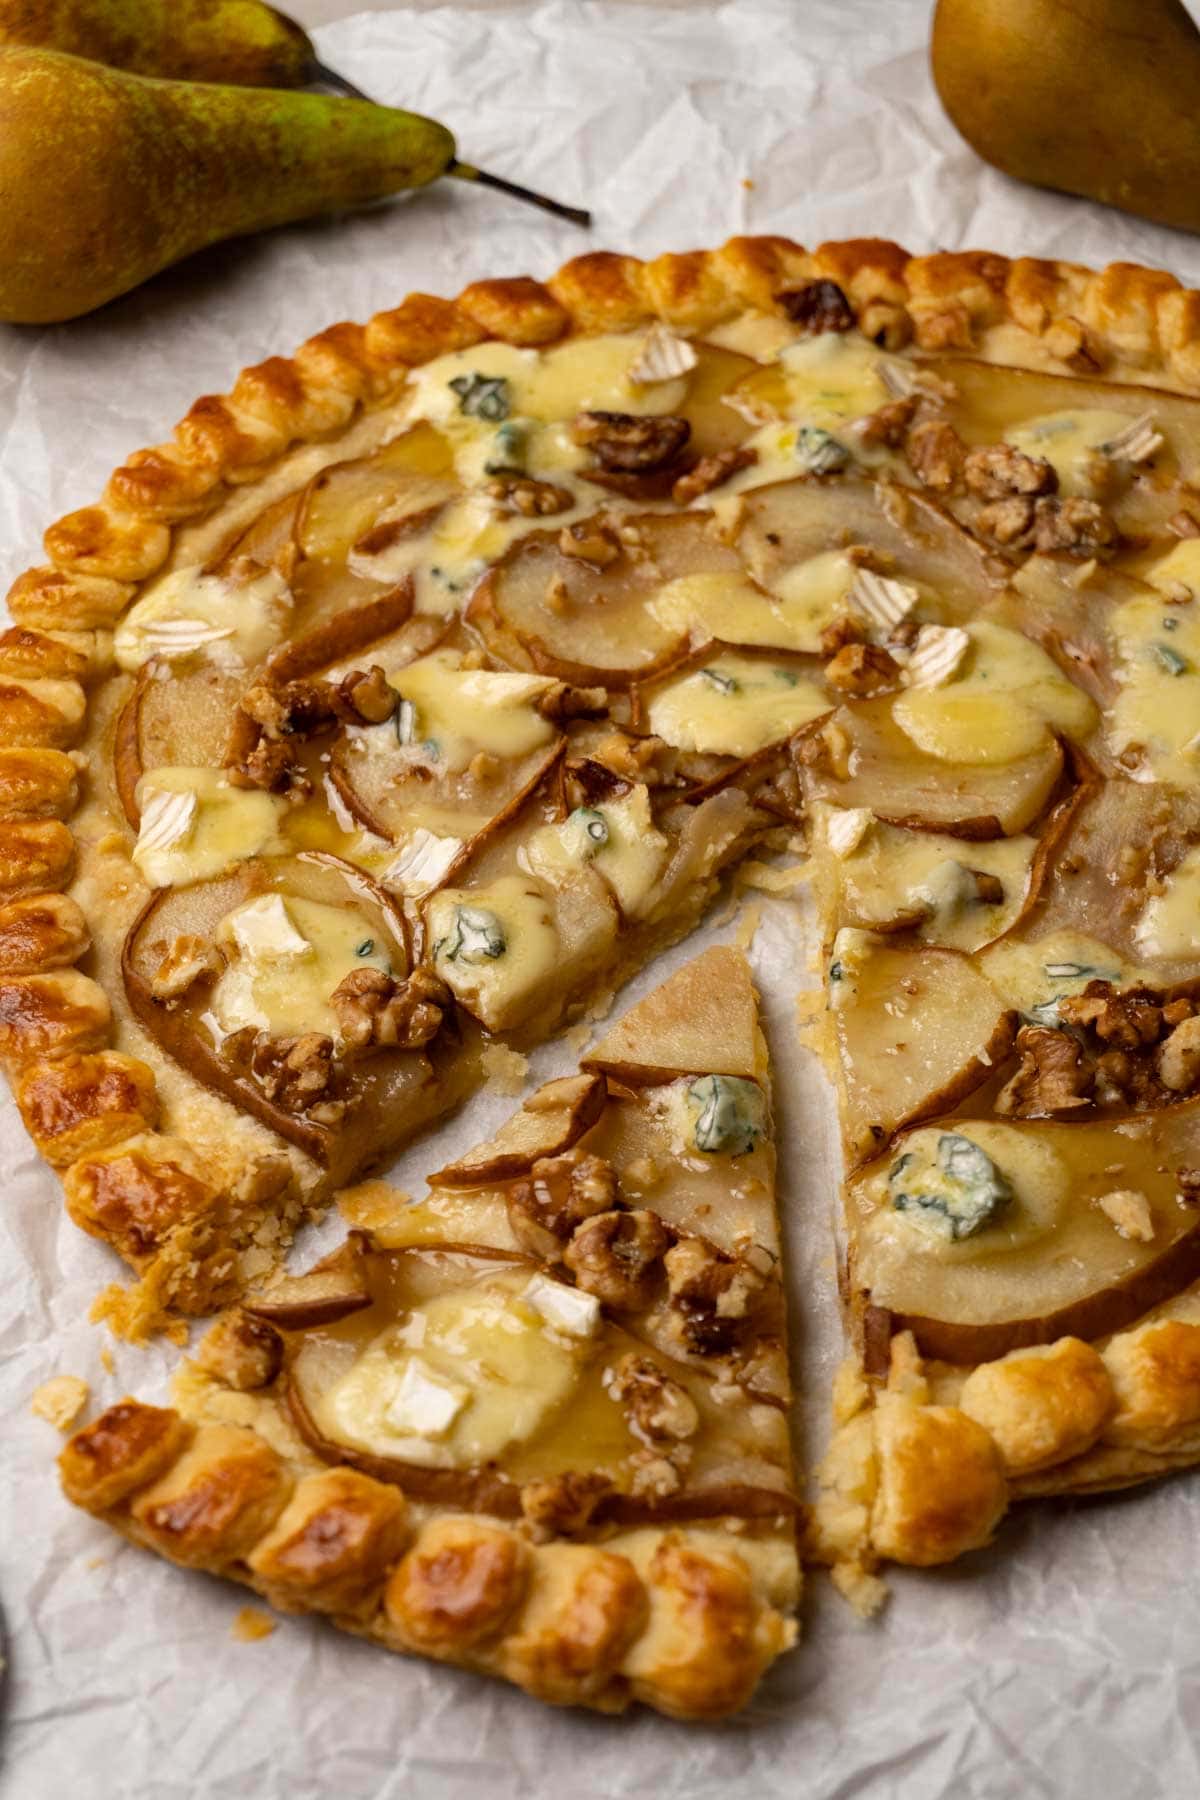
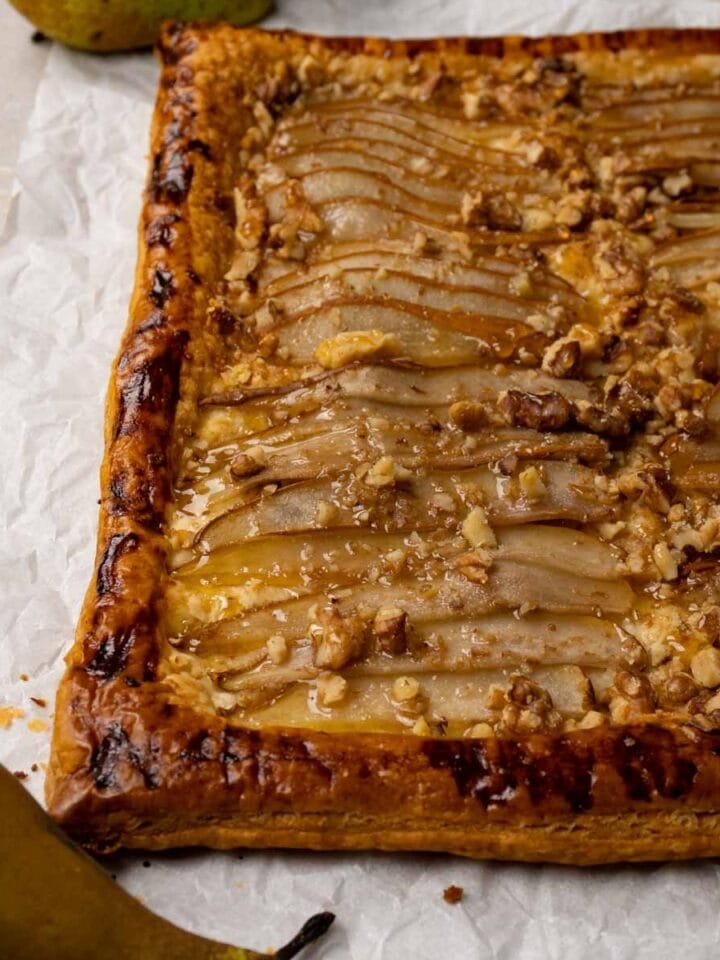
Made with a thin, flaky, and buttery homemade puff pastry crust, this pear galette has the most amazing combination of flavors from pears, walnuts, and gorgonzola.
Jump to:
Why you should try this pear galette recipe
- You can adjust sweetness to your taste. You can adjust the sweetness to your liking by adding more or less sugar or honey to the recipe, depending on how sweet you want it to be.
- The homemade puff pastry crust makes a big difference. Even though it takes some effort to make puff pastry from scratch, the delicious results make it worth it. However, if you have no time, you can always use store-bought puff pastry, just like I did with my Puff pastry pear tart.
- If you like blue cheese, you will love this easy pear galette. Blue cheese adds a unique and delicious flavor to this pear galette. Its creamy texture and bold flavor pair beautifully with the sweetness of the pears.
Looking for more delicious desserts made with fruits and berries? Then, you may like this Strawberry mousse, this Homemade apple pie or this Strawberry tiramisu.
Ingredients you will need
For the puff pastry crust
- Flour – You will need all-purpose flour to make homemade puff pastry. For an extra flaky crust, you can make a half batch of my favorite Rough puff pastry dough instead. Alternatively, you can use any store-bought puff pastry to expedite the cooking process.
- Salt
- White granulated sugar
- Butter – Use good quality unsalted butter with at least 82% fat content for the best flavor and texture.
- Water – Use ice-cold water to prevent the butter from melting too quickly.
For the pear filling
- Pears – Pears should be ripe but not too soft. Gently press your thumb near the stem end of the pear. Ripe pears should yield slightly to gentle pressure.
- White sugar
- Blue cheese – I use gorgonzola, but you can replace it with any type of blue cheese you prefer.
- Walnuts
- Egg and milk – I like to make an egg wash with egg and milk, but you can make it with water instead.
- Honey
Expert tips
- Use cold butter and water for the puff pastry. Cold butter stays solid while you work with the dough, helping to create layers of dough and butter that will later bake into a flaky crust. Similarly, cold water helps maintain the dough's temperature, preventing the butter from melting too quickly and preserving the integrity of the layers.
- Don’t knead the dough. Avoiding kneading prevents the development of gluten and will keep chunks of butter incased inside the dough resulting in a tender and delicate pastry crust.
- Don’t break the butter into smaller pieces. Larger pieces of butter create pockets in the pastry dough, leading to a flakier texture when baked.
- Add the cheese at the end of baking. Adding the cheese towards the end prevents it from overcooking and maintains its flavor and texture in the finished dish.
Step by step instructions
Making the puff pastry dough
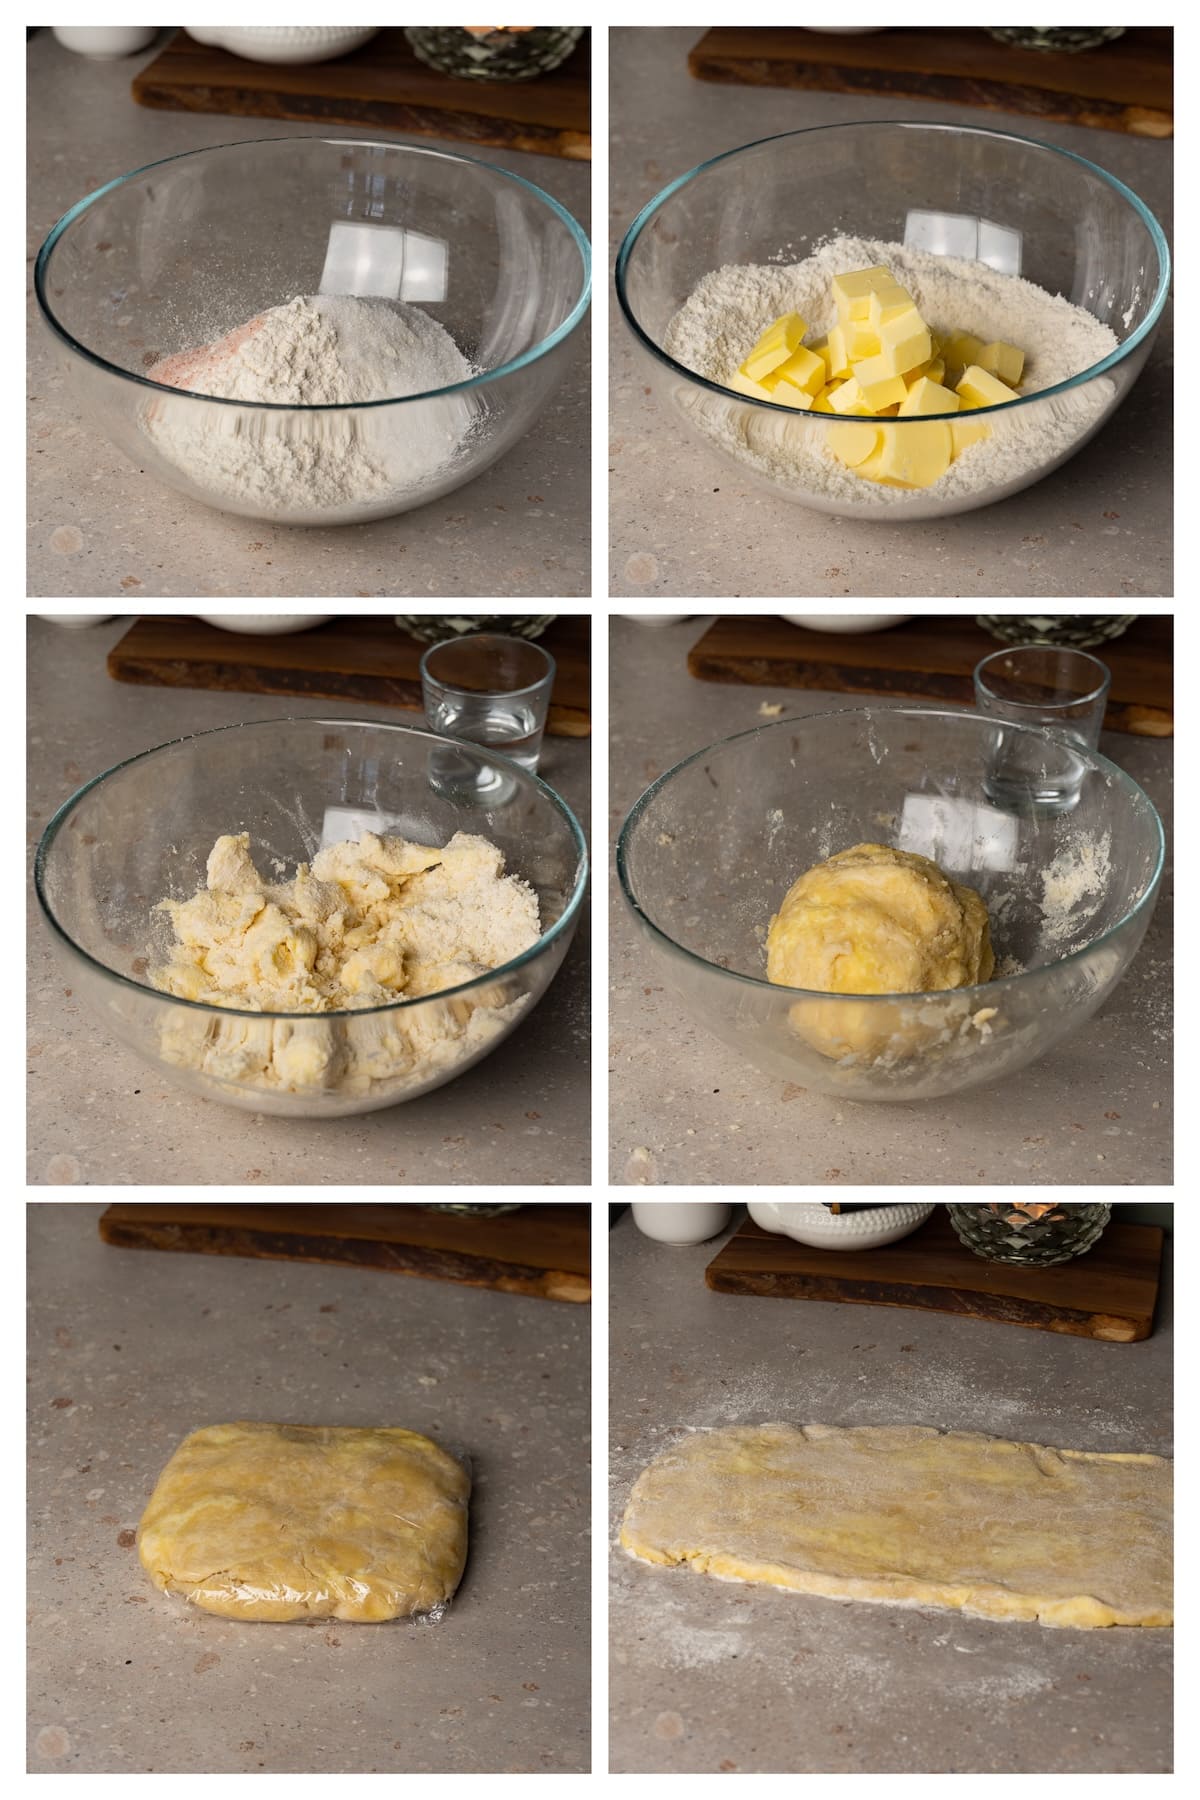
- Dice the butter into ½” (1 cm) cubes and place them in the fridge for 10 minutes.
- Combine the all-purpose flour, salt, and sugar.
- Toss the butter cubes into the flour mixture and briefly press them together with your hands. Do not break down the butter into smaller pieces.
- Add ¼ cup of water and mix until absorbed. Repeat the process until the dough forms, ensuring no dry flour patches are visible (you might need slightly less or more water than stated in the recipe). Do not knead the dough. Press and squeeze it with your hands until it comes together.
- Place the dough on plastic wrap and shape it into a rectangle. Wrap it and refrigerate it for 30 minutes.
- Place the dough on a floured surface and gently flatten it with a rolling pin, elongating the dough. Roll it evenly, adjusting the ends for a rectangular shape. The slab should be around ¼” (½ cm) thick.
- Fold the bottom and top ends towards the center, leaving a small gap in between. Then, fold the slab in half, resembling a closed book. Wrap it in plastic wrap and refrigerate it for 30 minutes or up to 4 days.
Assembling the galette and baking it
- Preheat the oven to 400F (200C) and line a baking sheet with parchment paper.
- In a small bowl, whisk together the egg and milk.
- Roll the dough out on a floured surface to cut out a 12” (30cm) disk with leftovers around the edge.
- Place the dough disk on the prepared baking sheet. Fold the edges over, overlapping slightly to create a border. Alternatively, cut out small circles from the dough leftovers and attach them around the edges using the egg wash, slightly overlapping.
- Prick the middle of the galette with a fork to prevent air bubbles.
- Sprinkle one tablespoon of sugar on top, avoiding the edges.
- Arrange sliced pears on top of the sugar and nuts. Sprinkle the second tablespoon of sugar and the walnuts on top of the pear slices.
- Brush the border of the galette with the egg wash.
- Bake for 25 minutes or until the edges turn golden brown. Remove from the oven and add the cheese. Place back into the oven for one extra minute or until the cheese starts melting.
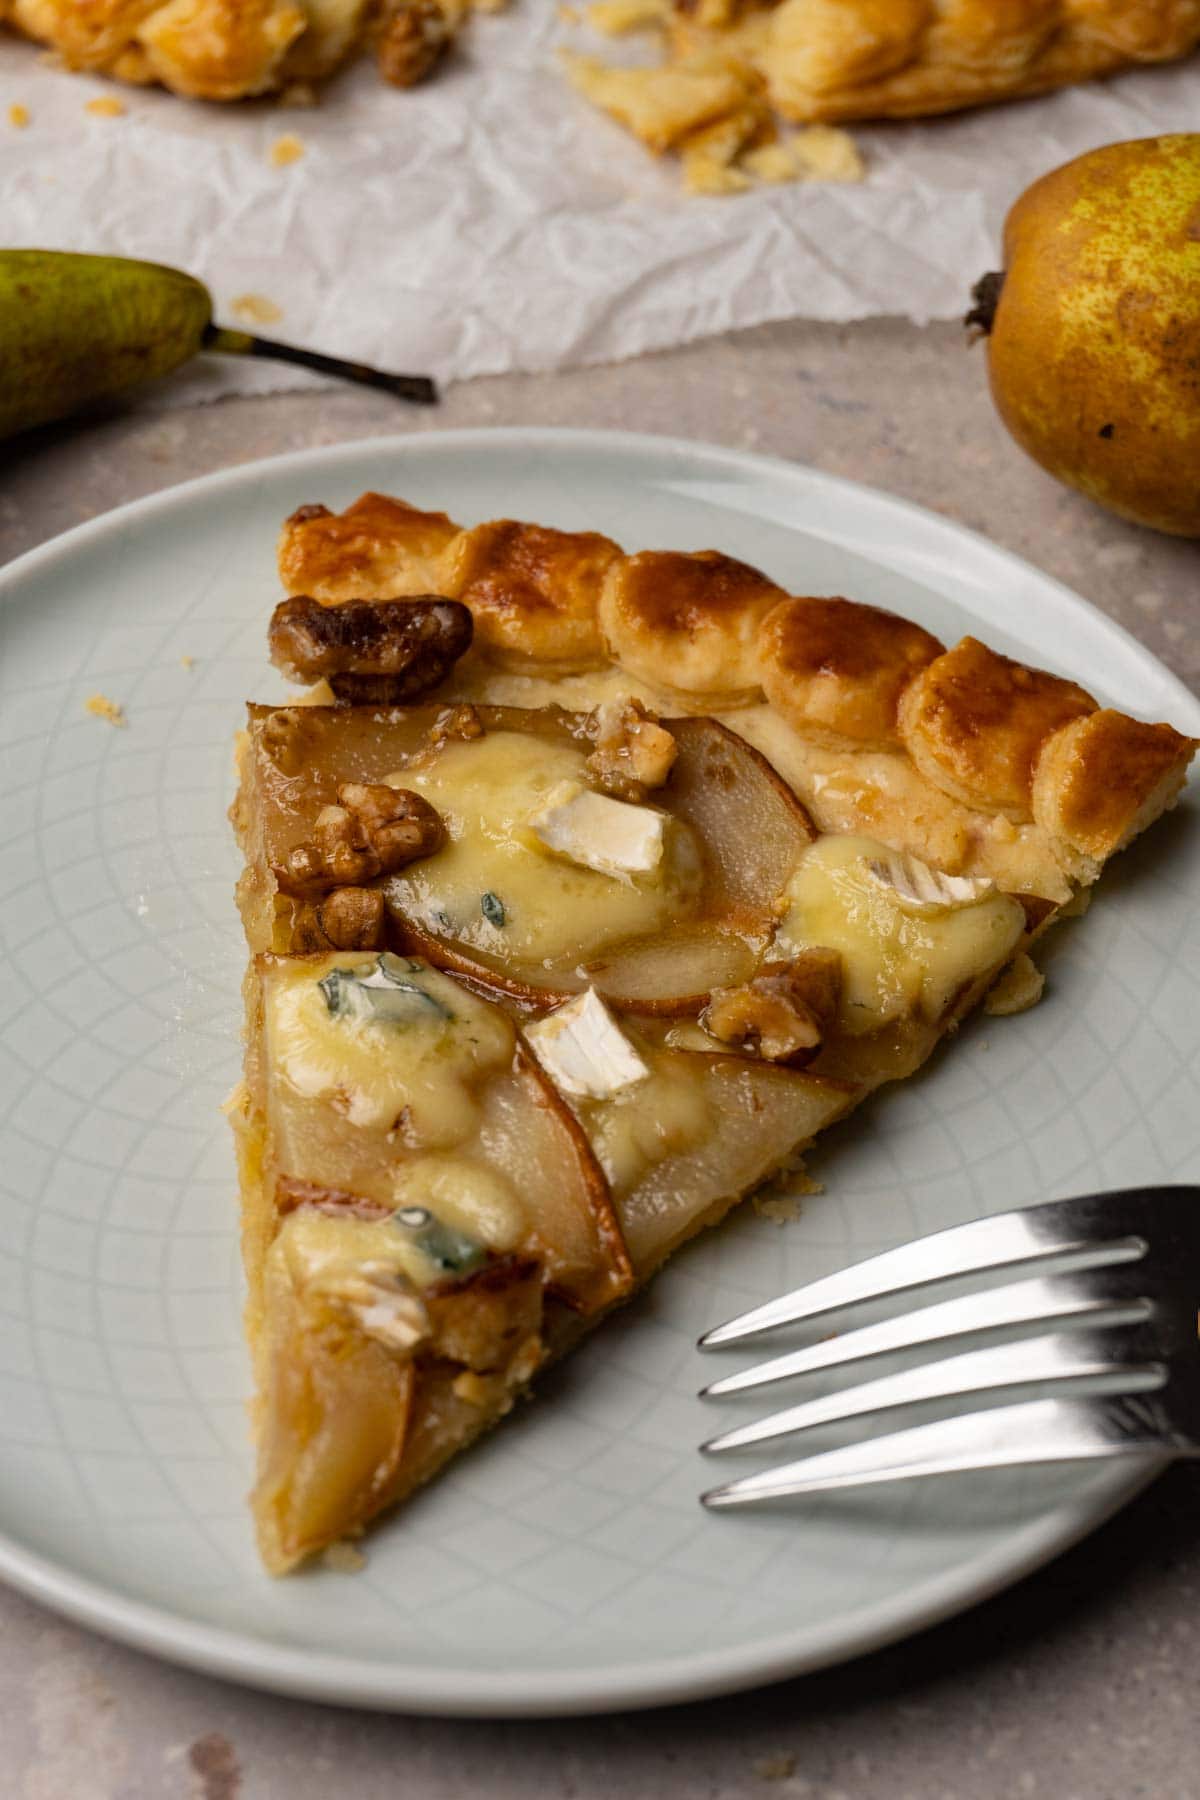
- Remove from the oven and let cool down until just warm. Drizzle the galette with honey, then slice and serve.

Possible variations
- Another cheese – Experiment with different types of cheese to add a unique flavor profile to your galette. Consider options like goat cheese, cheddar, or Brie cheese.
- Other types of nuts – Pecans or sliced almonds can be great alternatives to walnuts.
- Salted caramel – If you’re not a big fan of honey, you can always make homemade Salted caramel and drizzle it on top of your delicious pear galette.
- Ginger pear galette – If you don’t like the idea of putting blue cheese or any other type of cheese on top of pears, try replacing it with freshly grated ginger to add warm and spicy notes to your galette.
FAQ
How to store pear galette?
Because of the cheese, this galette should be stored in the fridge for up to 4 days. Place it on a plate and cover it with plastic wrap before refrigerating.
Can you freeze it?
The puff pastry can be frozen for up to 2 months, but the galette itself can’t be stored in the freezer.
Can you make it with apples?
Yes, apples can be an amazing alternative to pears.
Can you make it with a store-bought puff pastry?
Yes, make sure that you thaw the puff pastry sheet before unrolling it to prevent cracking.
More pastry recipes you may like
Recipe card

Pear galette
Made with a thin, flaky, and buttery homemade puff pastry crust, this pear galette has the most amazing combination of flavors from pears, walnuts, and gorgonzola.
Print
Pin
Rate
Servings: 8 slices
Calories: 319kcal
Equipment
- Digital kitchen scale
- Parchment paper
- Rolling Pin
Ingredients
Puff Pastry
- 125 g all-purpose flour
- 1 teaspoon salt
- 2 teaspoon white granulated sugar
- 125 g unsalted butter cold
- 50 ml ice water adjust as needed
Pear Filling
- 4-5 pears sliced
- 2 tablespoon white sugar
- 50 g blue cheese such as gorgonzola (cubed)
- 50 g walnuts chopped
- 1 egg
- 1 tablespoon milk
- 2 tablespoon honey
Instructions
Puff Pastry
- Dice the butter into ½” (1 cm) cubes and place them in the fridge for 10 minutes.
- In a large bowl, combine the all-purpose flour, salt, and sugar.
- Toss the butter cubes into the flour mixture and briefly press them together with your hands. Do not break down the butter into smaller pieces.
- Add ¼ cup of water and mix until absorbed. Repeat the process until the dough forms, ensuring no dry flour patches are visible. Do not knead the dough. Press and squeeze it with your hands until it comes together. You may need slightly more or less water to hydrate the flour, so add water gradually until the dough comes together.
- Place the dough on plastic wrap and shape it into a rectangle. Wrap it and refrigerate it for 30 minutes.
- Place the dough on a floured surface and gently flatten it with a rolling pin, elongating the dough. Roll it evenly, adjusting the ends for a rectangular shape. The slab should be around ¼” (½ cm) thick.
- Fold the bottom and top ends towards the center, leaving a small gap in between. Then, fold the slab in half, resembling a closed book. Wrap it in plastic wrap and refrigerate it for 30 minutes or up to 4 days.
Assembling and Baking
- Preheat the oven to 400F (200C) and line a baking sheet with parchment paper.
- In a small bowl, whisk together the egg and milk. Set aside.
- Roll the dough out on a floured surface to cut out a 12” (30cm) disk with leftovers around the edge.
- Place the dough disk on the prepared baking sheet. Fold the edges over, overlapping slightly to create a border. Alternatively, cut out small circles from the dough leftovers and attach them around the edges using the egg wash, slightly overlapping.
- Prick the middle of the galette with a fork to prevent air bubbles.
- Sprinkle one tablespoon of sugar on top, avoiding the edges.
- Arrange sliced pears on top of the sugar and nuts. Sprinkle the second tablespoon of sugar and the walnuts on top of the pear slices.
- Brush the border of the galette with the egg wash.
- Bake for 25 minutes or until the edges turn golden brown. Remove from the oven and add the cheese. Place back into the oven for one extra minute or until the cheese starts melting.
- Remove from the oven and let cool down until just warm. Drizzle the galette with honey, then slice and serve.
Video
Notes
Store the galette covered in the fridge for up to 4 days.
You can freeze the dough for up to 2 months.
Nutrition
Nutrition Facts
Pear galette
Serving Size
1 slice
Amount per Serving
Calories
319
% Daily Value*
Fat
19
g
29
%
Saturated Fat
10
g
63
%
Trans Fat
1
g
Polyunsaturated Fat
4
g
Monounsaturated Fat
5
g
Cholesterol
59
mg
20
%
Sodium
472
mg
21
%
Potassium
180
mg
5
%
Carbohydrates
34
g
11
%
Fiber
4
g
17
%
Sugar
14
g
16
%
Protein
5
g
10
%
Vitamin A
494
IU
10
%
Vitamin C
4
mg
5
%
Calcium
59
mg
6
%
Iron
1
mg
6
%
* Percent Daily Values are based on a 2000 calorie diet.
Tried this recipe?Mention @sugarpursuit or tag #sugarpursuit!




Leave a comment